Page 1 of 1

'80 Resto-mod Blog

Posted: Mon Sep 01, 2014 11:48 pm
by amawds
Decided to immortalize the in progress build of my second spider, a 1980 carbed model. Nothing has been untouched. The car was originally metallic brown, poorly painted a bluish green, and then stripped down by me and my dad, bare metal, then painted a 3 stage Ferrari red used by F1 cars. Believe it was the 07' color. I'm generally bad at these but I'll keep it updated. First few posts will be playing catch up. The car will be using the trans that came with it, along with the engine from my '76 that I built with cams, 8mm domed pistons and a balanced assembly. My signature is wiring, so nothing will be left untouched. However, my plan is to have nearly every modification to be reversible, even though I never plan to do so. As such, almost no wiring will be cut, instead opting to plug into the stock wiring and making modifications after the plugs when possible. Most of the wiring is in the trunk however, where the alarm brain, relays, trunk solenoid, amplifier etc. sit. This allowed me to simply source my required inputs and bring them to the trunk where relays keep all the load off of the ignition switch and primary wiring. Anyway, first post. First few will be very brief and show ridiculous progress. I'm just too lazy to post all my progress up to now in one night. They're just a few shots before I started really documenting it. My dad is a member here too, and may supply some shots as well.

Image

Image

Image

Image

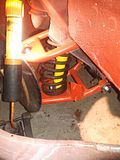
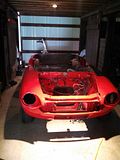
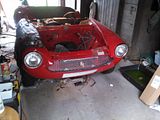
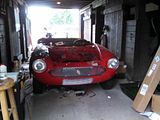
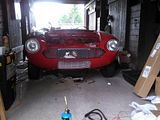
As you can see, front holes were welded up. No bumpers on this car. Turn signal solution will be shown later. Front suspension with prima 3 tubular a-arms and yellow koni shocks. Will update more later.

Re: '80 Resto-mod Blog

Posted: Mon Sep 01, 2014 11:59 pm
by Ptoneill
Very nice!

Re: '80 Resto-mod Blog

Posted: Tue Sep 02, 2014 12:31 am
by amawds
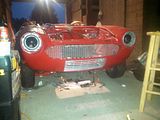
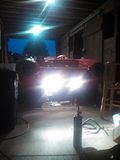
Grills painted. Used the grill from my '71 parts car. Honeycomb grill. Always been in love with the style and made the modifications needed to fit it into my '80. Used the stock lower. Didn't know if I was going to like the look of mixed grills, but I love it. Also installed my fog lights. Wanted them hidden. They're only going to be used in the super thick fog we get on my road to assist in seeing the road directly in front of me when I'm forced to go 15mph.

Image

Image

Image

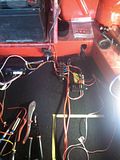
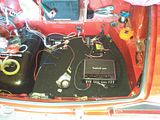
And from a week ago, the beginning of wiring on my hidden trunk panel. Relays and fuses, distribution block etc. I have an accessory feed, battery feed, 8 gauge local ground, and a trigger wire from the stereo to turn the amp on, turn some circulation fans on and extend the power antenna. The alarm is also mounted and wiring has begun on that as well. Trigger wires are run to the trunk for the hood and door pin switches. That little black box with red button under the battery box is an inertia switch from a Ford pickup truck. It is designed to kill power to the fuel pump in a collision, and is easily reset with a push of a button. This will all be hidden under a full carpeted two piece plywood floor that will look better than stock and allow the whole trunk to still be used. My modifications are within the confines of the spare tire well. Who needs a spare anyway?
Image

Re: '80 Resto-mod Blog

Posted: Tue Sep 02, 2014 10:34 pm
by burgandy81
Like it! More please.....

Re: '80 Resto-mod Blog

Posted: Tue Sep 02, 2014 11:35 pm
by amawds
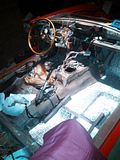
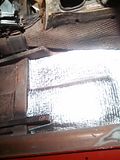
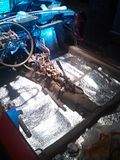
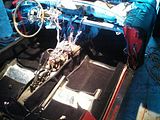
Also from about a week ago. Ordered up some "EZ-Cool" insulation. It's basically bubble wrap, but much tighter and faced with aluminum sheeting on both sides. Supposed to do an excellent job preventing heat transfer and a decent job killing noise as well. This car is going to be driven hard and often so it needs to be more comfortable than my last build. Very easy to cut with scissors, so I cut pieces to fit tightly on the floor and where the rear seat goes. There's also a piece in the trunk under that wood panel. Can't find the finished pics so I'll take some tomorrow. I have the next 6 days off work so I'm planning to get some stuff done.


Image

Image

My dad got this all done on the front end today. Headlights installed, although I won't be using them in the long run. Probably putting cibbies in. Also reinstalled the top grill after paint, installed the badge, and the trim piece that surrounds the grill with the new black rubber edging that I bought from autoricambi. Still missing the headlight ring rubbers for the time being.

Image

Image

Image

Re: '80 Resto-mod Blog

Posted: Thu Sep 04, 2014 12:29 am
by amawds
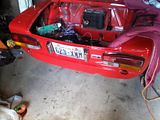
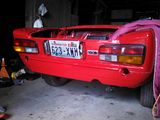
Not a whole lot of progress today. Rear end is basically done though, which is nice. Need to plug the rear bumper holes and install the lock barrel to finish it off. My amp is coming tomorrow so I can finish the trunk wiring though! :D
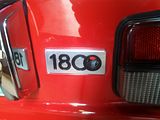
My dad had the rear badge made for this car. I'm using the built 1.8 from my other car so I decided I wanted to be thorough.

Image

Image

Image

Re: '80 Resto-mod Blog

Posted: Sat Sep 06, 2014 12:07 am
by amawds
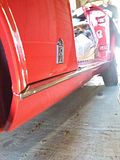
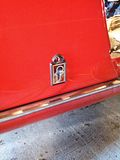
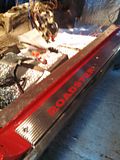
It has an amplifier! And carpet!!! And DOOR SILLSSSS!!!!!! 8)

Image

Image

Image

Image

Image

Image


Passenger side is now glued down, driver side is not. Took a while to figure out how it all fit together. Got the kit from World Upholstery a while ago, and this is the first time seeing it laid out let alone sitting down in the car. While it was confusing, and fouls on the steering column shaft, it otherwise fits very well and I'm happy with both the thickness and texture.

We ended up using stainless rivets to attach the chrome pieces to the sills. All stock pieces from the car, shined up with chrome polish thanks to the dad putting the muscle in to it while I messed around with wiring. I promptly put my laser cut roadster decals on the sill plates. I may replace them with identical sets in black though.

Speaking of wiring, I gave up on solenoids in the doors for locks for the time being. Can't seem to get it to work. That'll be one of those "the project car is never 'done" moments.