Page 1 of 16
1978 rolling restoration
Posted: Wed Apr 27, 2011 1:47 am
by DocGraphics
Thought I'd start a thread on my car to document my progress as I go.
So heres a few pic of how it came to me...
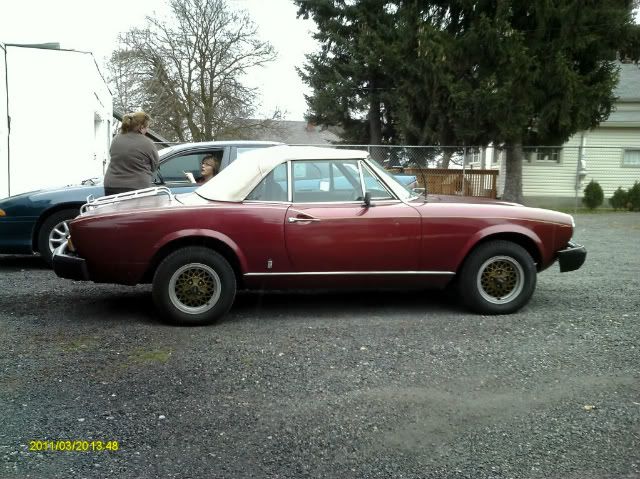
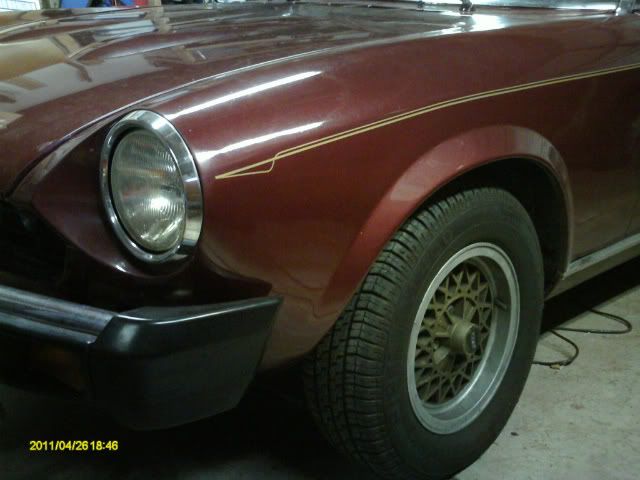
Its been repainted burgundy, from what I have found out thru this site was originally dark brown, & had all the side markers removed.
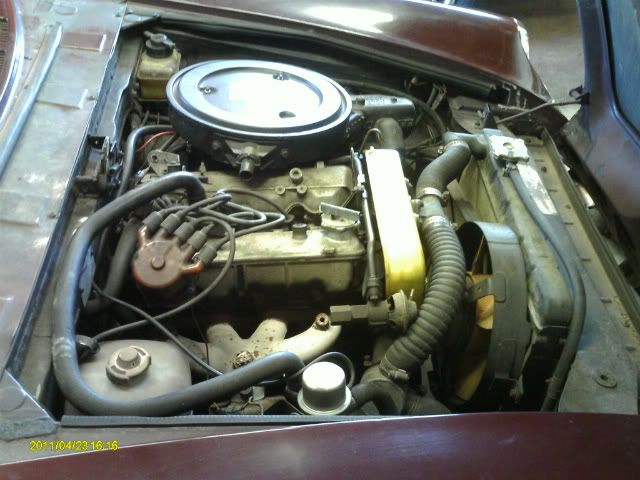
The engine is still mostly stock, dirty but not too bad, something has already been removed from the exhaust manifold & I plan to remove the rest of the emission stuff too as there is no smog testing here.
It already has a roll bar, rear seats removed but I have them.
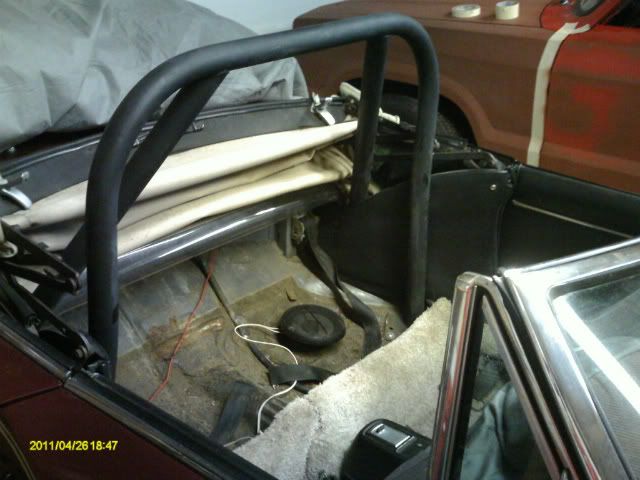
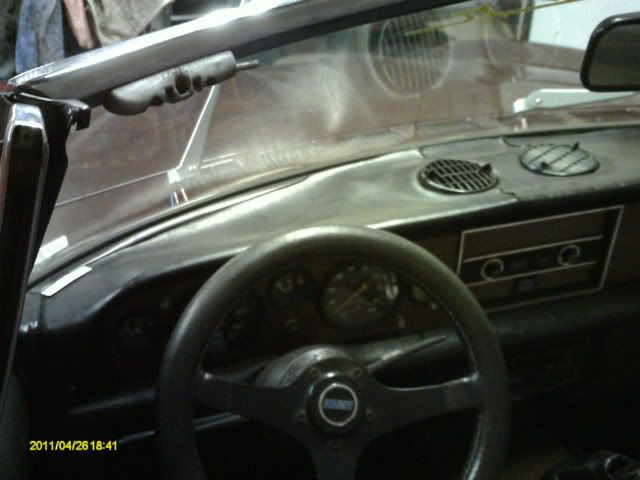
Dash is cracked & is depressed in front of drive.
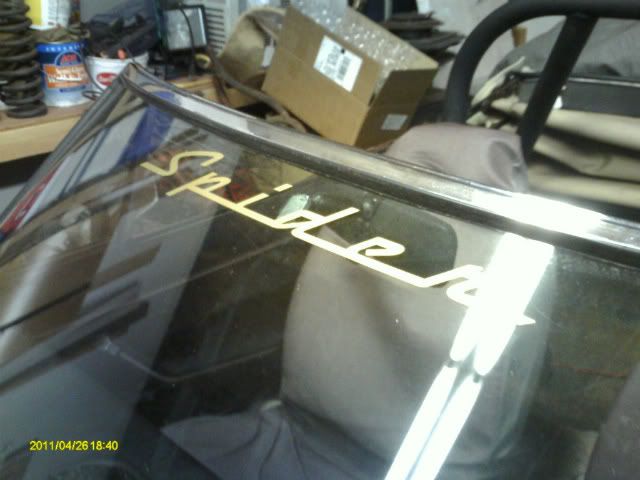
& heres my first addition, "Spider" window banner
Everything is road worth except for the blinkers not working.
Engine wise I will first replace the timing belt & fix the exhaust leak.
Interior will be new seats, fix dash board & mount some speakers.
I already have a few parts purchased to start with. I have a lunch box air cleaner, the original wood steering wheel, door lug set, heater control knobs, top boot & am working on getting a chrome grill suround.
Once I get it all back to original shape & everything working right I plan to cherry it out & modify one piece at a time.
First I plan on removing the front bumpers & adding new blinkers up front, lowering it to compensate for the bumper removal plus some & replacing suspension bushings/tie rod ends as needed.
I'll post my progress as I go.
This site has already been a great help in identifying what & where to start & I'm sure I will have many questions before I'm done.
Also special thanks to the members I have already purchased missing parts from.
Re: 1978 rolling restoration
Posted: Wed Apr 27, 2011 3:06 am
by Zippy
Good looking car you got there. Thanks for posting all the pictures. It's nice to see the befores as well as the afters. Enjoy the ride.
Re: 1978 rolling restoration
Posted: Wed Apr 27, 2011 4:19 pm
by Fiat88
I like the color, side line stencils and the the "spider" window stencil. Goodluck with it!

Re: 1978 rolling restoration
Posted: Sat May 14, 2011 2:08 am
by DocGraphics
Update on progress
I have been working on my Spider some more this week (Courier on hold - waiting for brake parts)
I got it up on my ramps to start inspecting everything, very oily on the bottom side, looks like I will be replacing all the seals too while I am doing the timing belt & pan gasket, need to pull the pan & fix dent/check pick-up. So I think I will just order the whole gasket kit so I don't miss something & have to wait for more parts & do things again.
I got the lunchbox air cleaner modified to fit the ADHA & mounted, & replaced the missing door lugs.
Got my boot cover mounted (thanks George) & installed a stock steering wheel (thanks Ken).
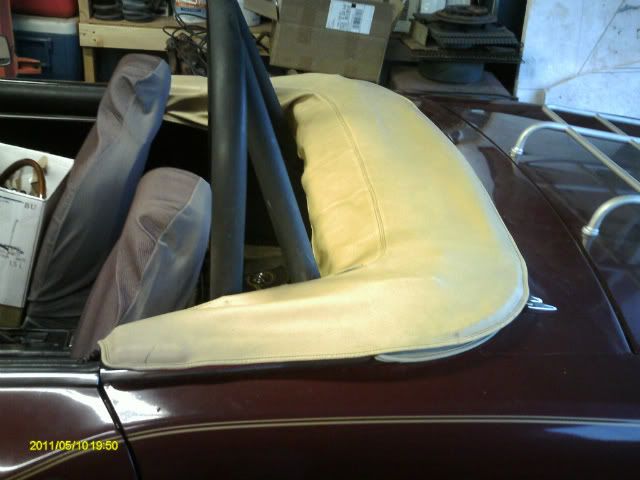
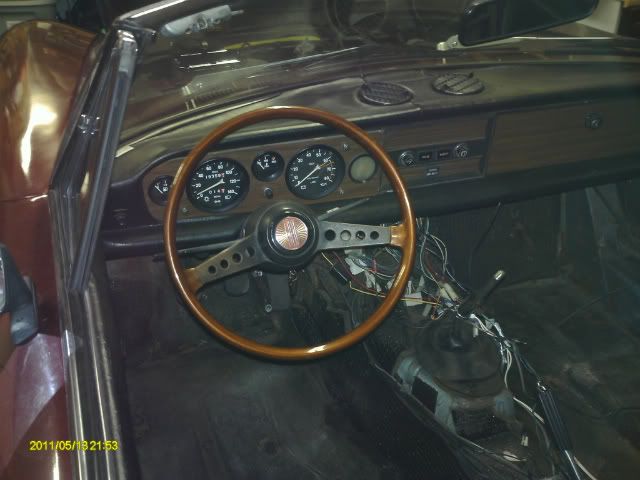
Then I started pulling seats & carpet. Seats are shot! I will be ordering new ones next week (aftermarket for now)
Gonna buy & pattern carpet soon. May take the patterns I made & help Schnauser to do his this weekend.
The good: I did find that the hazzard switch was unhooked so that may be my no blinkers/no hazzards problem.
The bad: RUST in the floor boards, every where else is great on the car, but the shot interior should have given me a clue of the possibility.
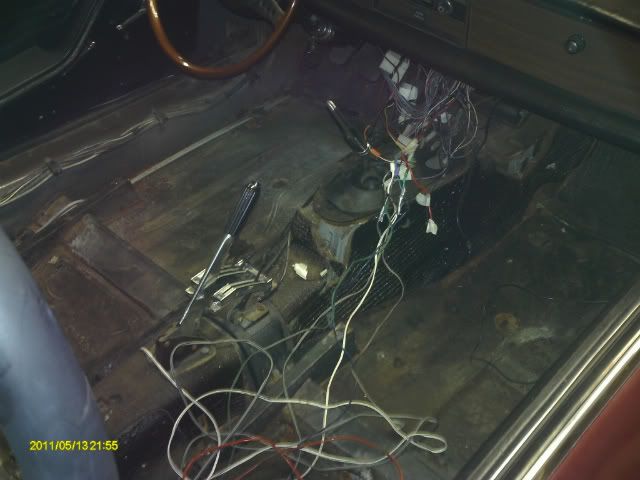
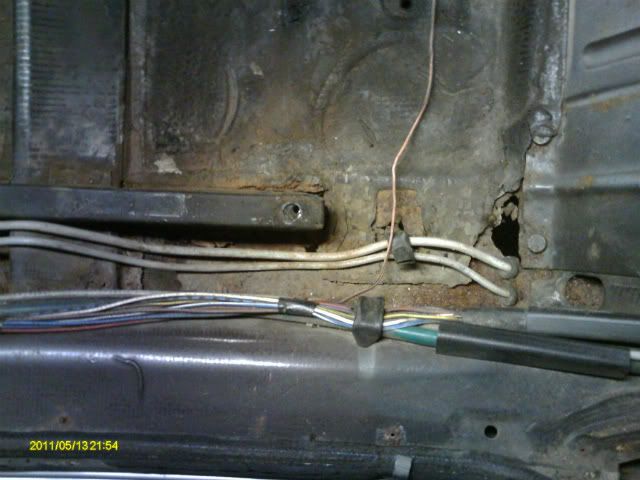
Thats just the tip of the rust I found, it's at the edges of the floor both sides, around the drivers seat mounts (pic) & a couple holes in the front of the foot wells.
Carpet on hold, rust repair 1st.
Oh I did find $.89 to add to my seat fund!
Re: 1978 rolling restoration
Posted: Fri May 27, 2011 1:35 am
by DocGraphics
Sneak peak of the new seats. Just got delivered today. (just sitting in car, not mounted)
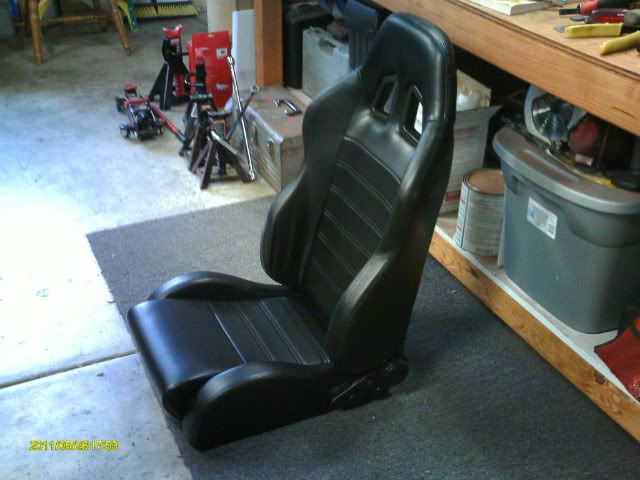
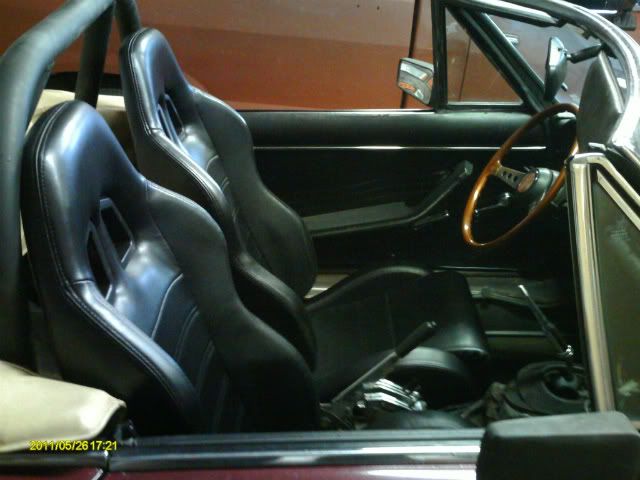
Evil-bay find from Vision Technology. Found them on a search for "Courier seats" for my truck
http://cgi.ebay.com/ebaymotors/2x-CIVIC ... ccessories
Chose the ones listed for Honda Del Sol, I think they are all the same universal size though. Included universal sliders too.
This style actually measure less than 20" across the lower part so they should fit great (online spec said 22" across)
Their store has 6 different styles, these looked the most like the originals or at least most "period correct"
I have to fix the floor board rust & put carpet in first, then I will tackle mounting them.
More to come.......
Re: 1978 rolling restoration
Posted: Fri May 27, 2011 1:53 am
by ORFORD2004
Those seats look like mine.
Re: 1978 rolling restoration
Posted: Fri May 27, 2011 2:25 am
by DocGraphics
ORFORD, yes they do, thats why I was questioning the ones you put in before I ordered.
They definately hold you in place, good side support, could use a little more padding in the backs but I like the fit.
The side bolsters make the bottoms fairly narrow & might be a slightly snug on the rear of the larger members of my family, but I suspect they will break in quite nicely.
Re: 1978 rolling restoration
Posted: Tue May 31, 2011 2:44 am
by DocGraphics
More updates...
I pulled the hazzard switch out of the console (which is out of the car) & hooked it up right & YES the blinkers work! They blink pretty slowly & Hazzards still don't but I think that is just their flashers.
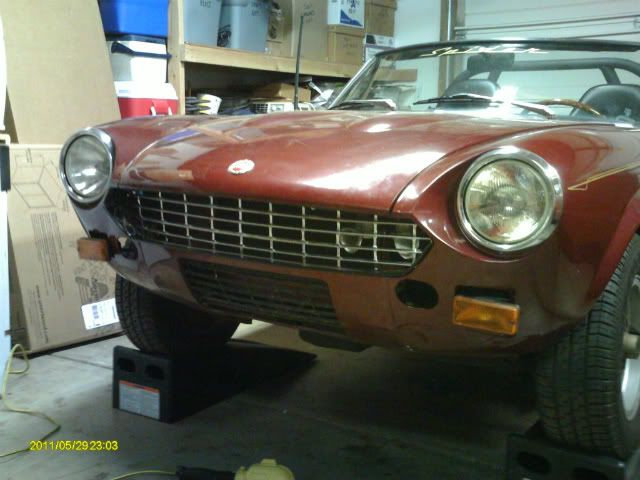
I got the upper grill repainted "chrome" & the lower satin black & the new suround ready to go in with the new rubber gasket that goes around it & I took off the front bumper. heres a pic of it setting together.
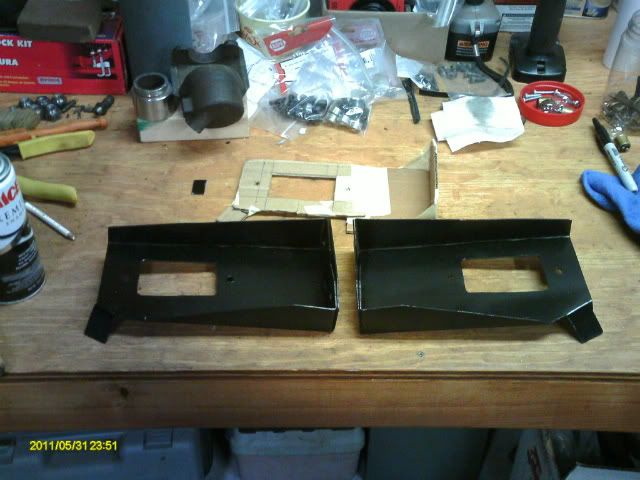
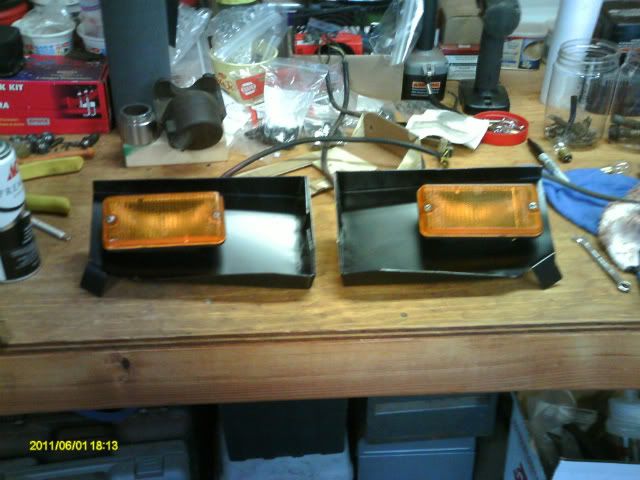
I started working up a blinker solution & this is what I came up with using the stock lights.
I made cardboard template & bent up an .063 alum bracket to mount to the old bumper bolts.
The light sits to the top of the square holes w/ the outside edge just proud of the surface.
The inside edge is about 1" behind the valance, still seem to light up real well.
The little tab to the outside fits flat to the inside of the fender which I will silicone.
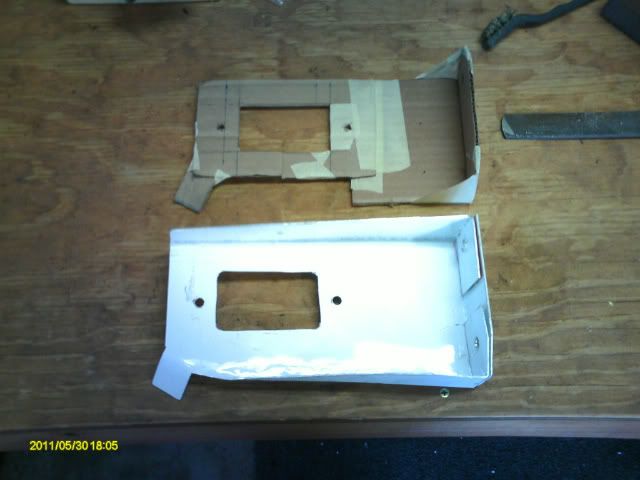
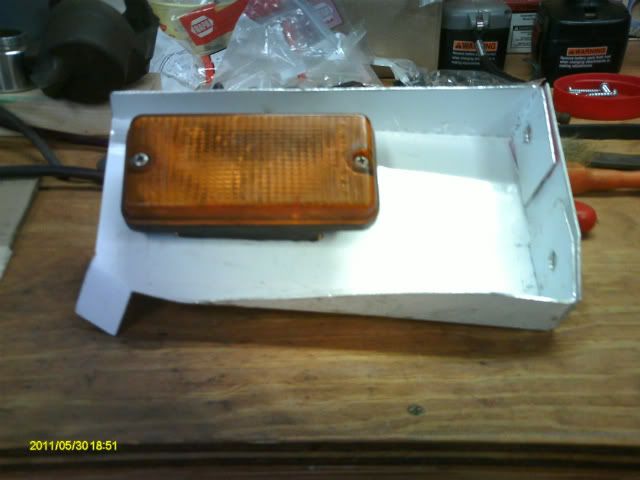
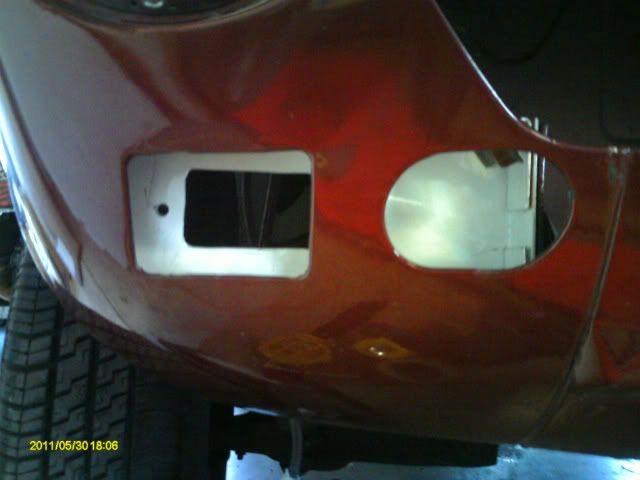
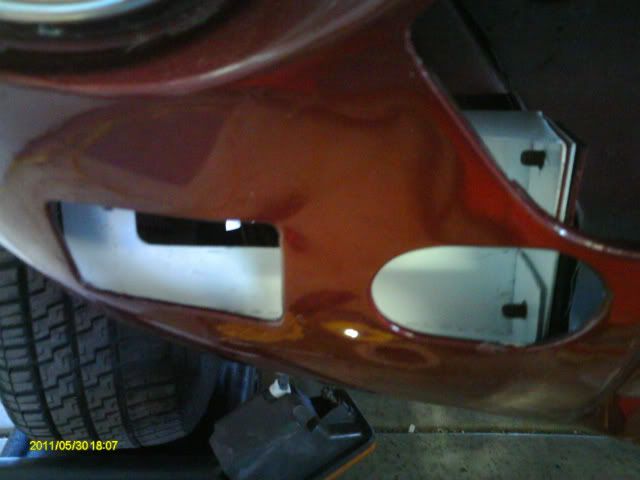
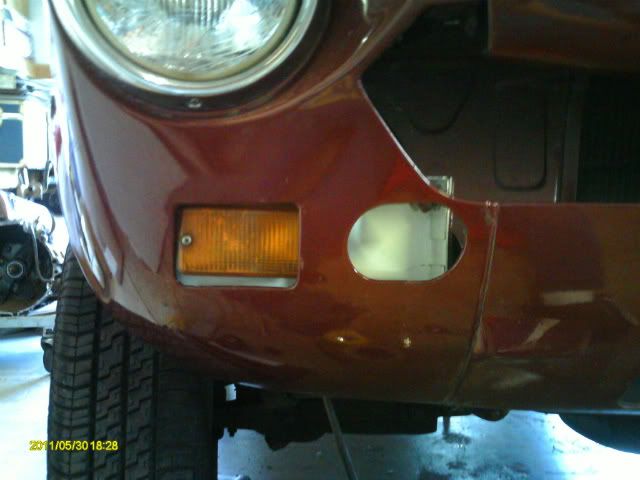
I still need to make one for the drivers side, do the final tweeking (tip the light down about 1/4" on the outside) & paint them black.
I think it looks so much better without the bumper & the upper grill painted silver & the lights remounted.
So many things going on all at once. More to come...
Re: 1978 rolling restoration
Posted: Tue May 31, 2011 6:57 am
by kmead
Nice use of cardboard to make a template. Good idea, one always wants to mount lights to a solid surface to minimize the tendency to break filaments.
Looking forward to seeing the final product.
Re: 1978 rolling restoration
Posted: Thu Jun 02, 2011 2:24 am
by DocGraphics
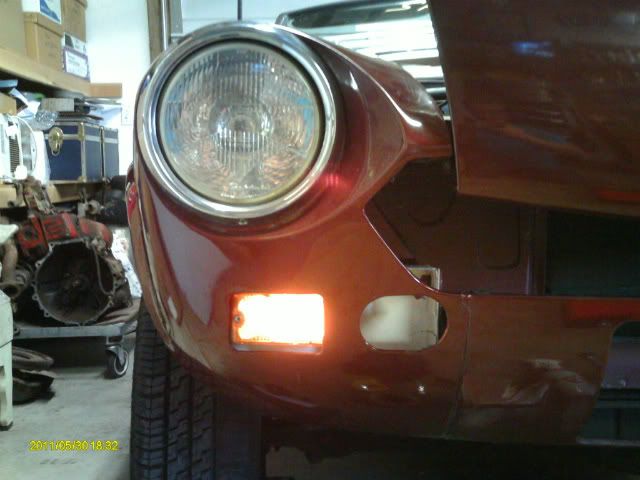
I got the light mounts finished & the lights, grills & suround installed.
I need to rework the drivers side mount a little, light needs to go out & down 1/4" to fit the hole better.
As you can see from the angled pic the lights face straight forward, same relation as they did in the bumper
& the lower outside edges actually protrude just a little from the valance.
I also cleaned up the lights real well inside. the chrome plating on the reflector part was flaking off real bad.
So I repainted the reflector with that "chrome" paint & I polished the lenses so lights are clear & quite bright.
I put brand new long life bulbs in too as the whole thing needs to be removed to change them.
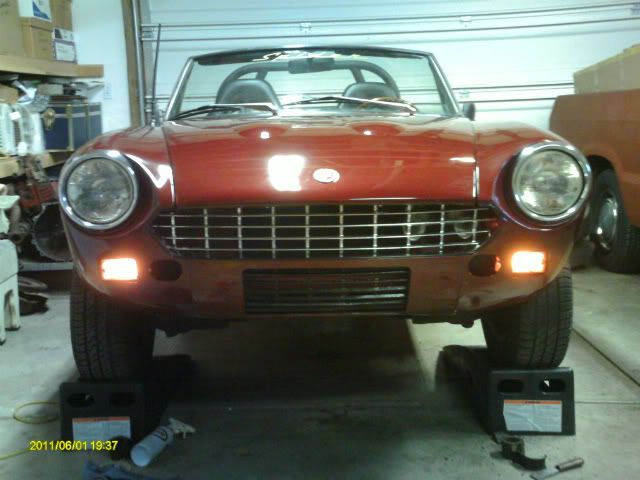
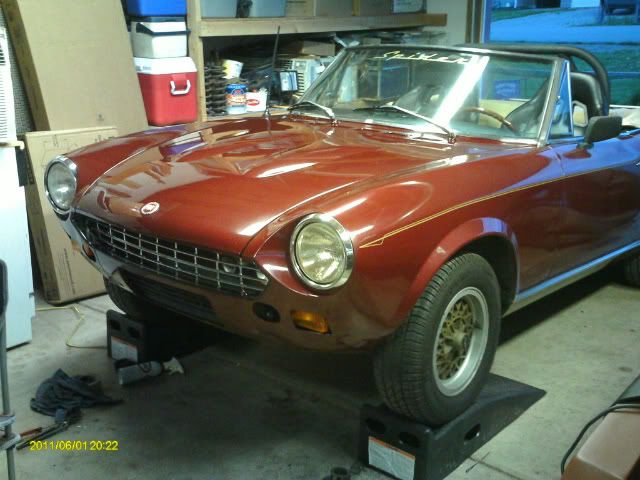
I love the look without the front bumper & with the silver grill.
Hopefully everyone is not getting bored with all my posts in this thread but I'm really enjoying the work I'm doing on this little car & just can't help but share the progress!
More to come...
Re: 1978 rolling restoration
Posted: Thu Jun 02, 2011 6:10 am
by aj81spider
Keep sharing - one of the things I love about the forum is watching cars get transformed.
Nice work - keep inspiring me!
Re: 1978 rolling restoration
Posted: Thu Jun 02, 2011 9:05 am
by Exit98
Looking good. Keep the updates coming.
Re: 1978 rolling restoration
Posted: Tue Jun 07, 2011 2:34 am
by DocGraphics
It was a lovely weekend here in North Idaho & since I can't drive my Spider might as well work on my Spider (wife calls it my girlfriend)
First thing I did was remove the luggage rack, I like the look much better without it, but it might go back on at some point. I don't like the exposed holes in the trunk & when I do I need to find one of the pads it mounts on.
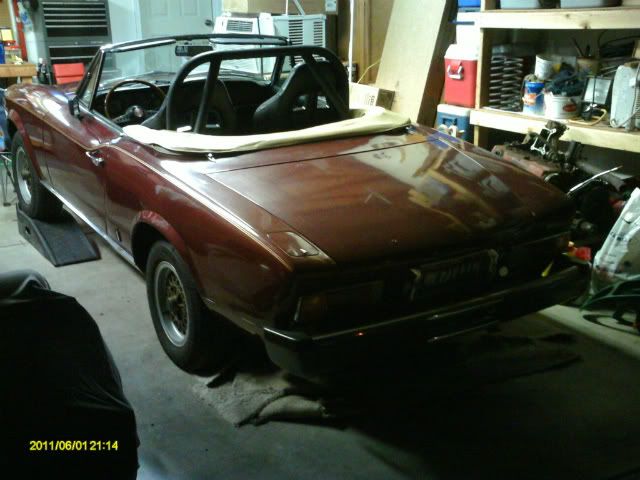
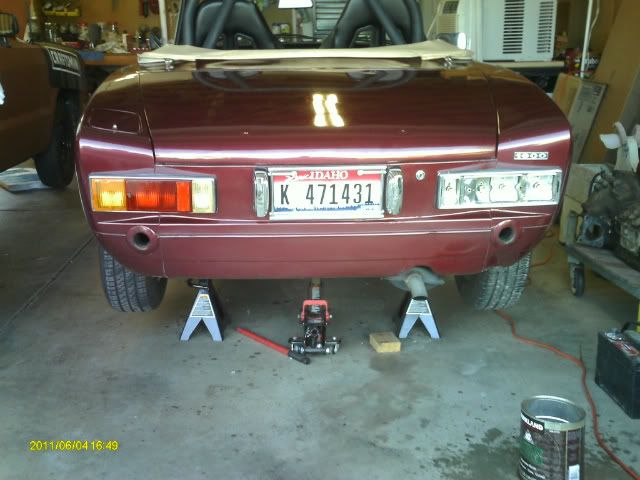
Then I pulled apart both the rear tail light to clean them up real well & put all new bulbs in. I used 1/8" thick X 1/4" wide weatherstripping to replace the crumbling & missing gasket. It only had 2 of the factory lense bolt/nuts so the other lenses won't go in till the replacement ones get here.
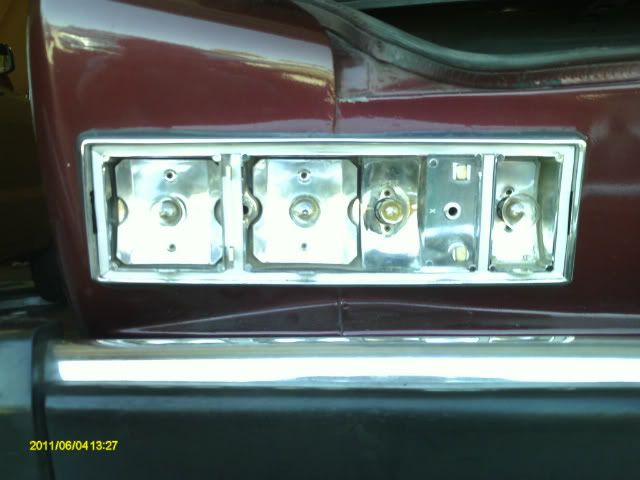
Then the REAL fun began - out with the tank & off with the rear bumper - looks cooool!
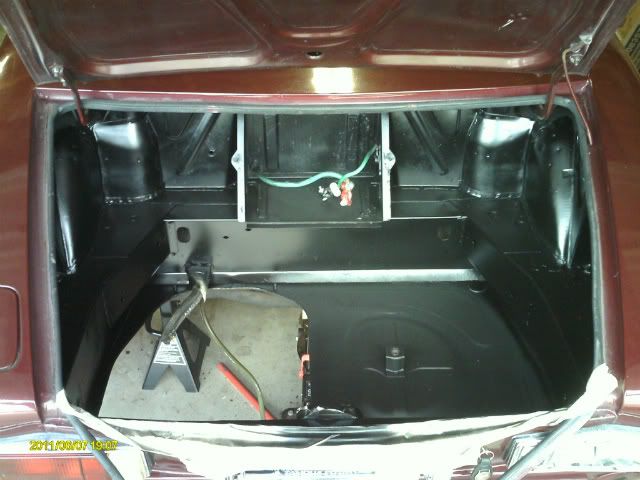
While I'm at the tank removal, the whole trunk area is getting restored. It was fairly clean under the dirt & will be all repainted, new boards & carpeted. First bit of painting was to do the bottom of the tire well & battery tray w/ spray on bed liner (I will do the bottom/exposed part of the tank too). Love this stuff, super tuff, I will probably do the whole tire well with it & paint all the upper visable parts satin black.
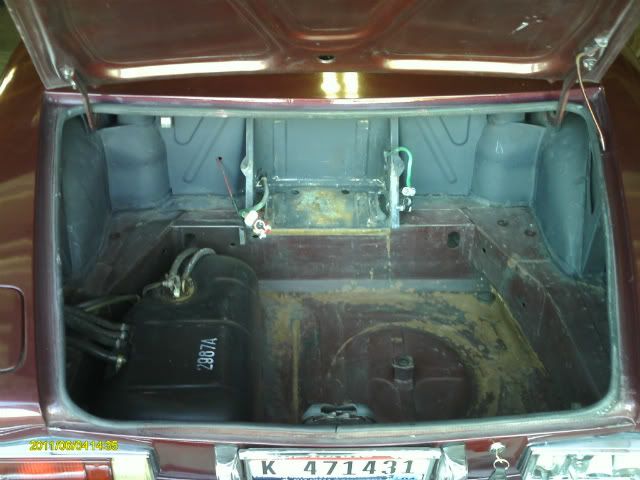
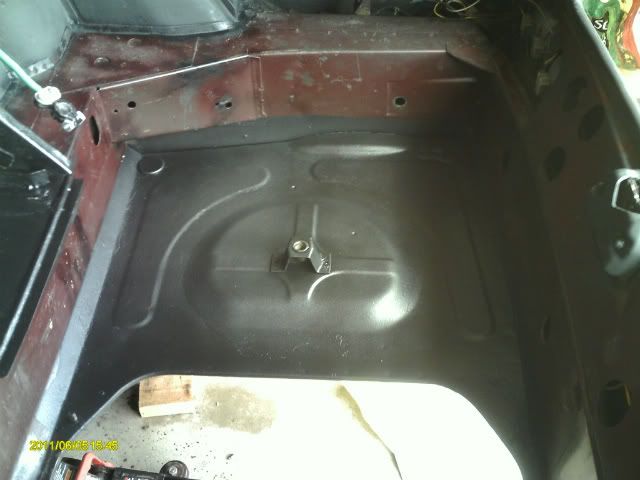
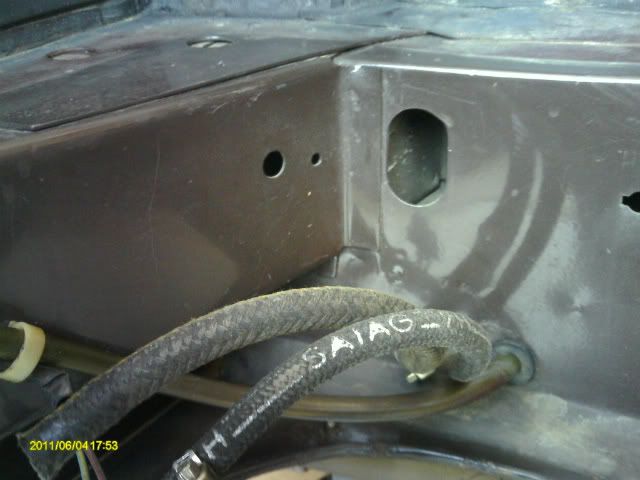
Look what I found behind the gas tank - The factory brown paint #797 "Marrone Scuro" dark brown. I like the Burgundy MUCH better.
Guess I better get some carpet bought, I will be putting the same in the trunk as I plan for the interior.
I'm still waiting for parts to finish the brakes on my Courier then I can move it out of the garage & center the Spider up in there so I can swing the doors all the way open & work on the interior without obstruction.
The plan is to get all the cosmetics done inside & out by the time I can drive again in first week of August. Then I can work out the mechanical bugs as I go & them totally clean up the engine compartment & drive train this fall & winter.
More to come...
Re: 1978 rolling restoration
Posted: Wed Jun 08, 2011 2:48 am
by DocGraphics
I got the rest of the trunk all painted inside today. I really like the look of the satin paint.
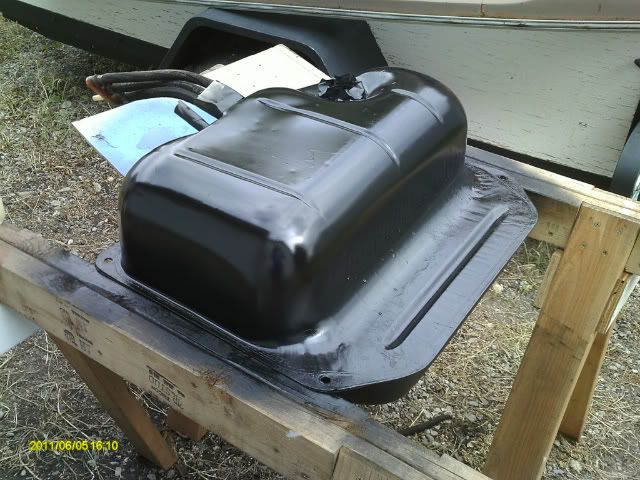
& the tank painted, I used gloss black on the upper half (inside trunk) & the bed liner spray on the lower half (exposed under car).
Now to get the tank back in & work on the boards & carpet.
This thread by Foster48x is my inspiration!
http://www.fiatspider.com/f08/viewtopic ... unk#p87397
More to come...
Re: 1978 rolling restoration
Posted: Fri Jun 10, 2011 2:32 pm
by DocGraphics
I got the tank back in last night.
I used 1/2" X 3/4" weatherstrip for the gasket (the rubber foam kind), it sticks out a little but seals up real nice.
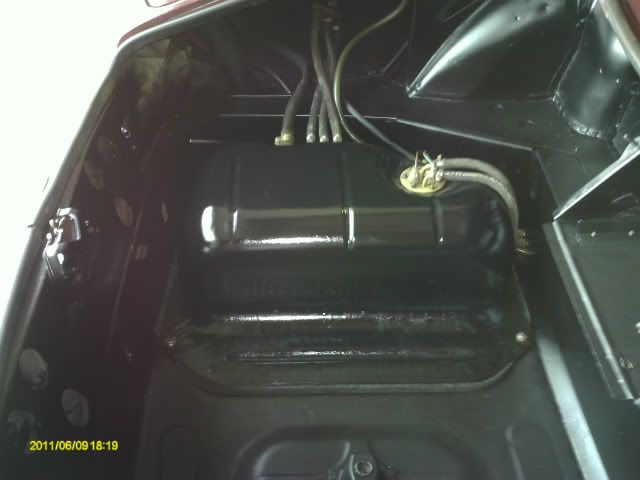
& the battery cover too.
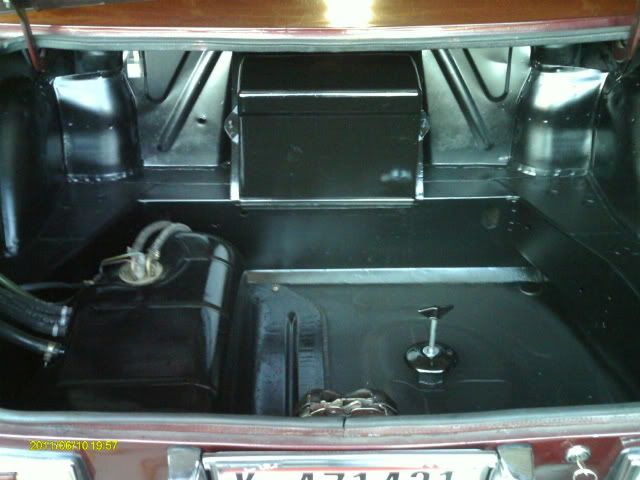
The runs on the tank are not from me, they're factory, it had never been repainted before & they were already there.


