Page 4 of 19
Re: 1980 spider Restoration phase 2
Posted: Tue Nov 01, 2016 3:42 am
by TwinFast
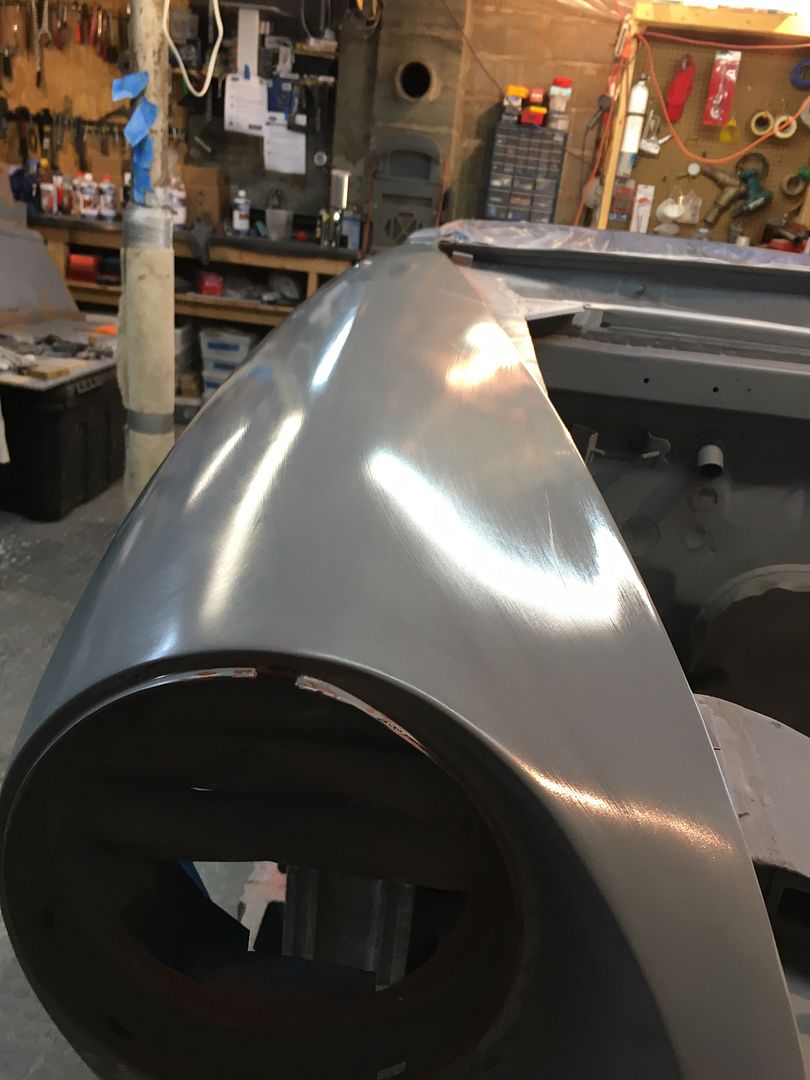
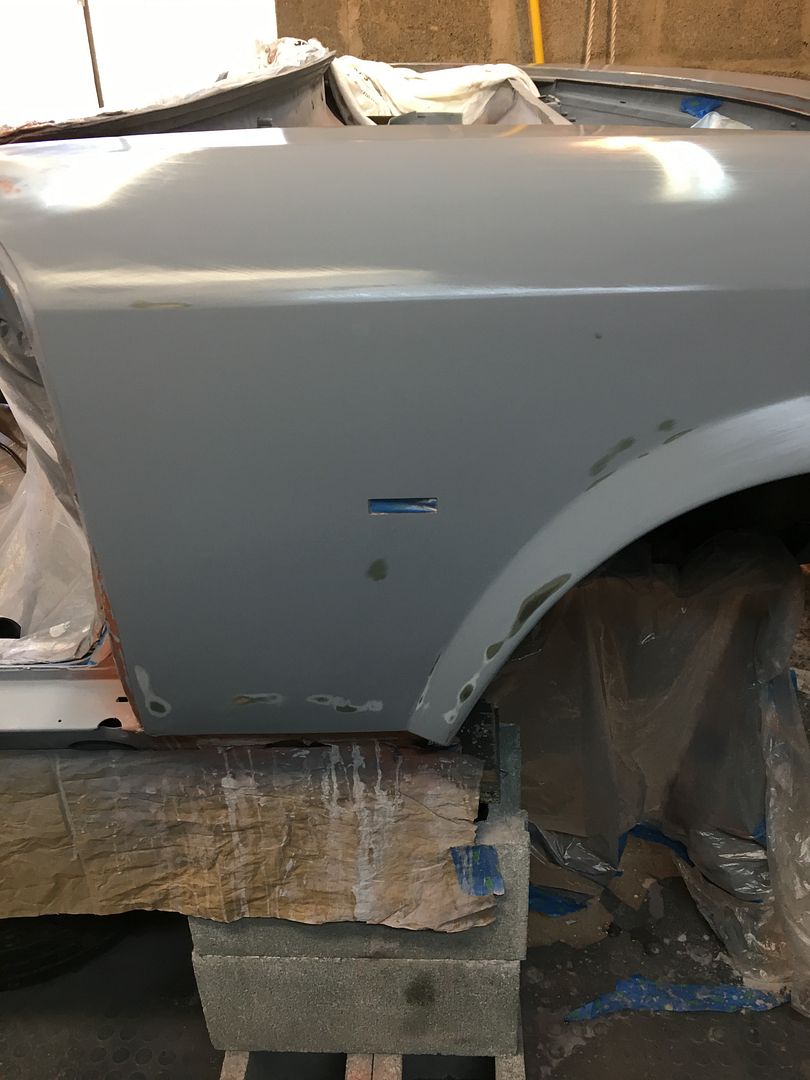
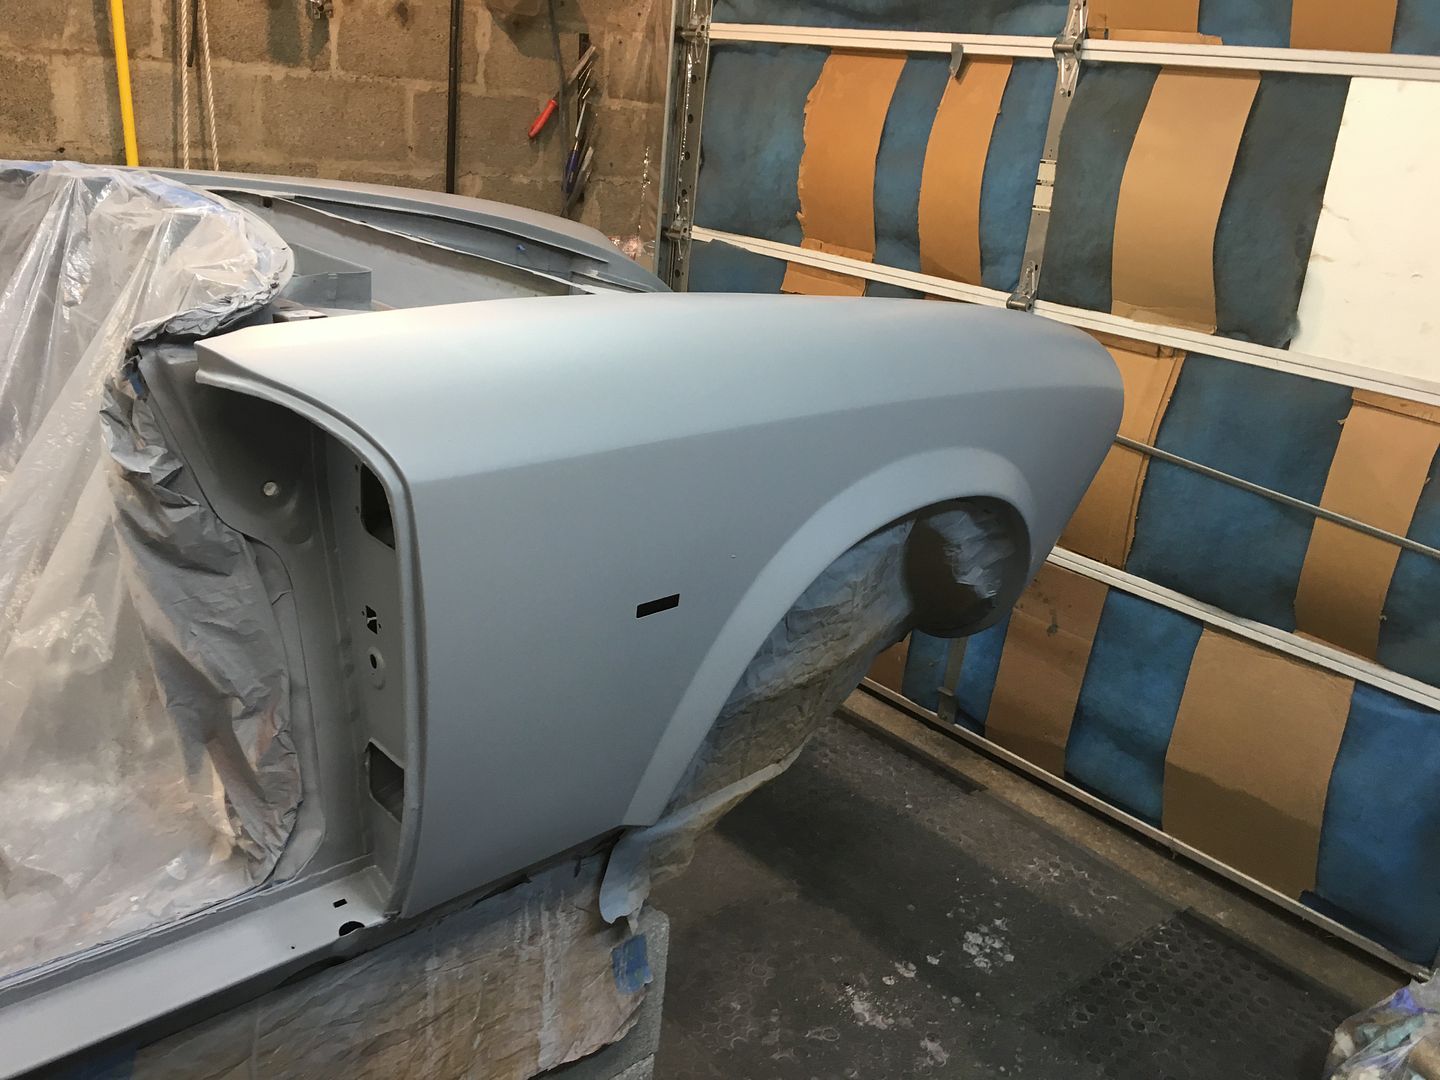
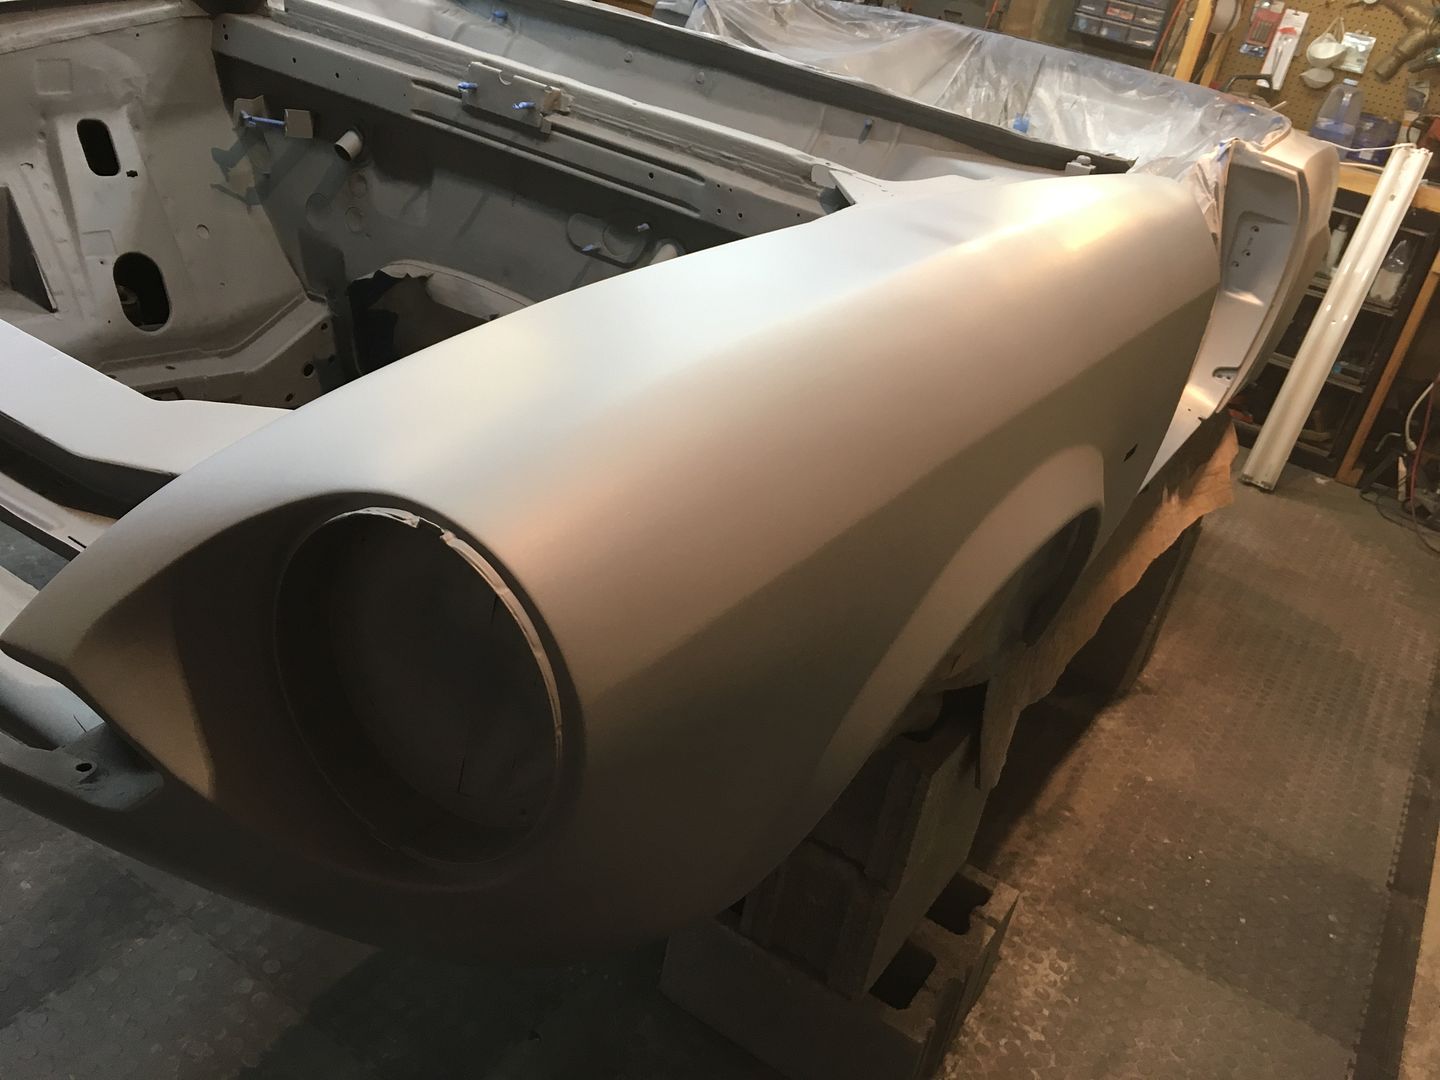
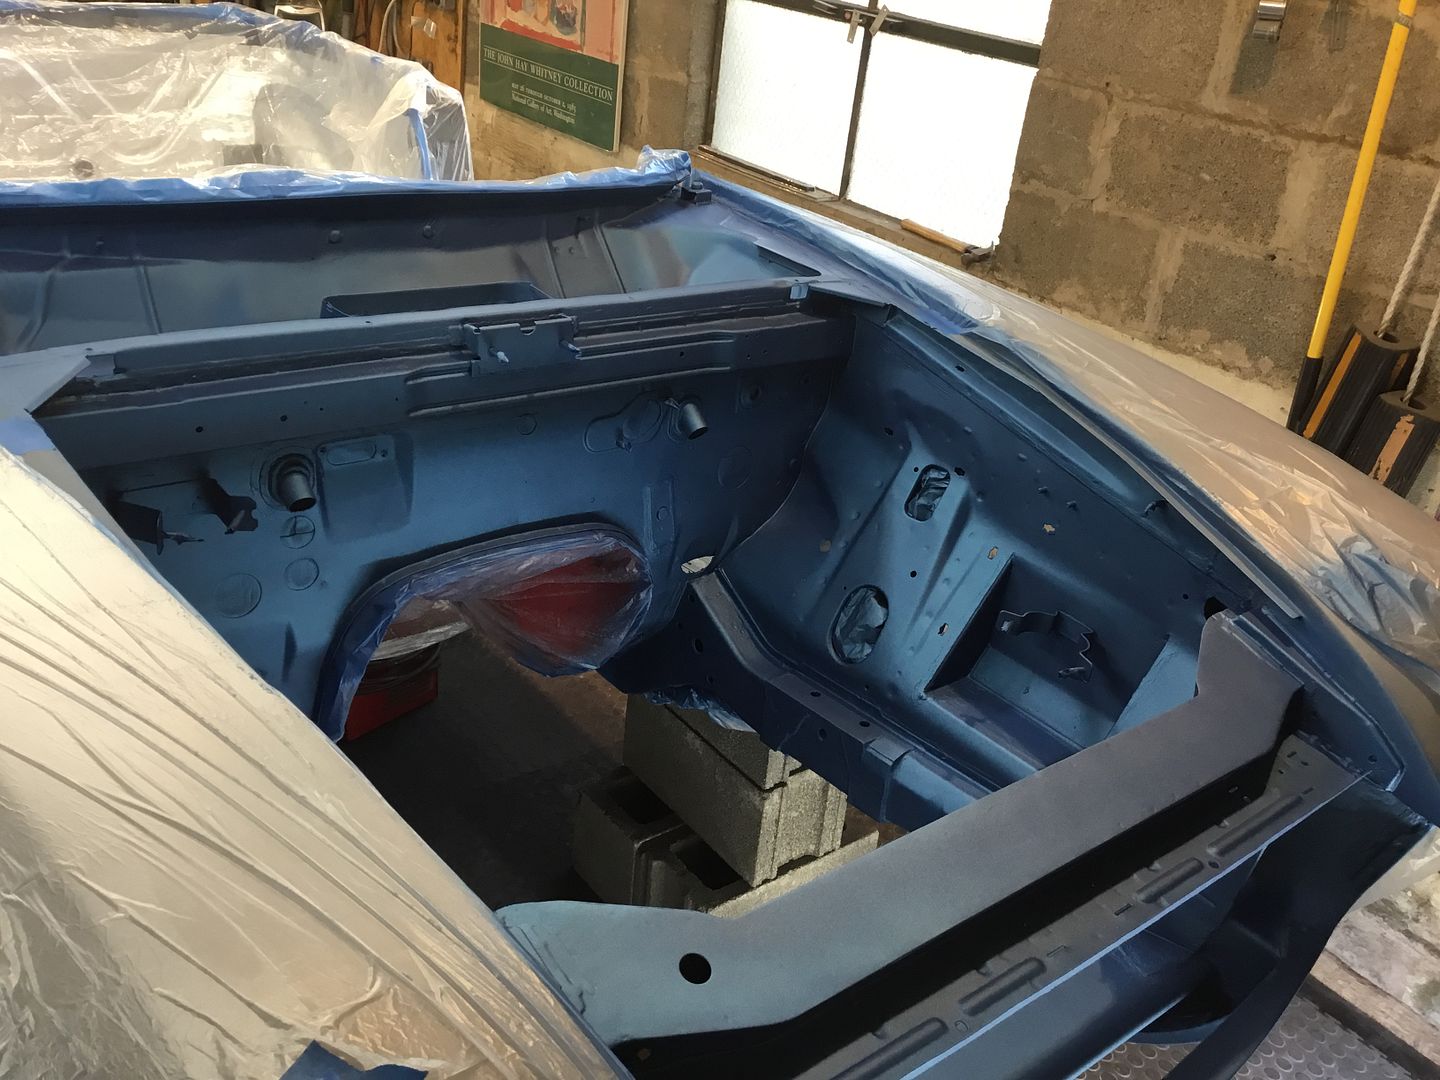
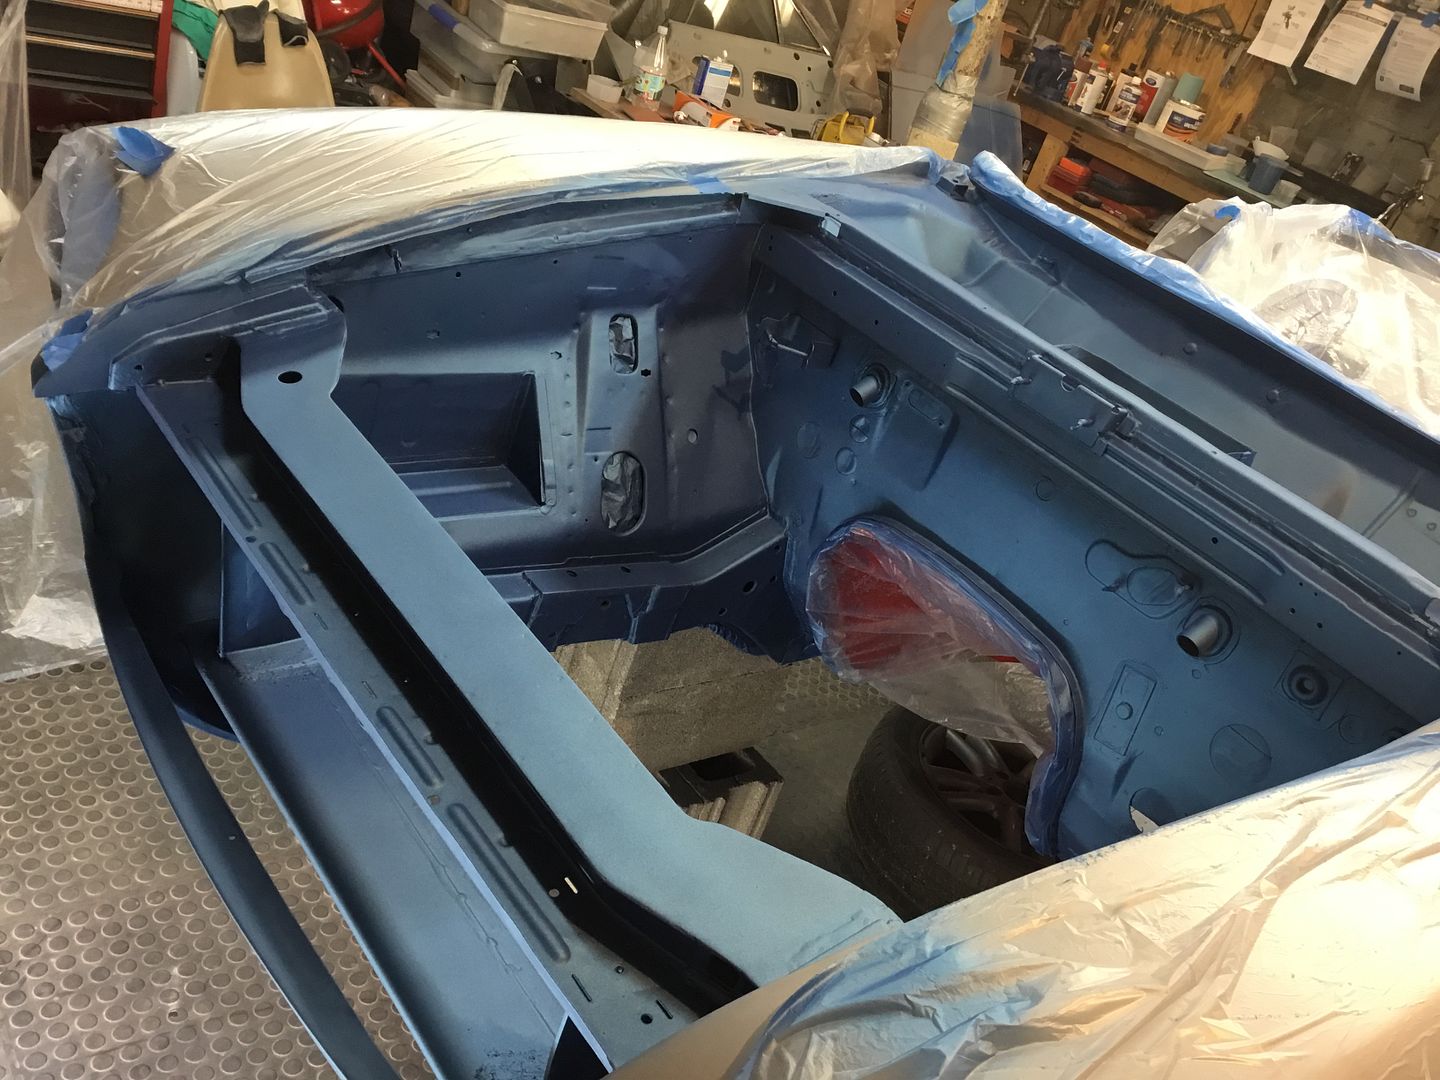
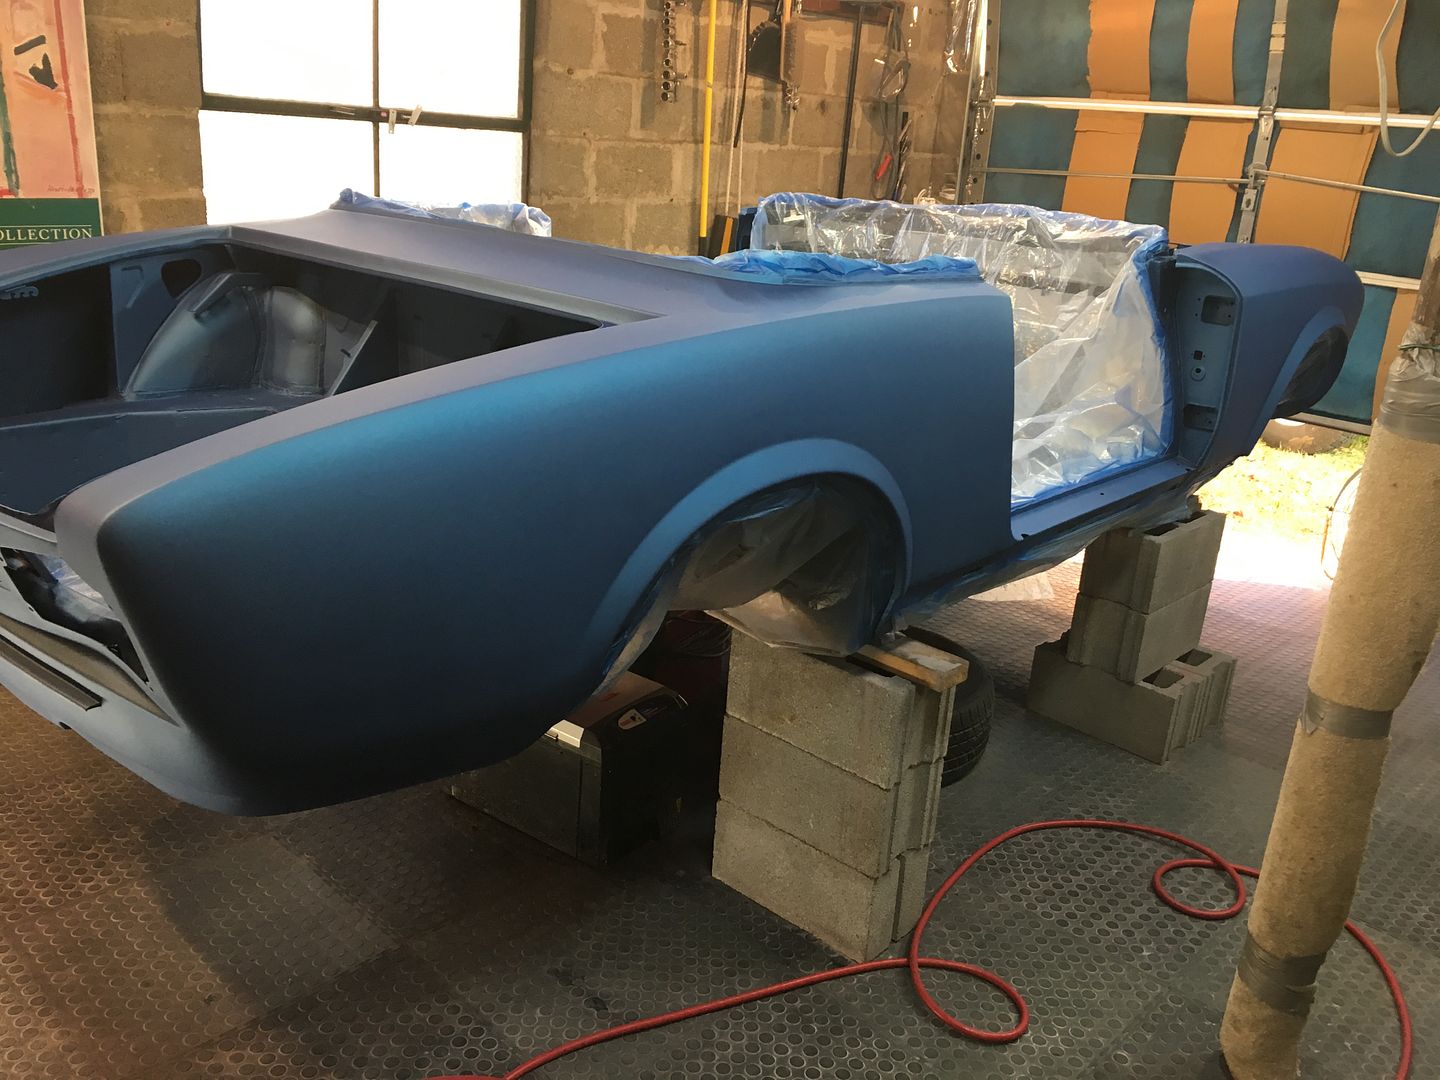
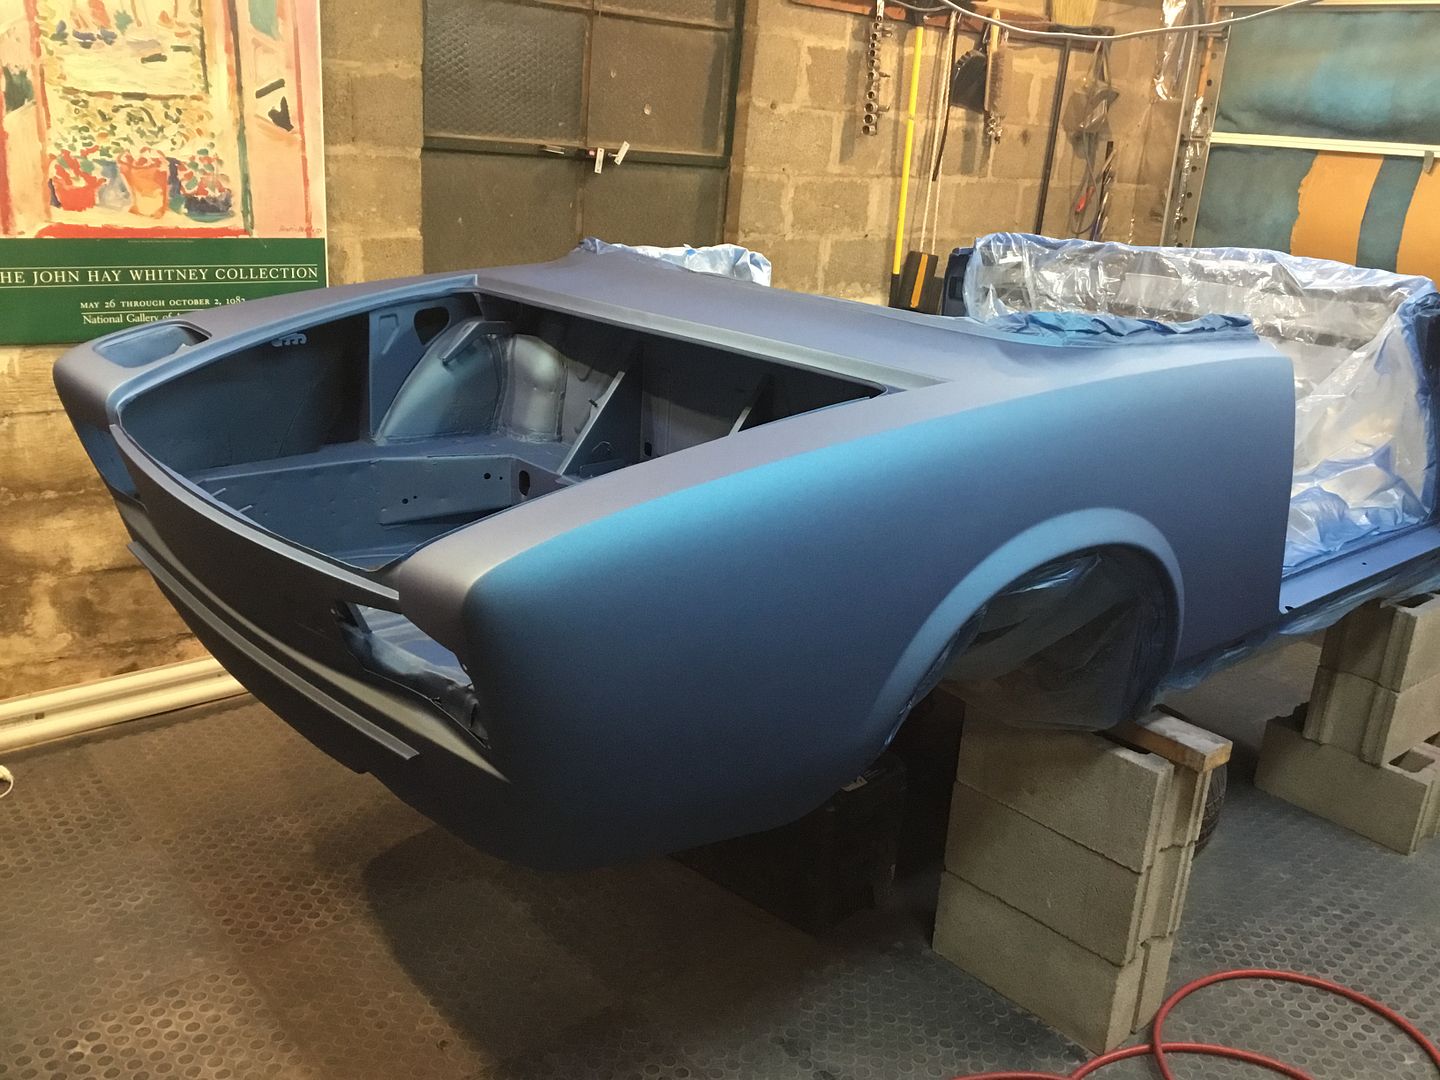
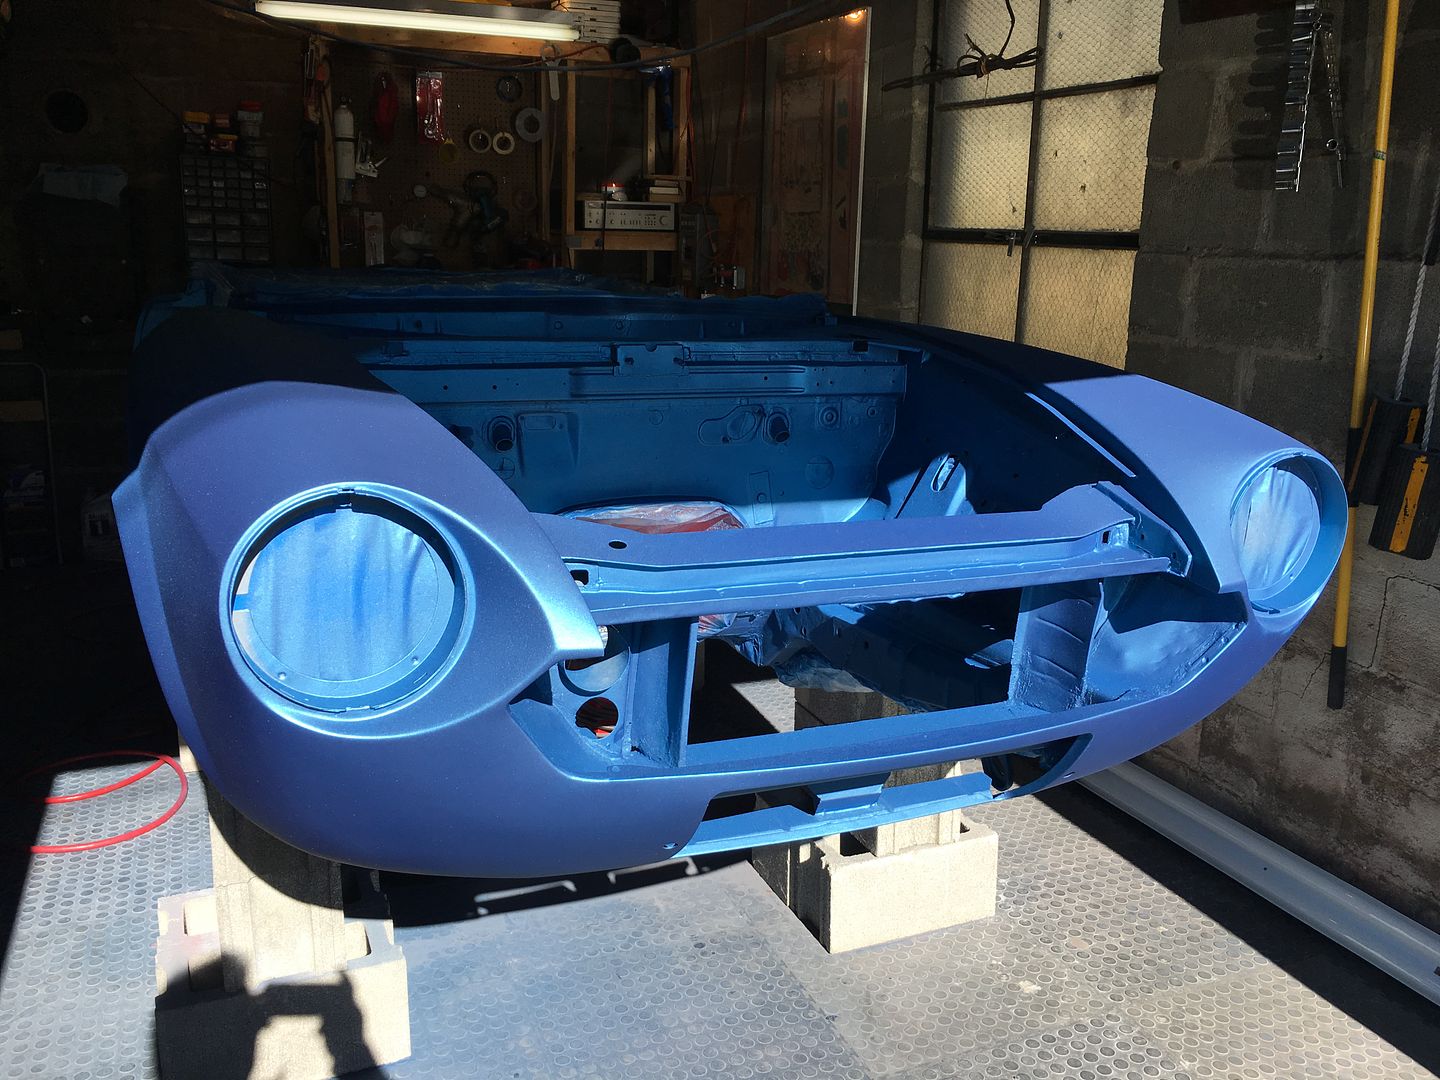
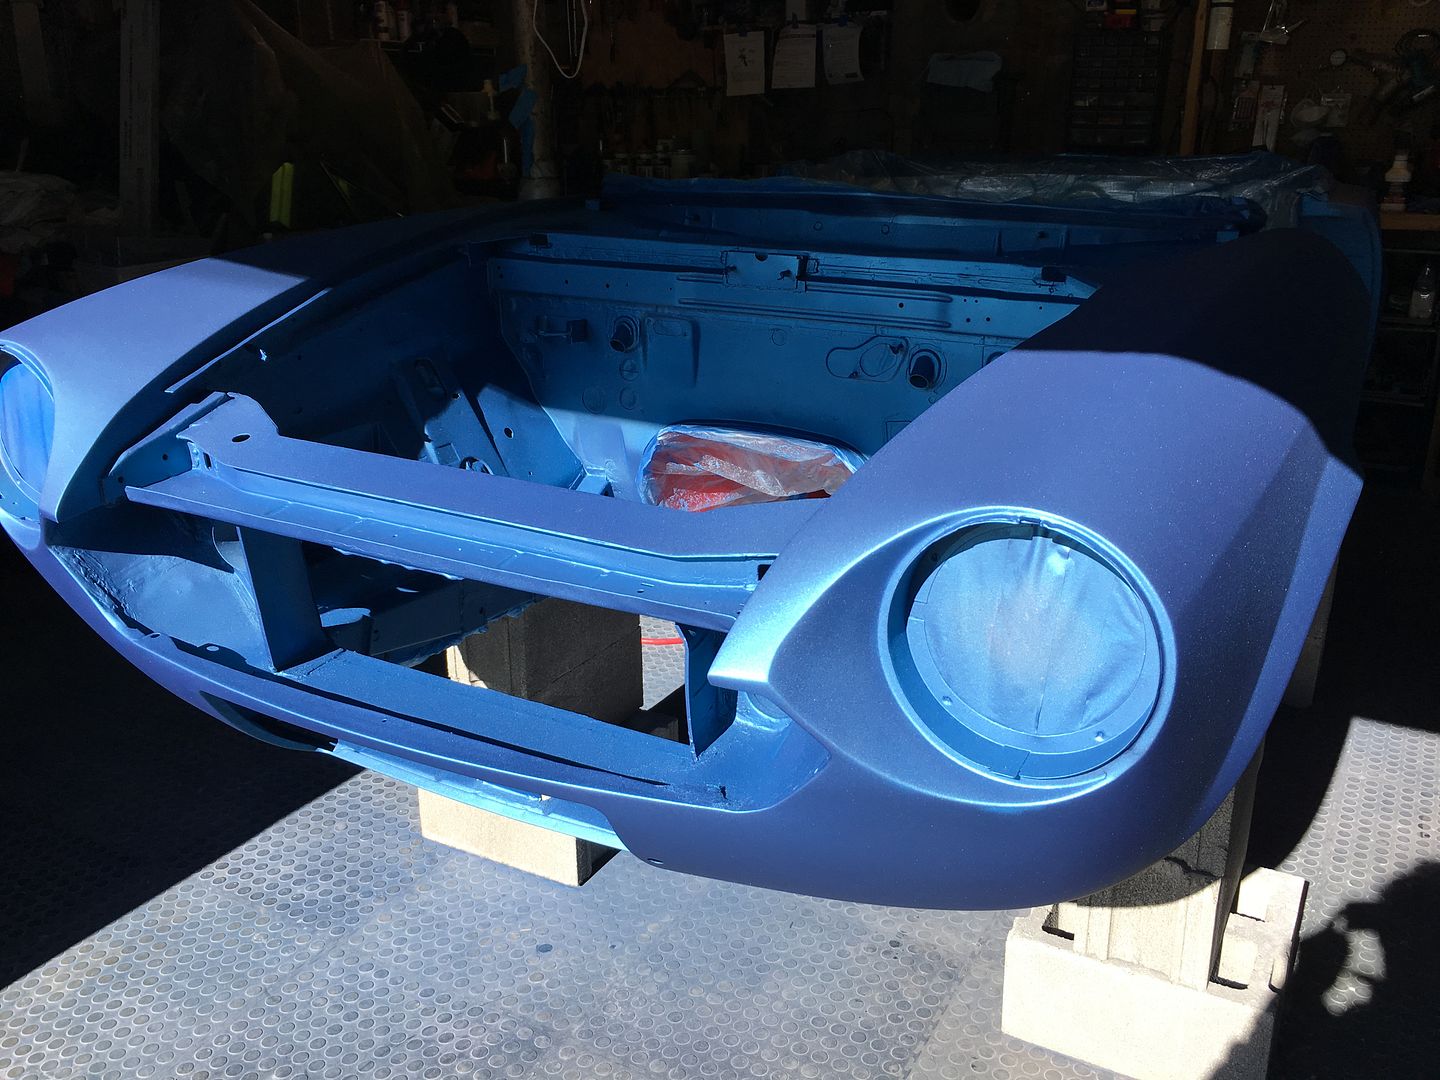
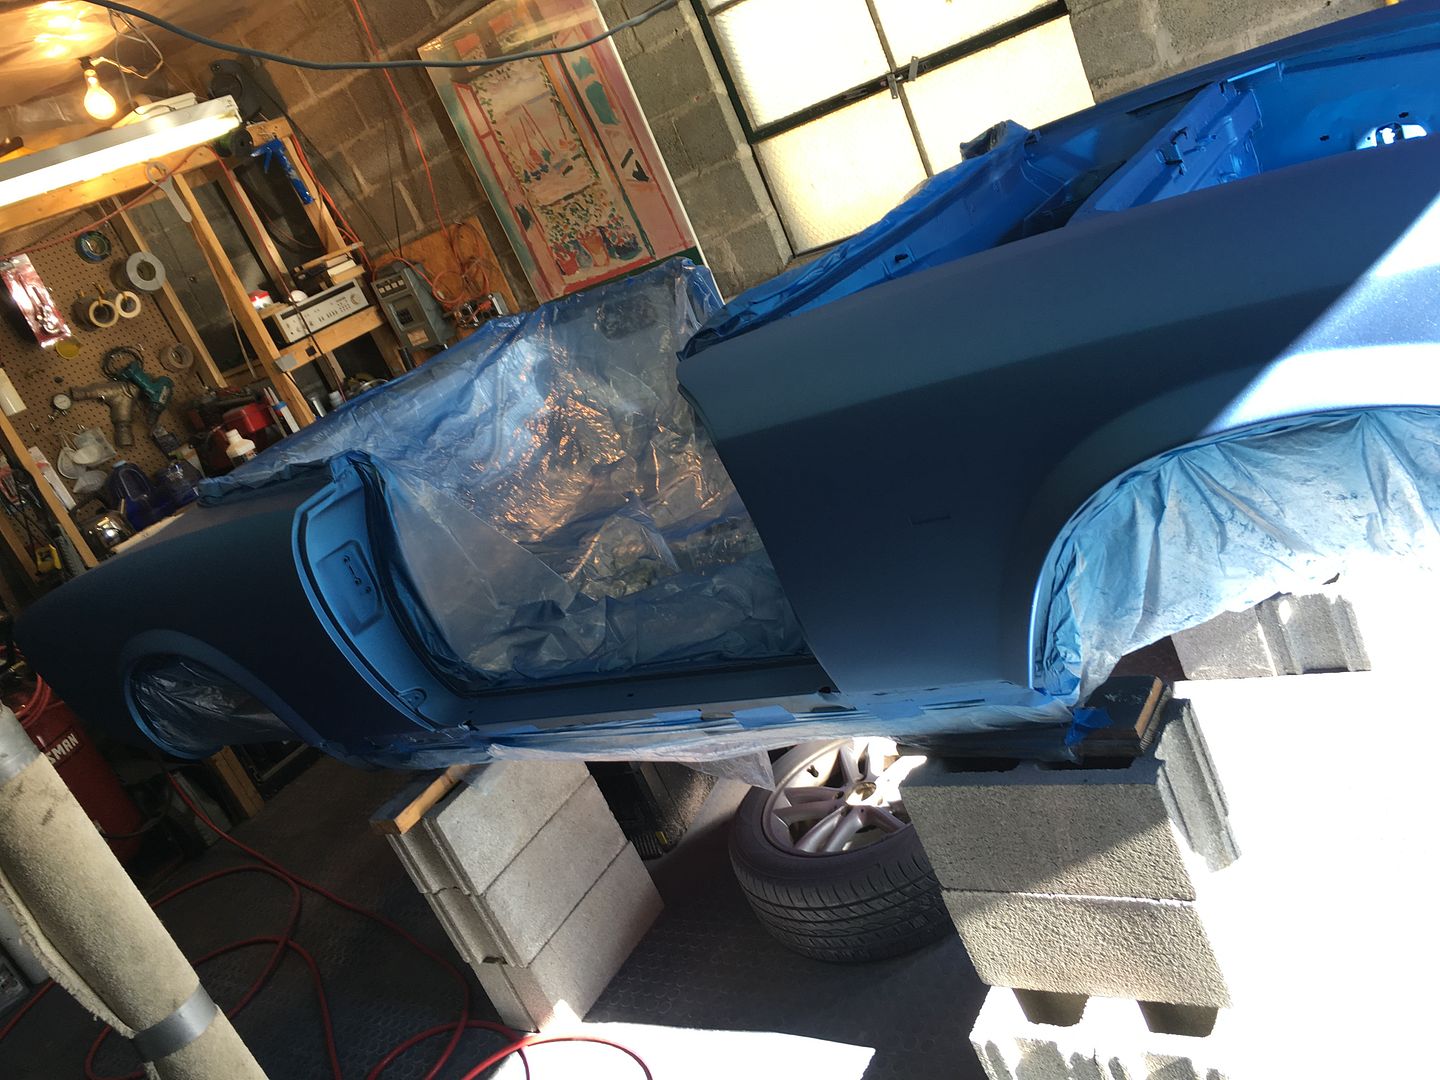
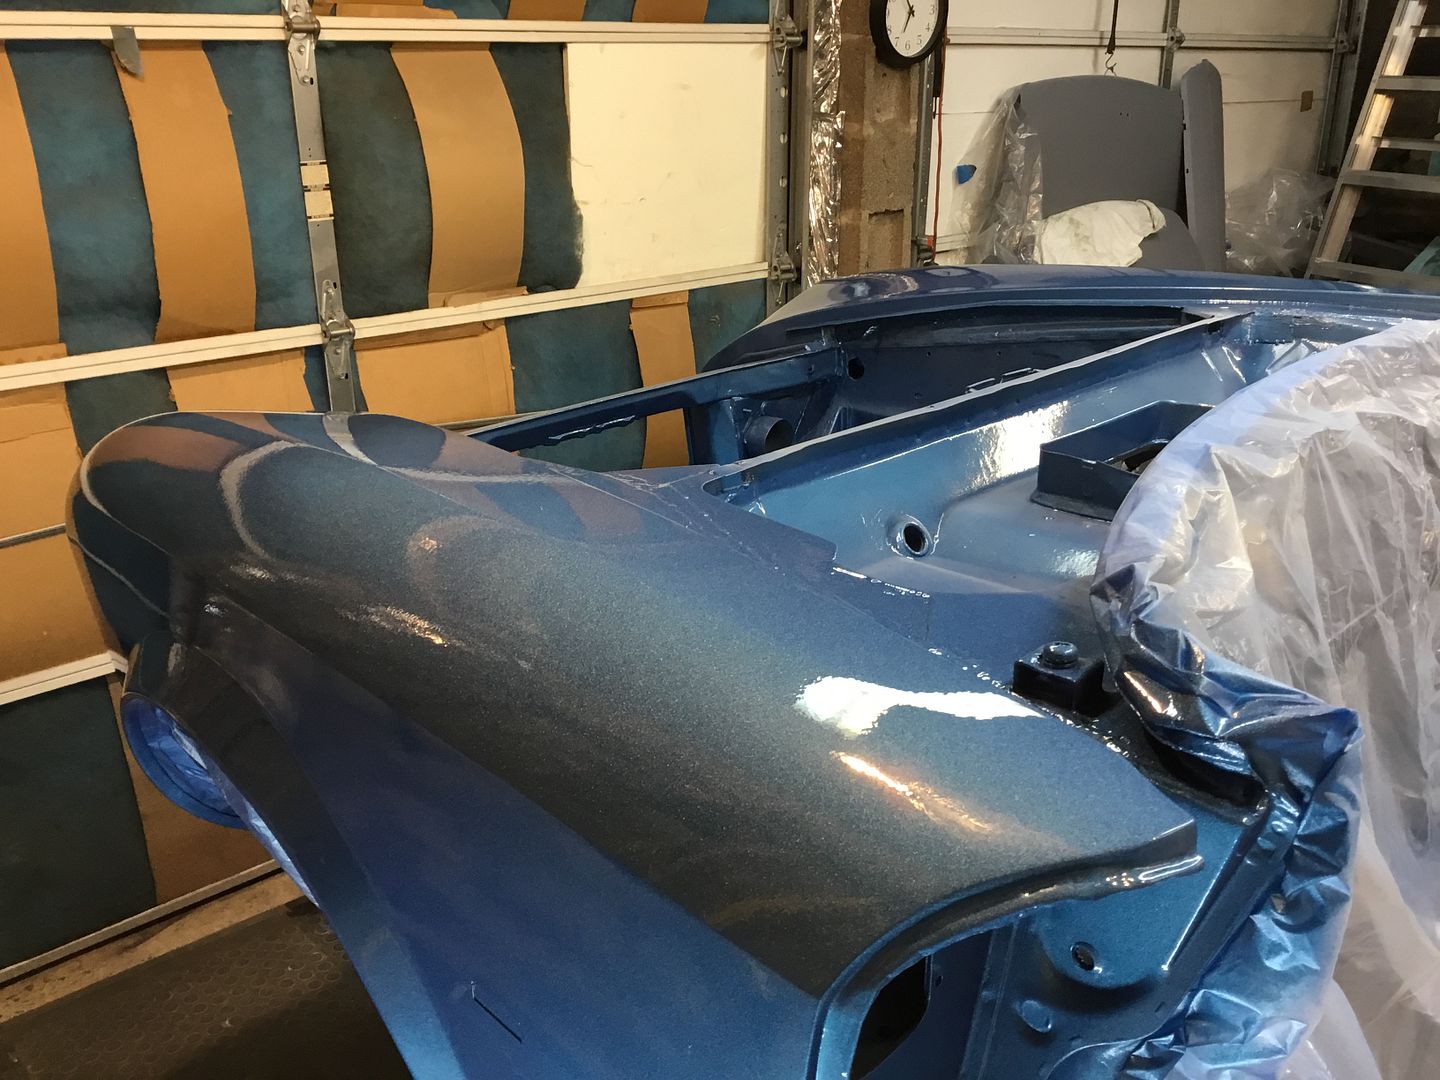
I am always impressed by the body restauration, as it's the more difficult part of the restauration. Especially when a bad restauration was previously done (e.g some plaster pudding

)
Great job !
Re: 1980 spider Restoration phase 2
Posted: Wed Nov 02, 2016 8:54 pm
by DRUMMOND
Thanks twinfast! Its also the longest and most tedious.

Re: 1980 spider Restoration phase 2
Posted: Wed Nov 02, 2016 10:37 pm
by DRUMMOND
Re: 1980 spider Restoration phase 2
Posted: Thu Nov 03, 2016 7:50 am
by klweimer
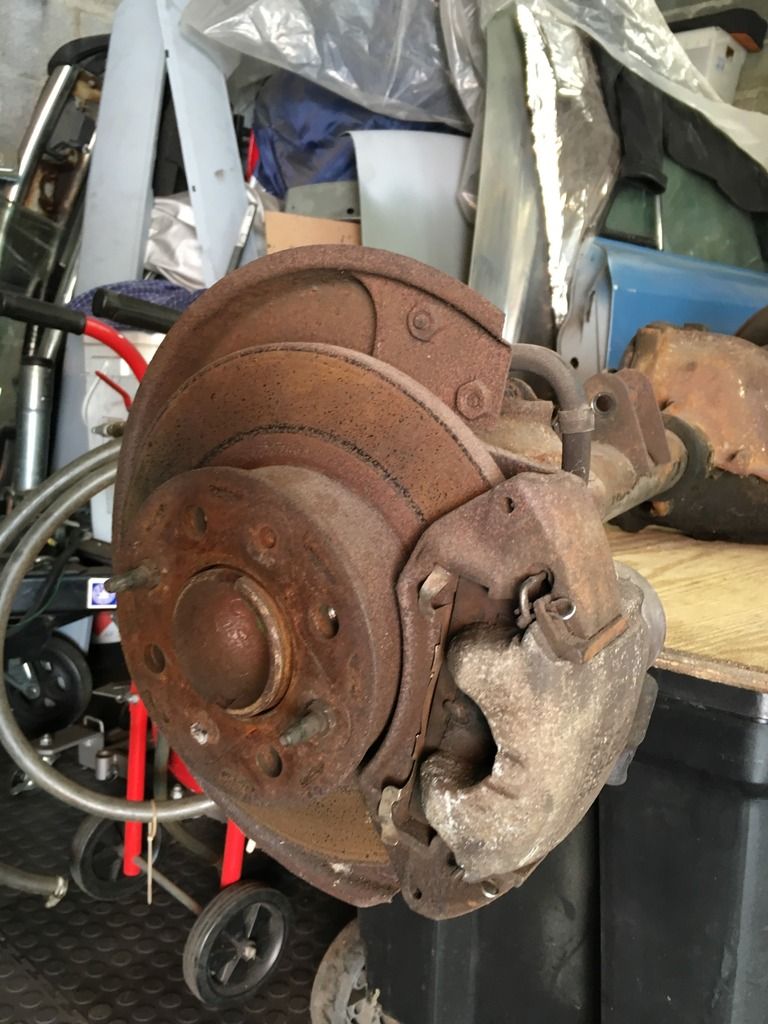
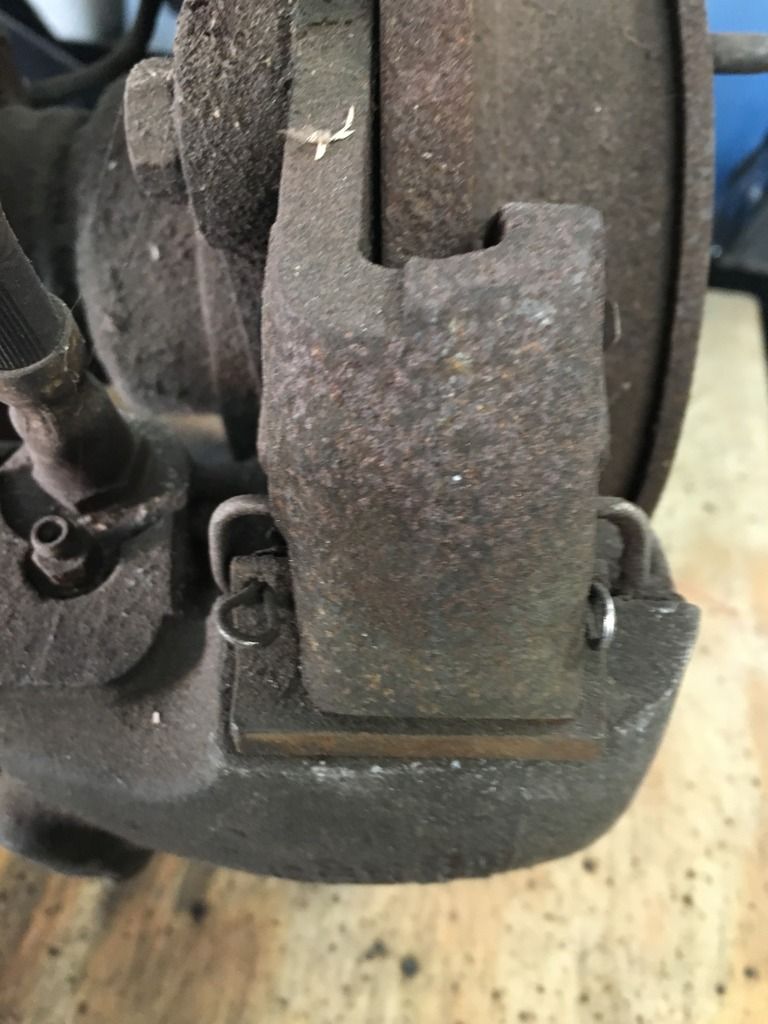
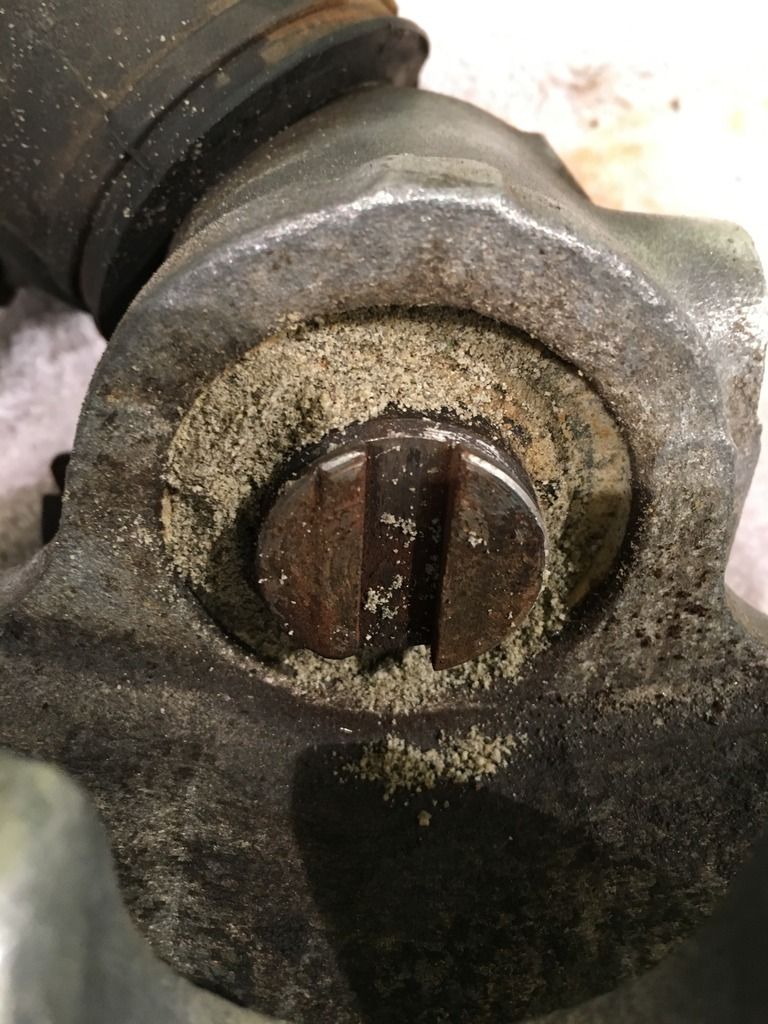
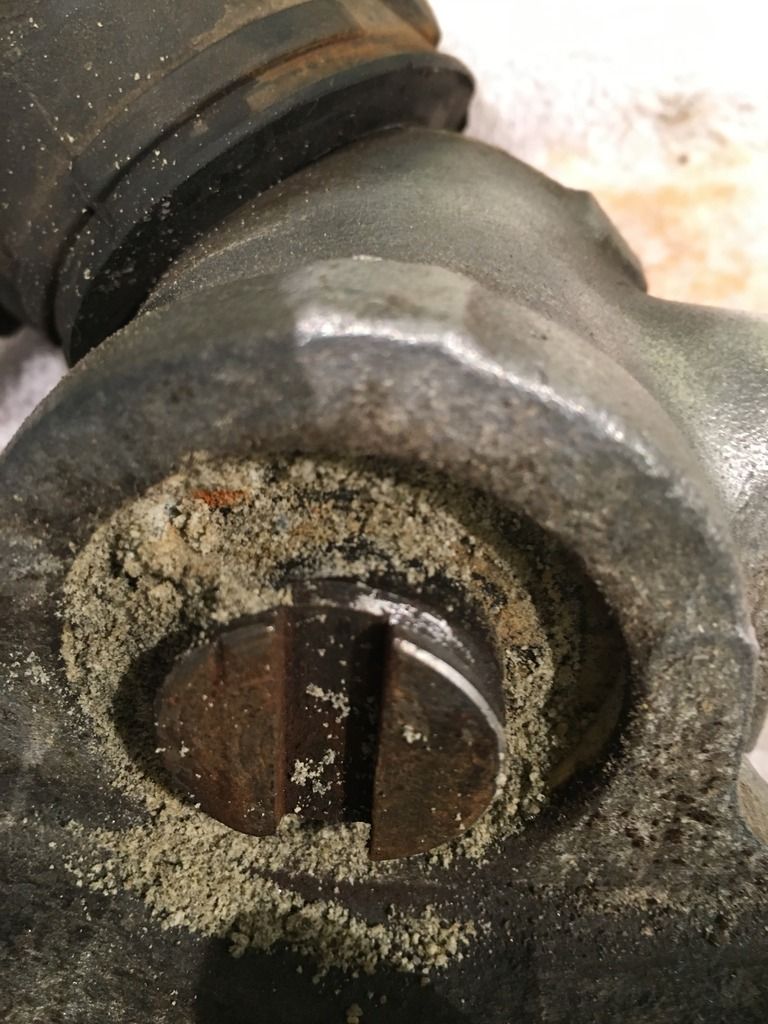
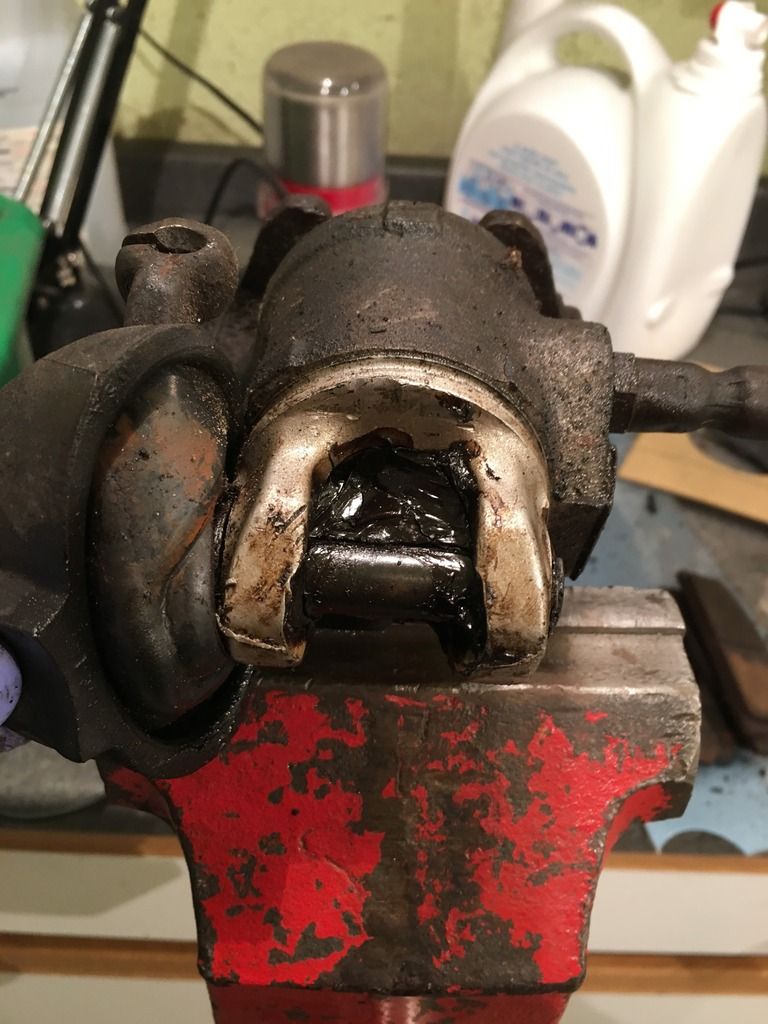
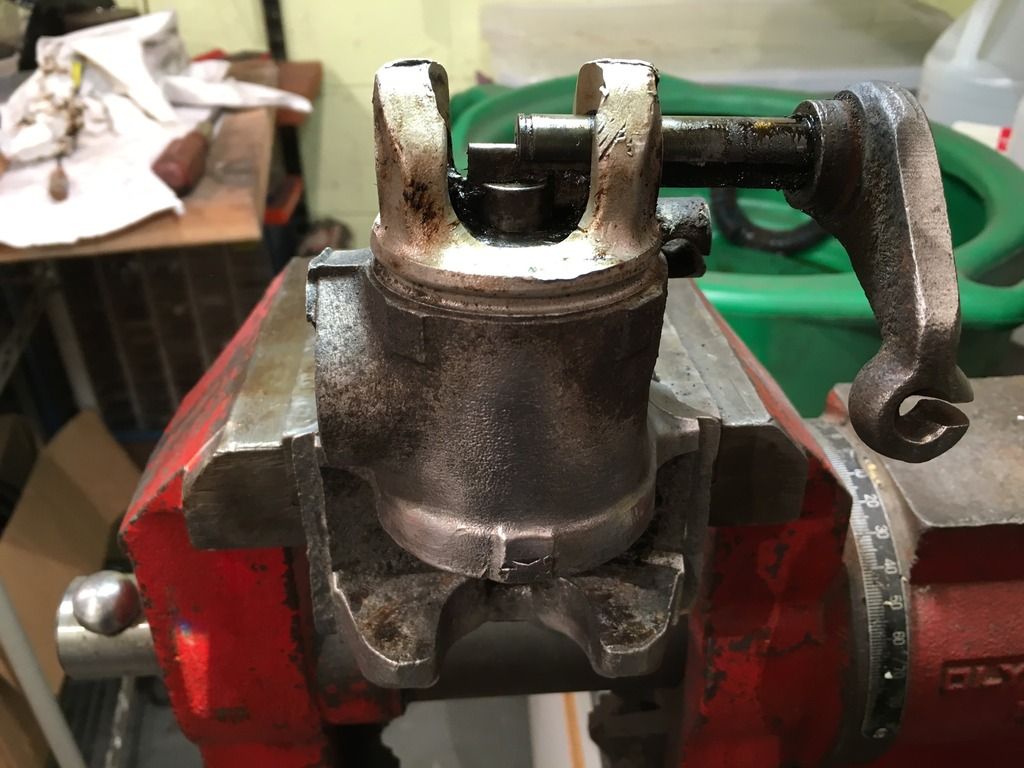
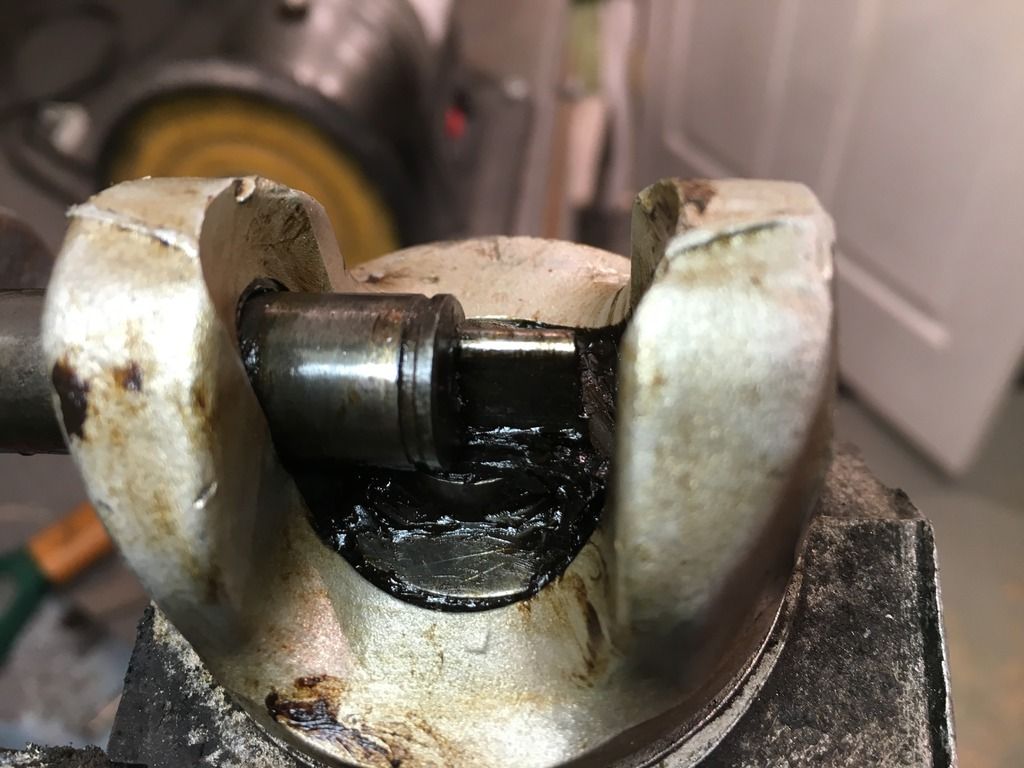
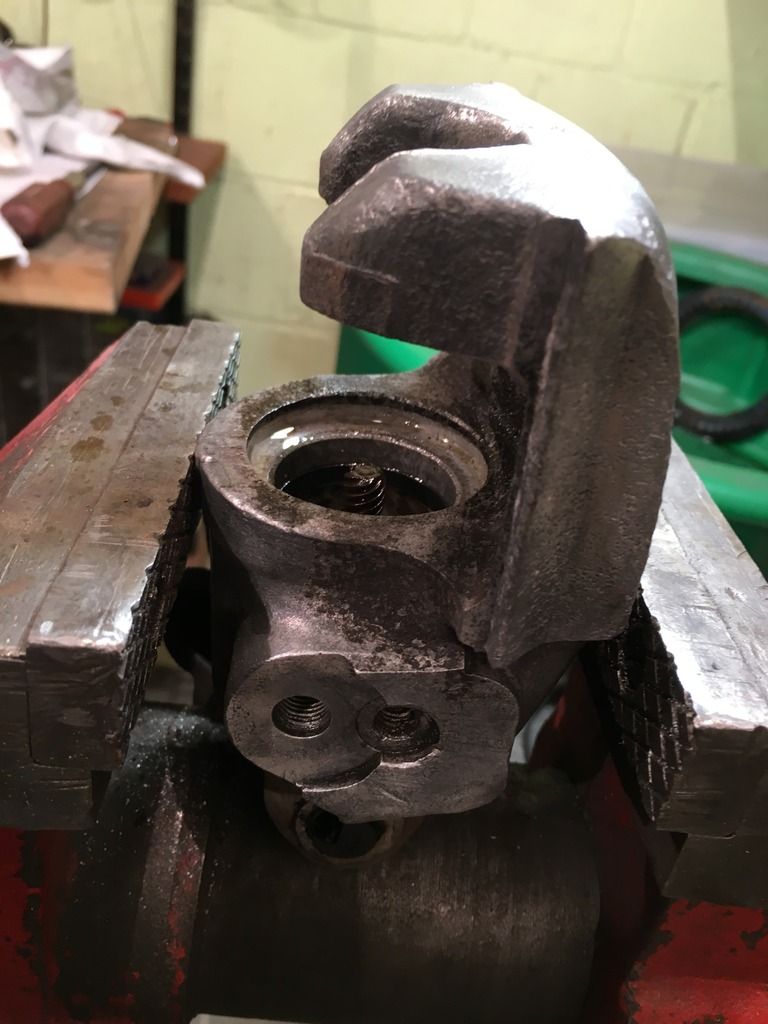
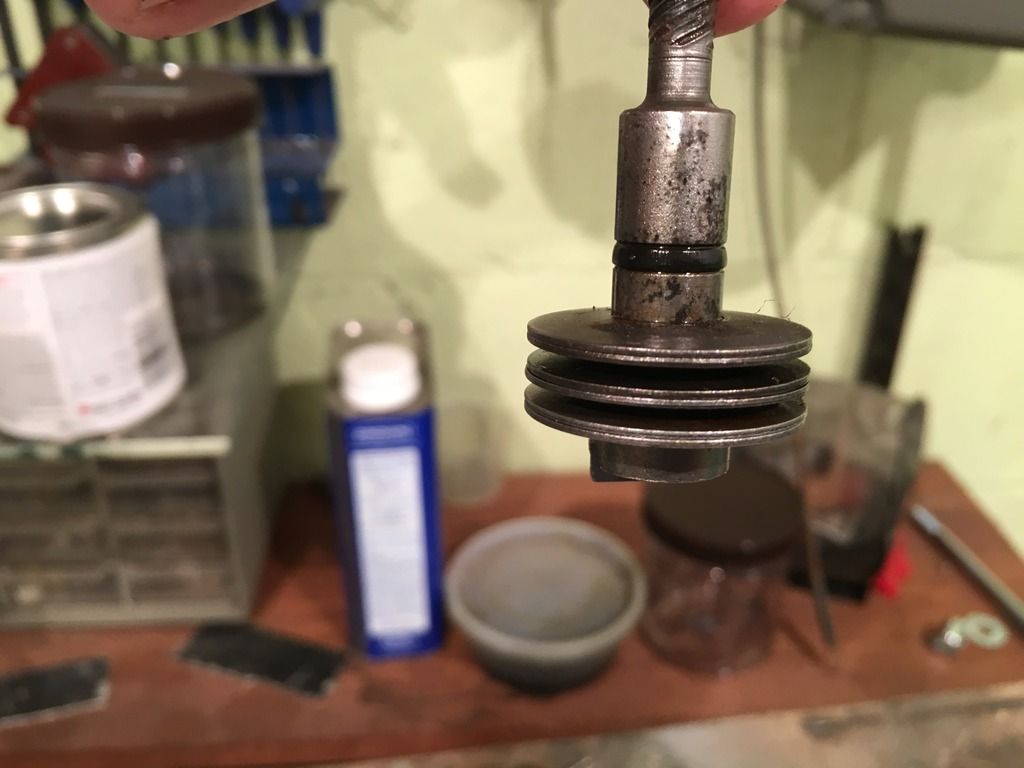
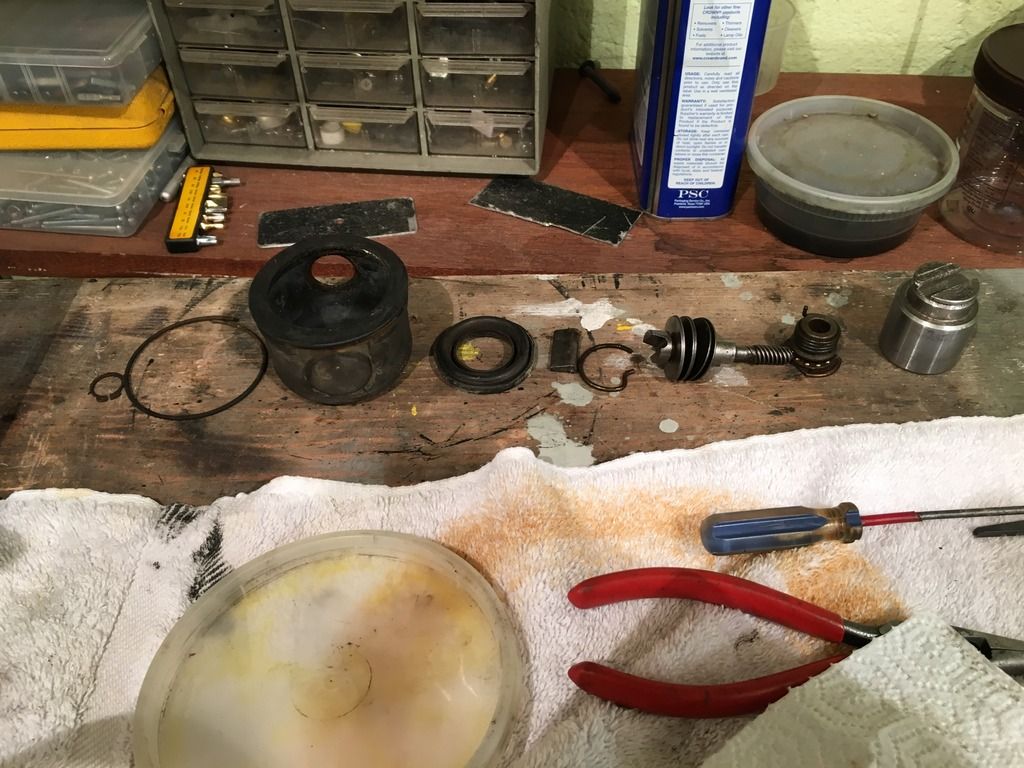
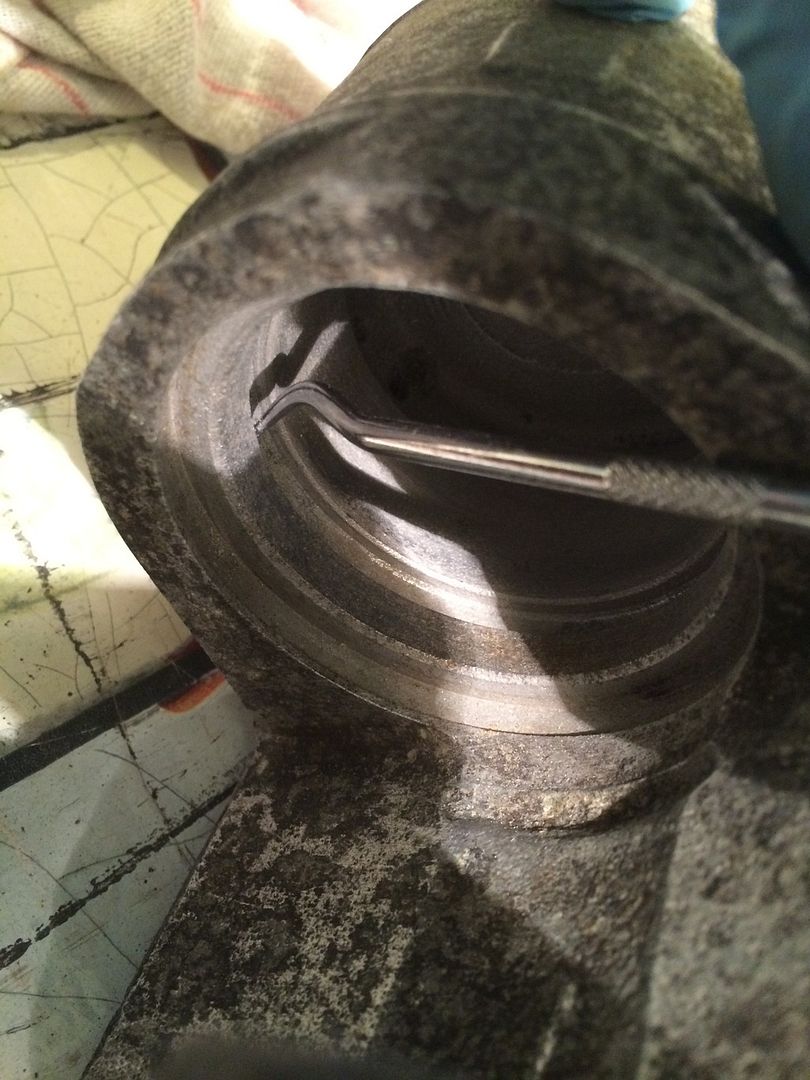
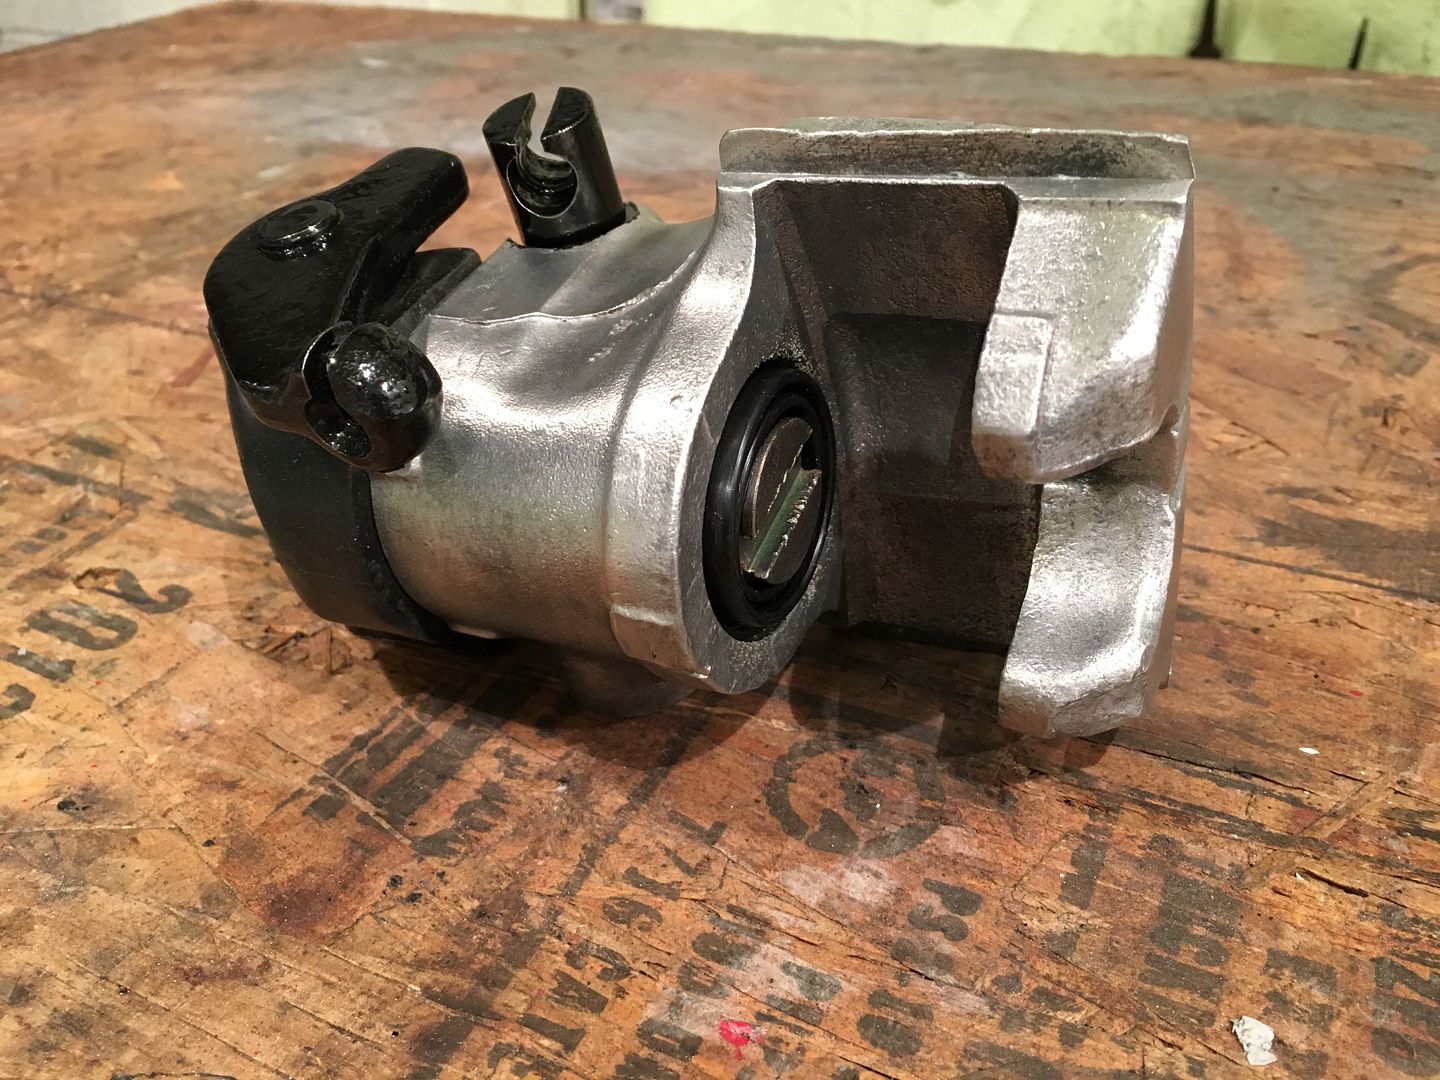
More good work! How did the adjustment mechanism inside the pistons look?
Kirk
Re: 1980 spider Restoration phase 2
Posted: Thu Nov 03, 2016 8:55 am
by Nanonevol
Is that area under the rubber cap supposed to be packed with grease like it looks like in your "before" photo? I did mine recently and just used a moderate amount of grease on the shaft and where parts make contact.
Re: 1980 spider Restoration phase 2
Posted: Thu Nov 03, 2016 11:24 pm
by DRUMMOND
Hi Klwiemer
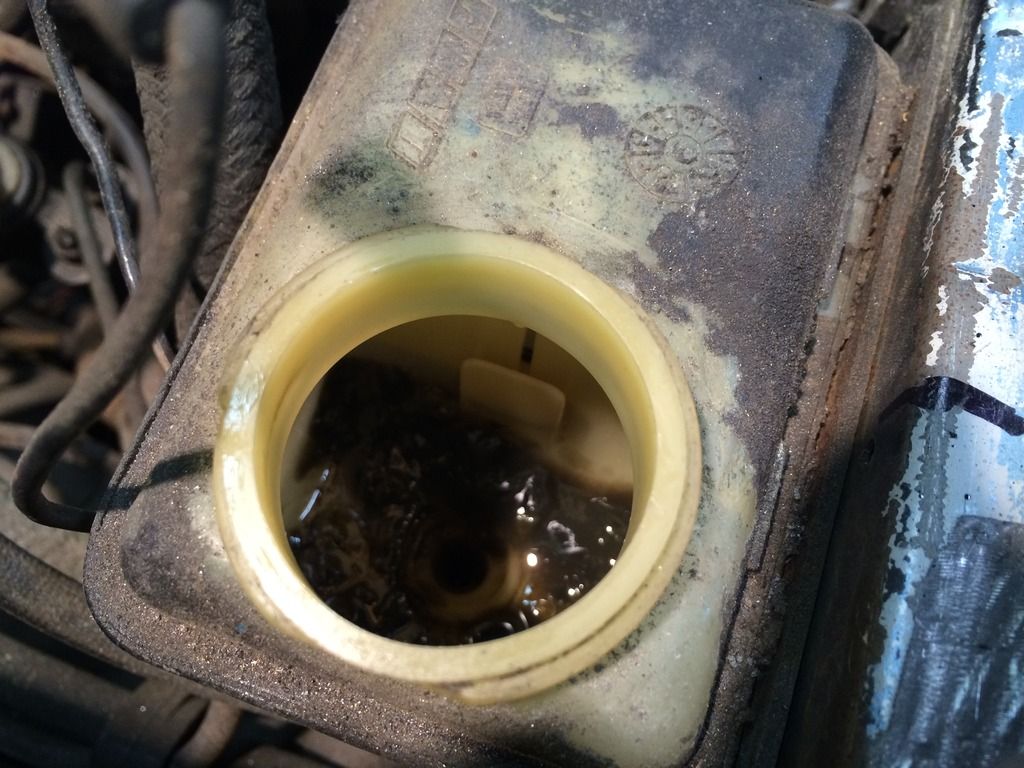
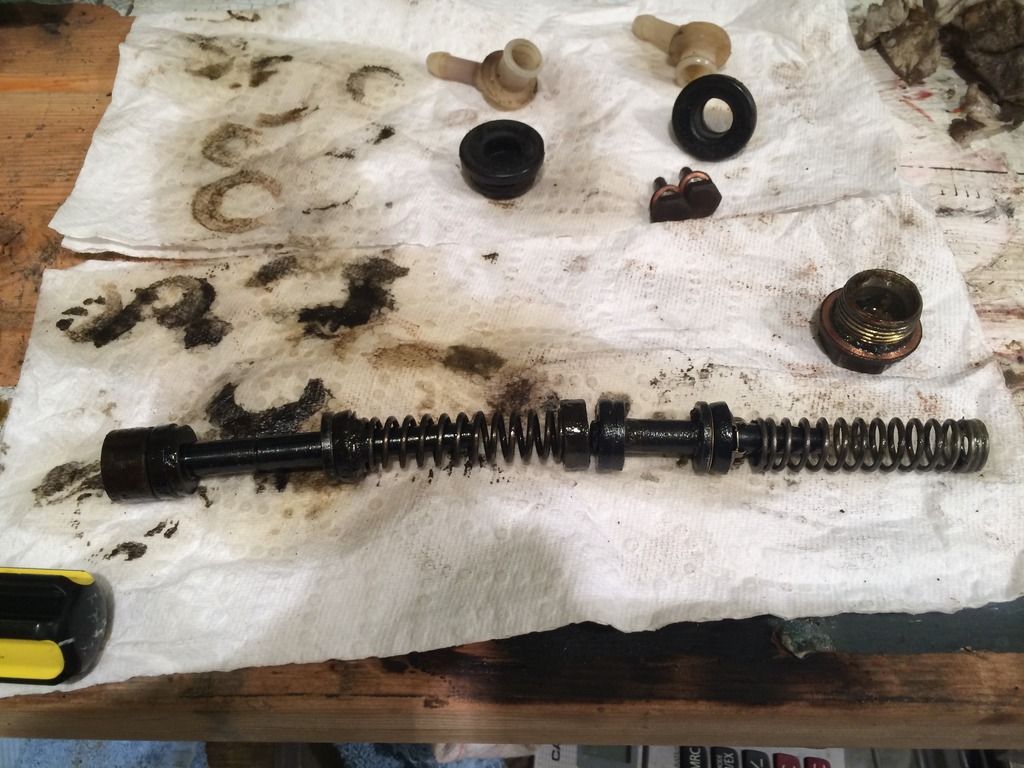
I did not take a photo of the black slime, before i cleaned it out but it looked the same as this from the master cylinder and fluid bottle
Hi Nanonevol
It was actually packed to the gills with grease, I just removed enough to see the mechanism underneath it all. kinda happy there was so much in there as there was no rust evident. i put in about a tablespoon of grease for insurance from water penetration if the boot gets damaged
Re: 1980 spider Restoration phase 2
Posted: Sun Nov 06, 2016 10:13 pm
by DRUMMOND
Re: 1980 spider Restoration phase 2
Posted: Mon Nov 07, 2016 8:11 pm
by Frankd1
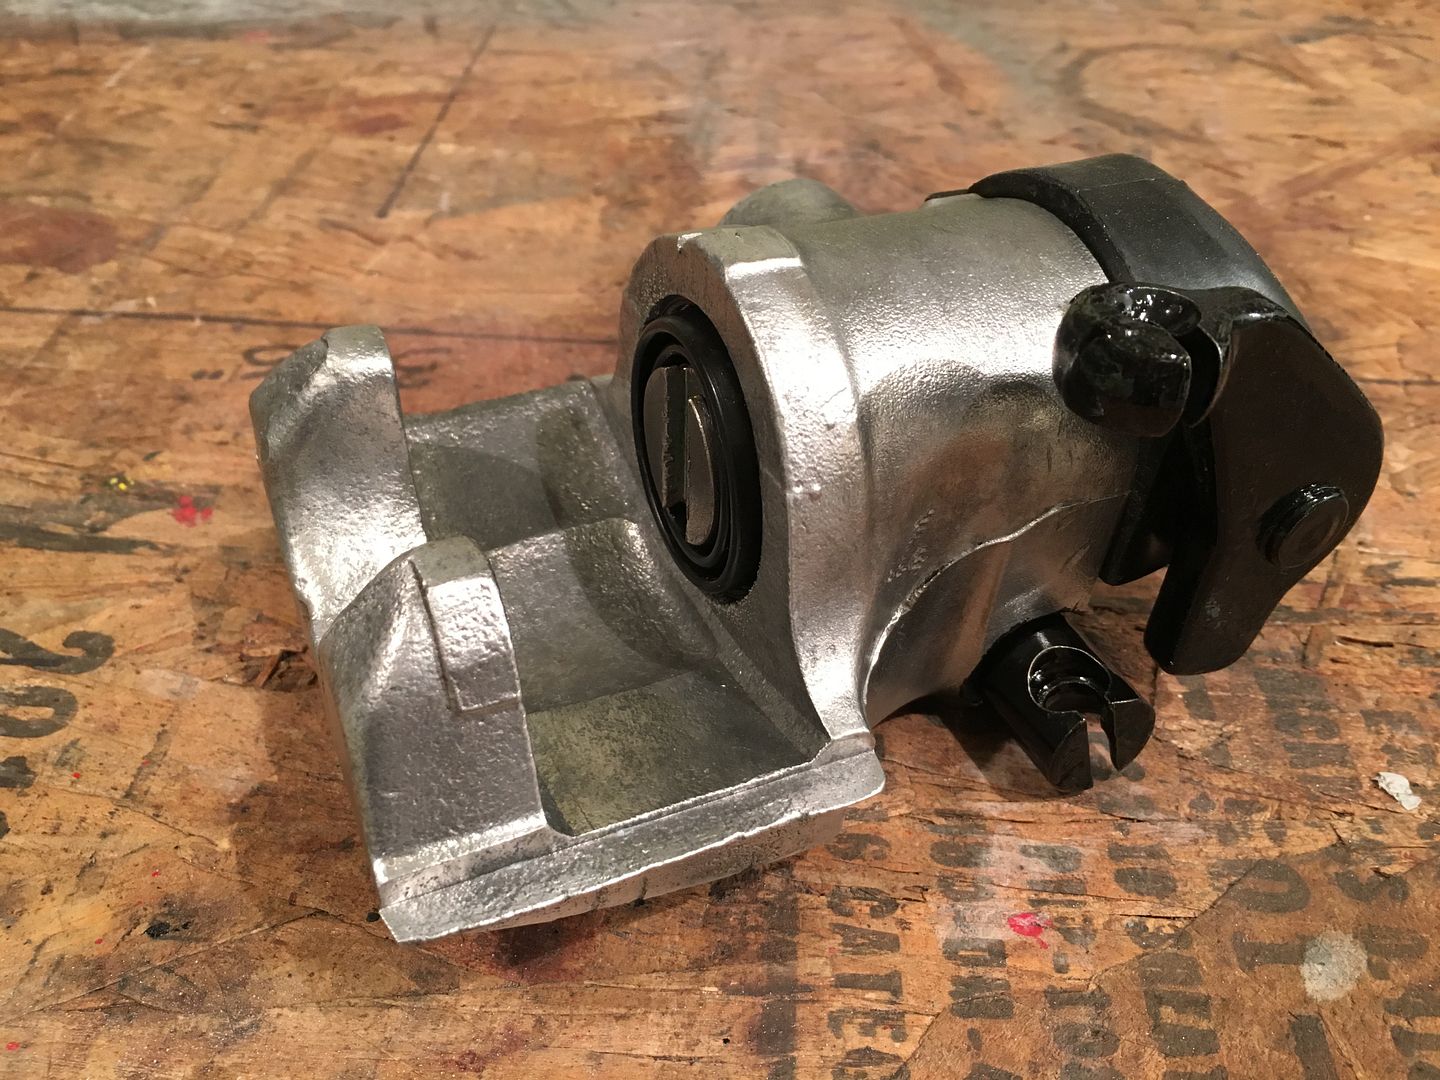
Looking good, the calipers look great!
How did you get them to come out so clean? Did you blast them or wire wheel them?
Re: 1980 spider Restoration phase 2
Posted: Mon Nov 07, 2016 11:16 pm
by DRUMMOND
Believe it or not wire wheel. Only took about 10 minutes, a lot faster than setting up the blaster
Re: 1980 spider Restoration phase 2
Posted: Wed Nov 09, 2016 9:36 pm
by DRUMMOND
Re: 1980 spider Restoration phase 2
Posted: Thu Nov 10, 2016 7:56 am
by RRoller123
That is NICE!
Re: 1980 spider Restoration phase 2
Posted: Thu Nov 10, 2016 7:37 pm
by spider2081
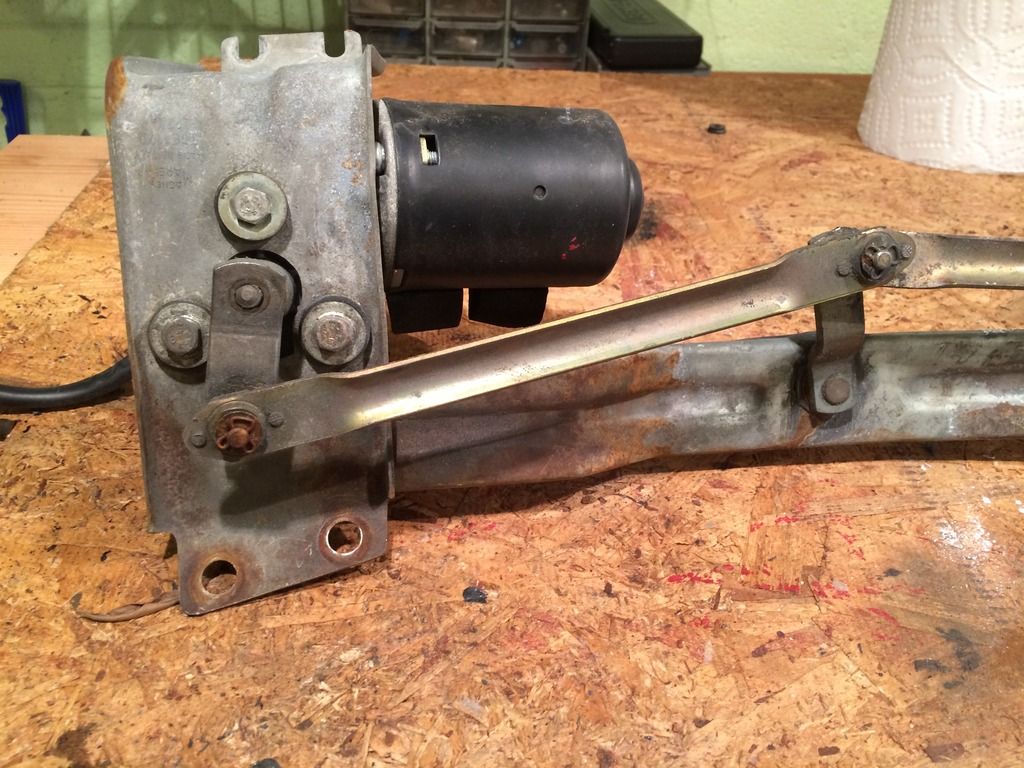
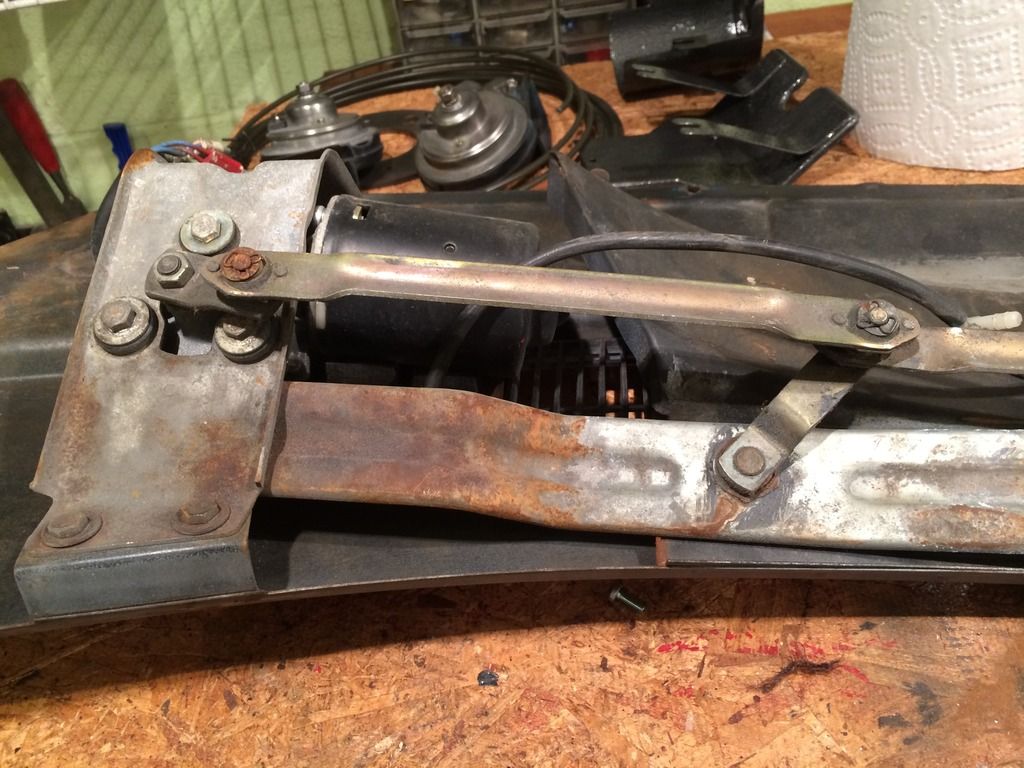
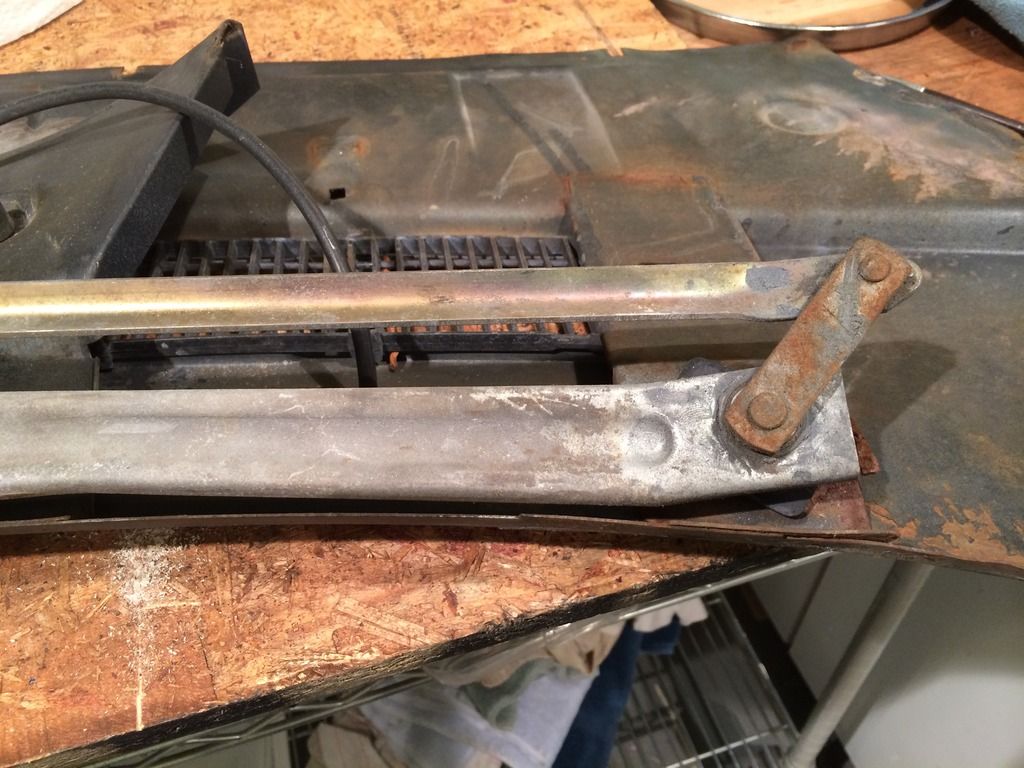
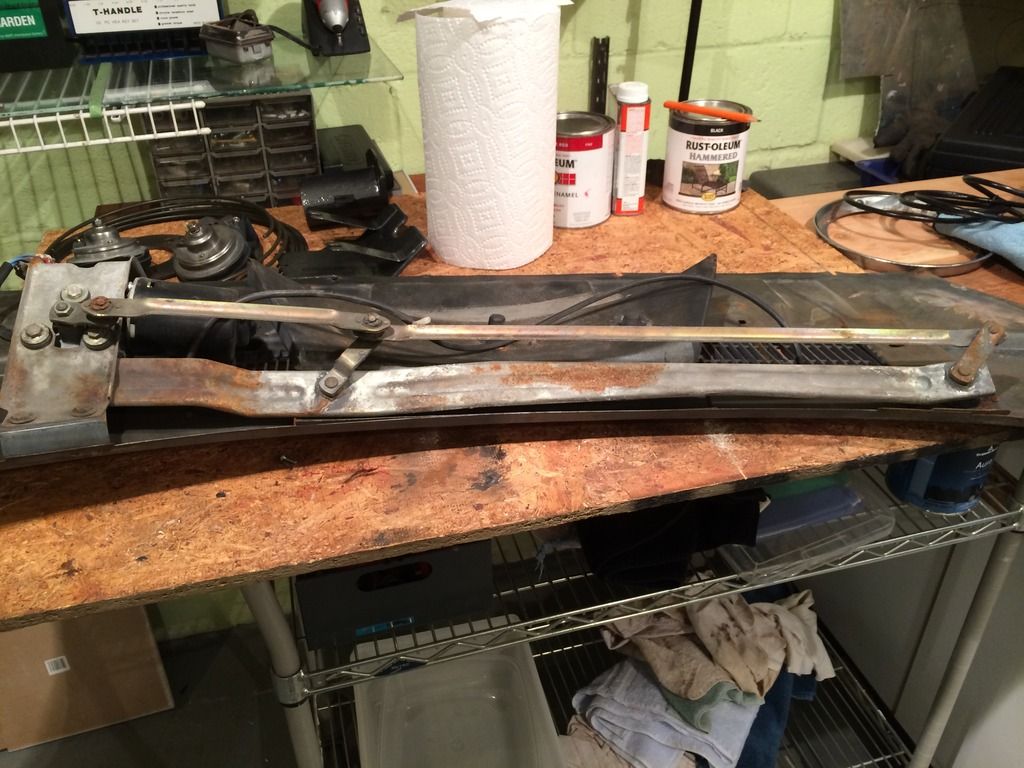
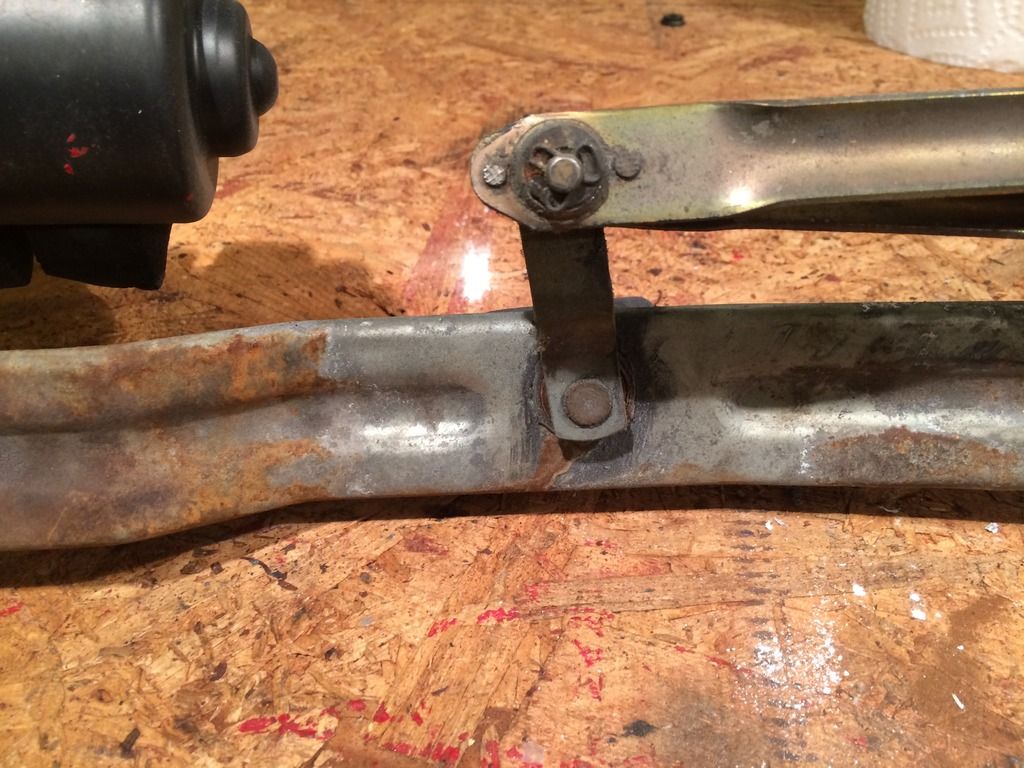
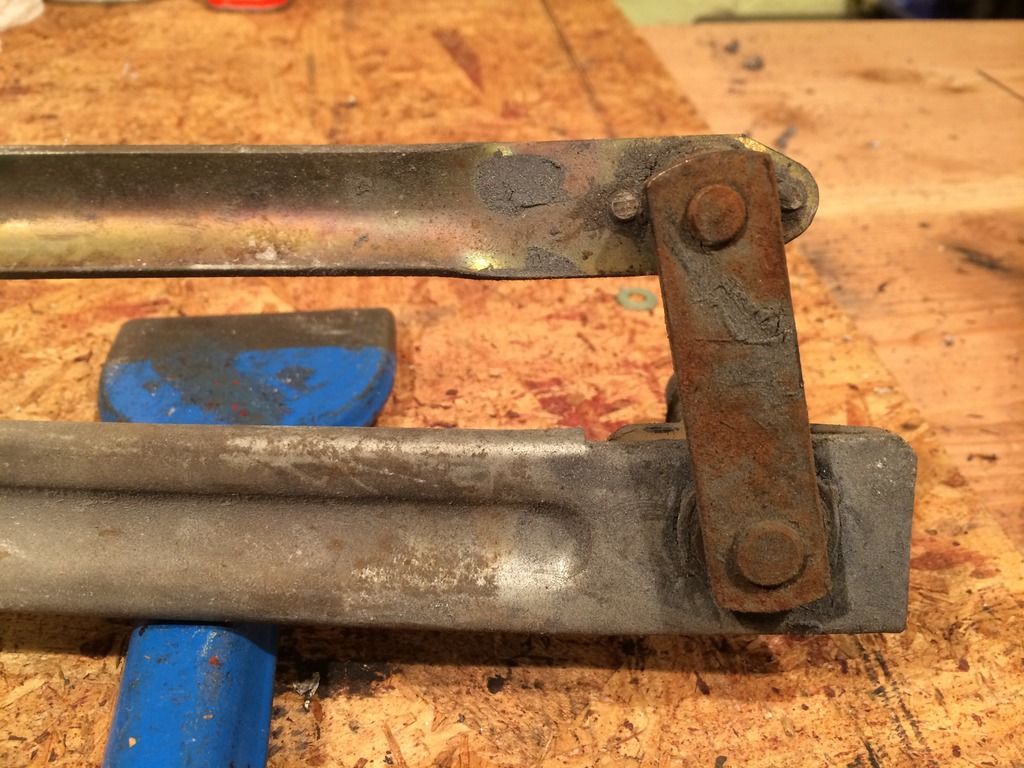
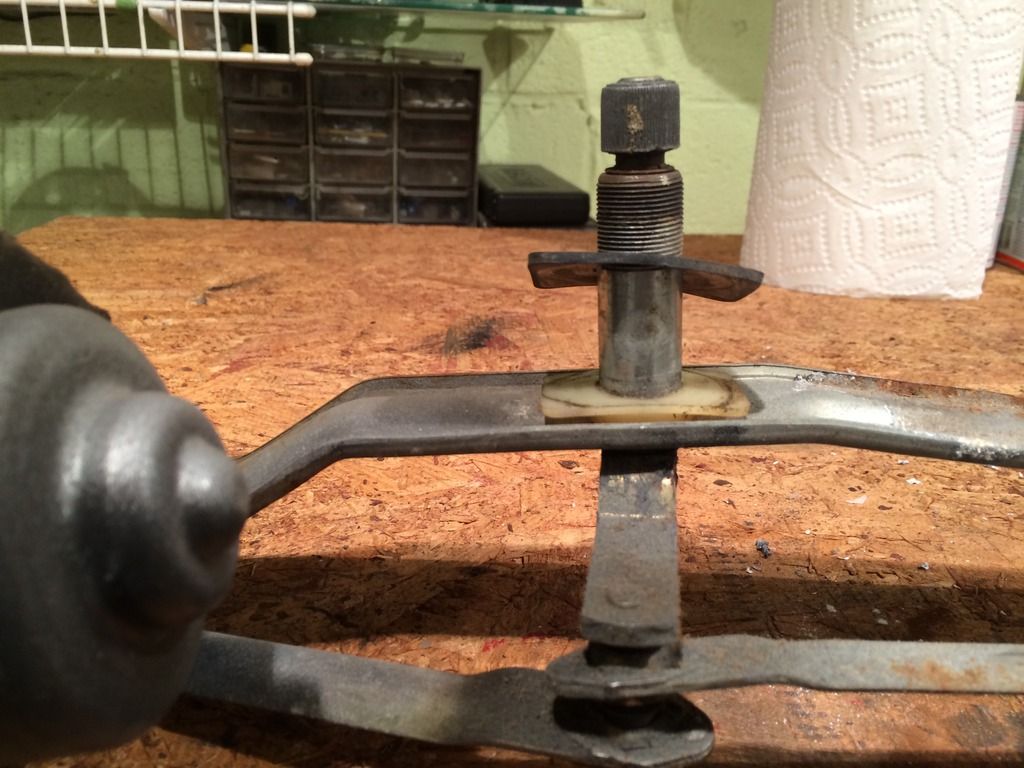
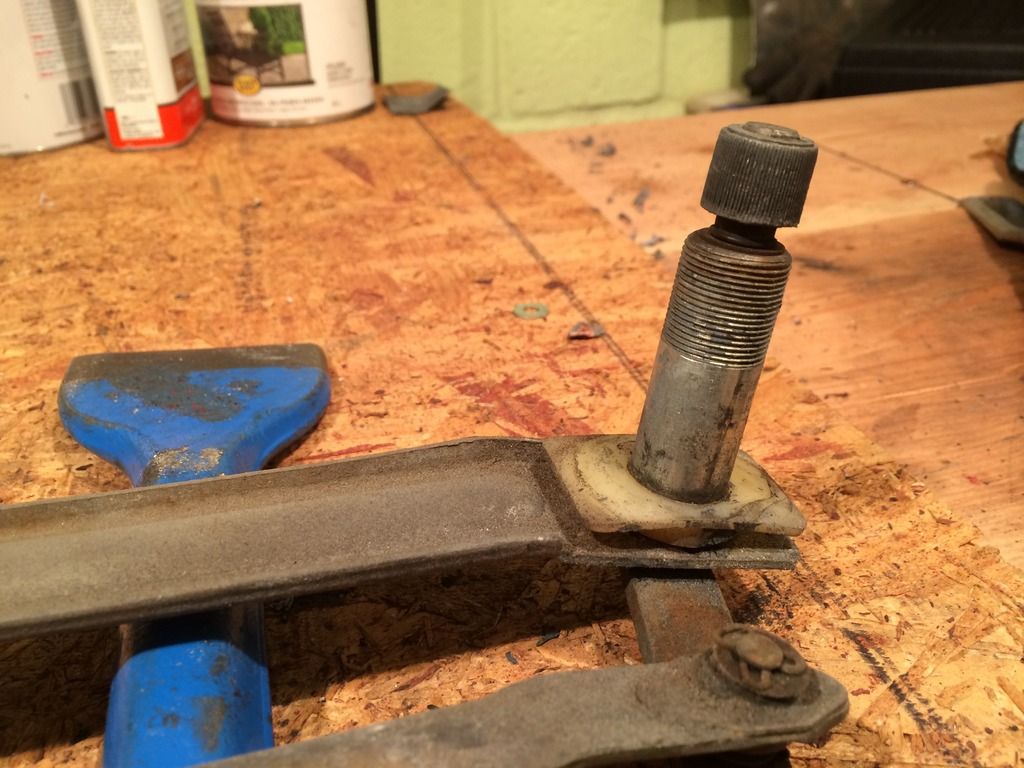
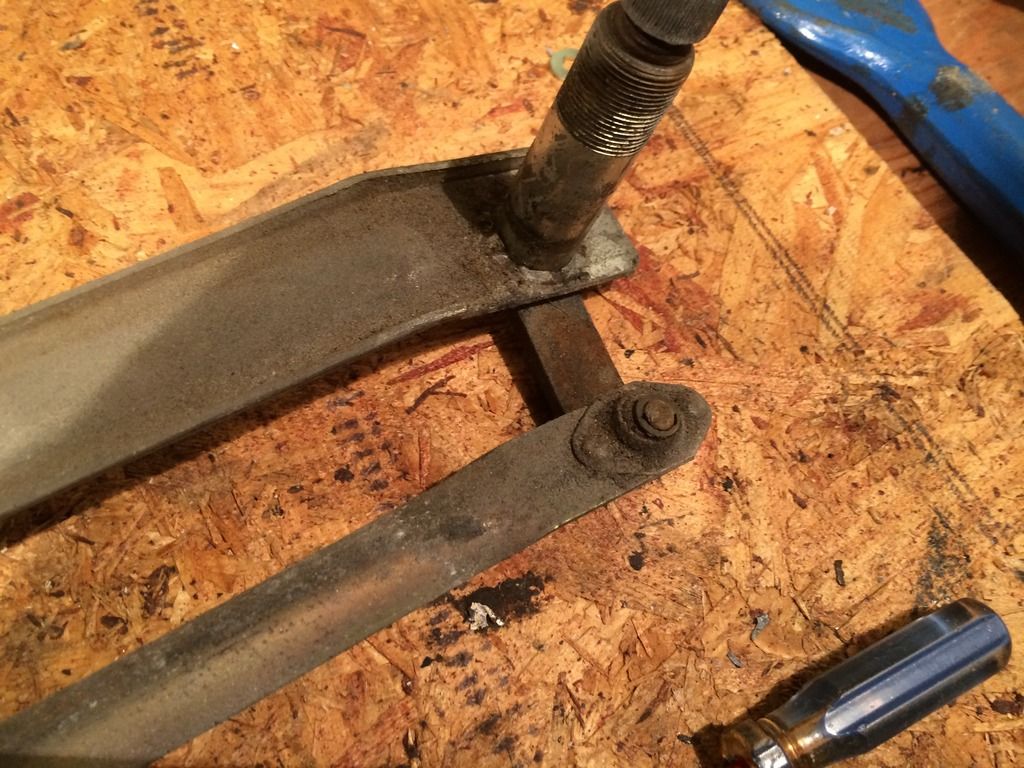
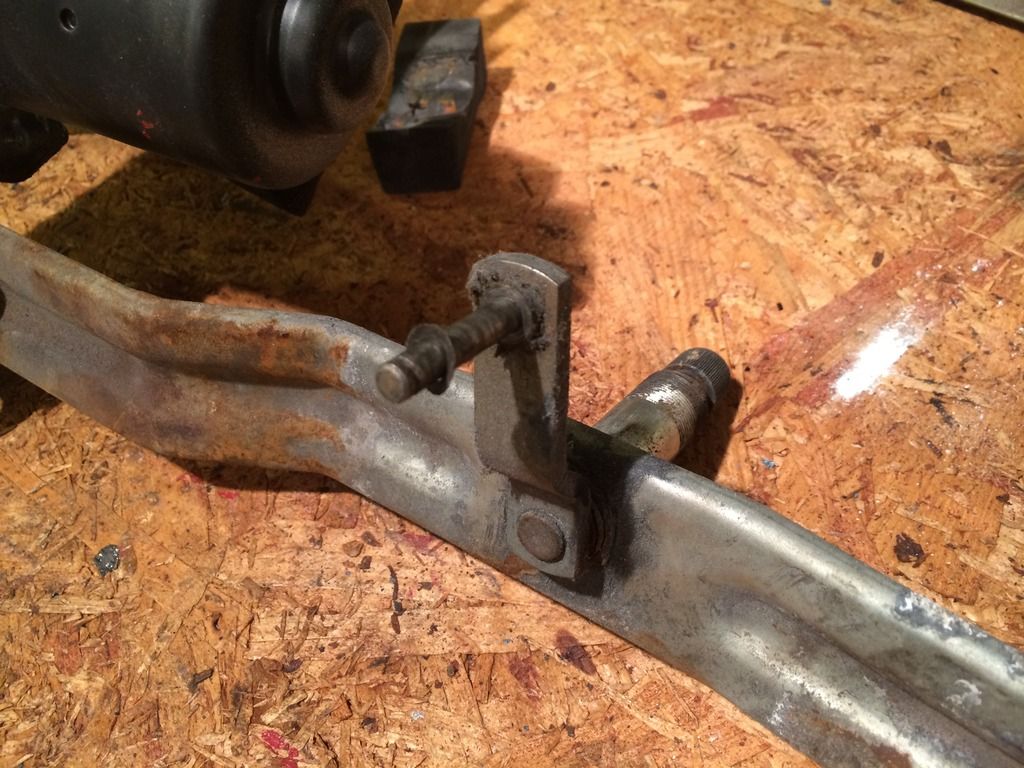
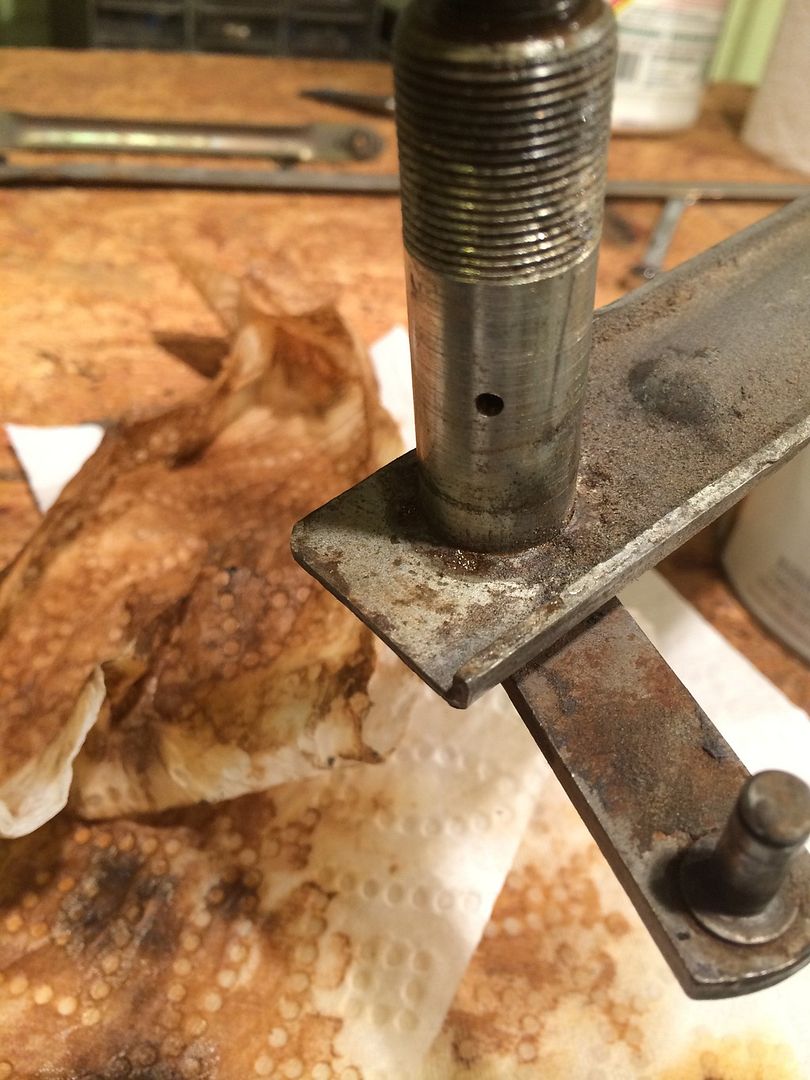
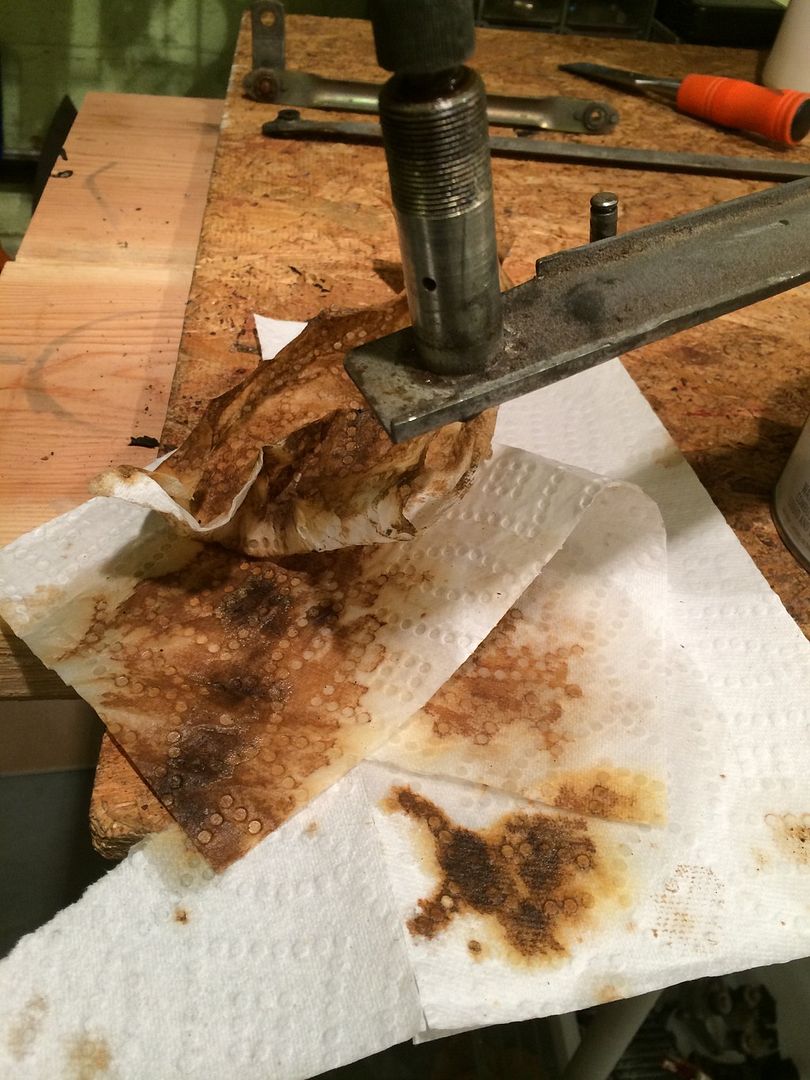
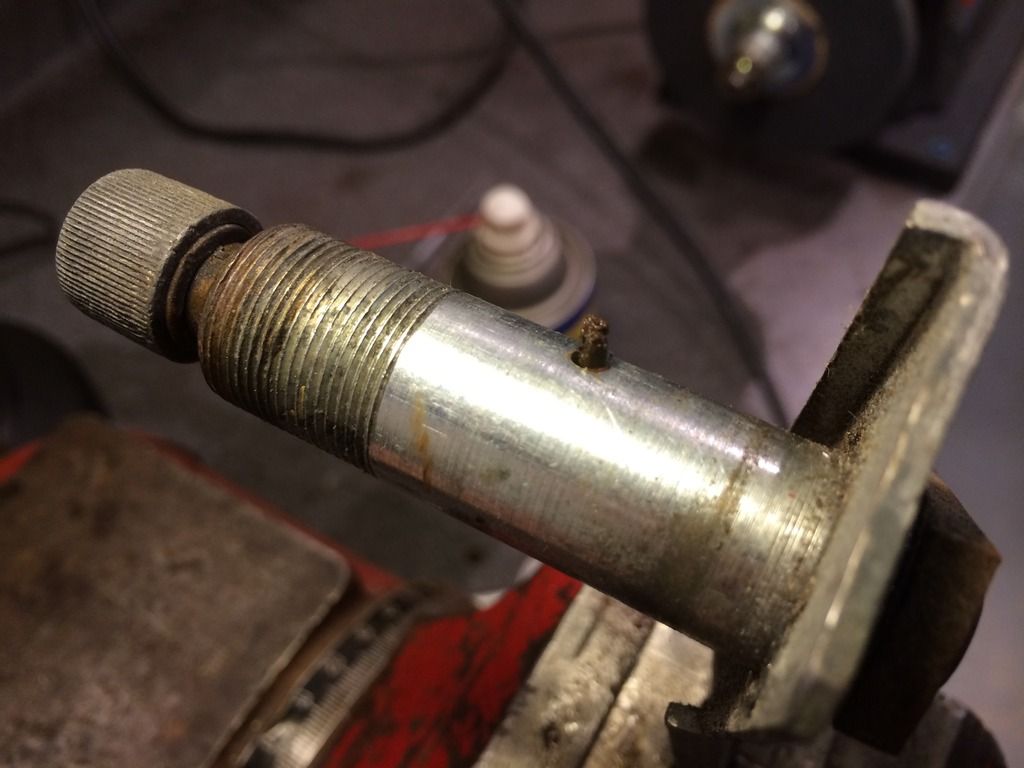
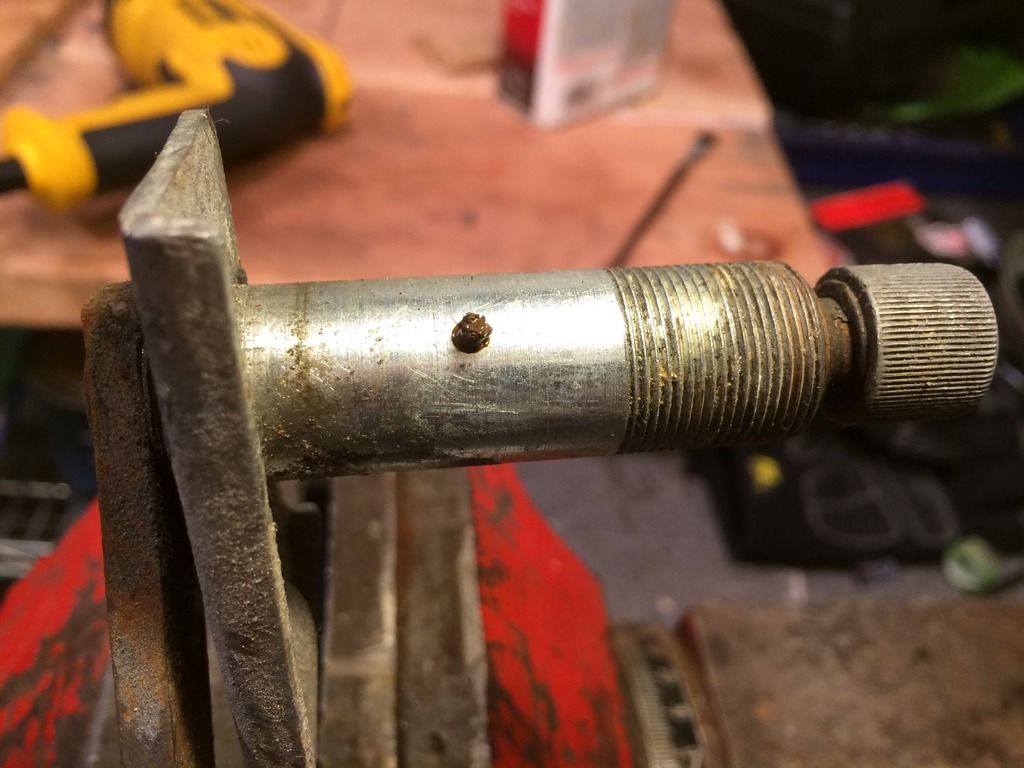
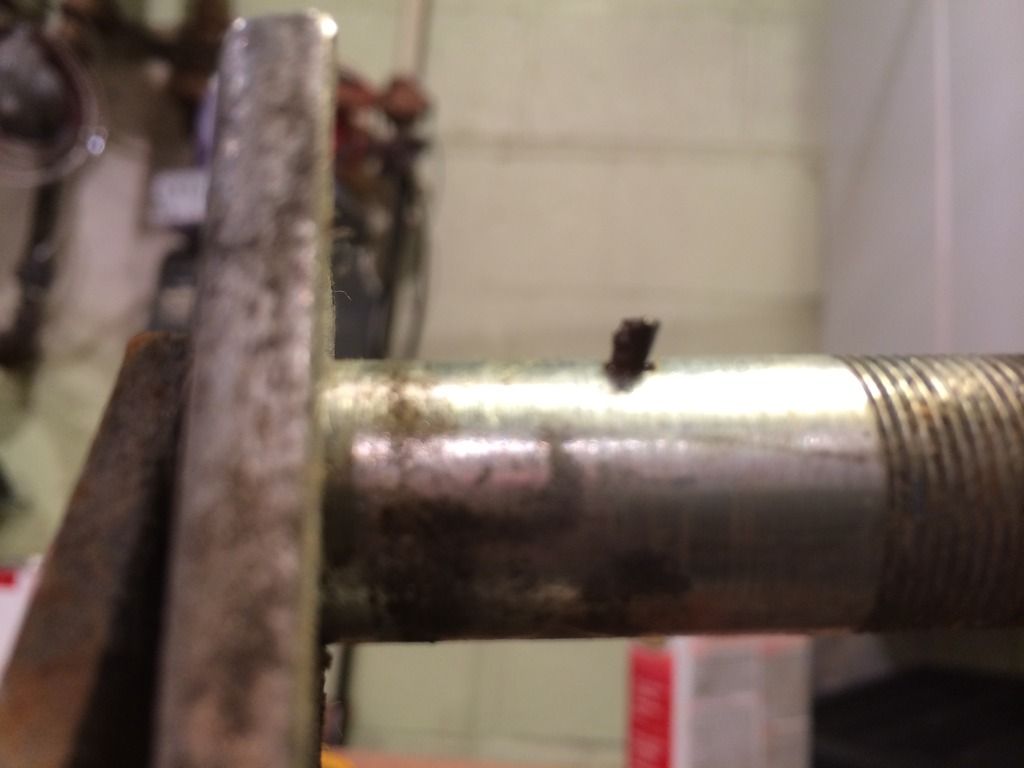
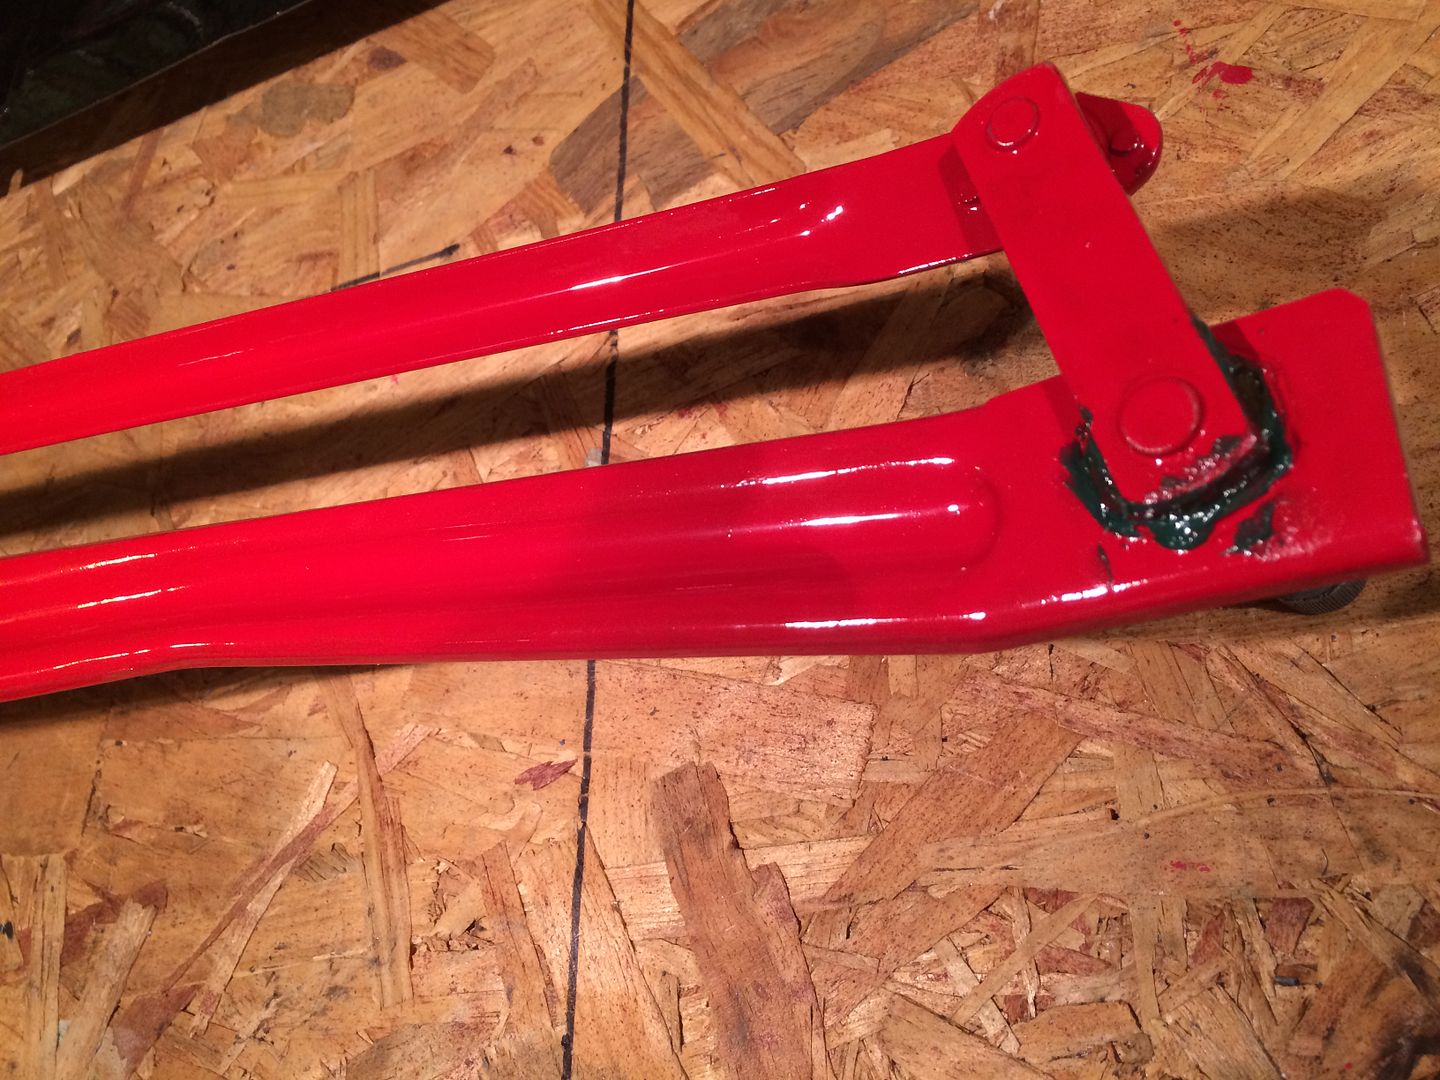
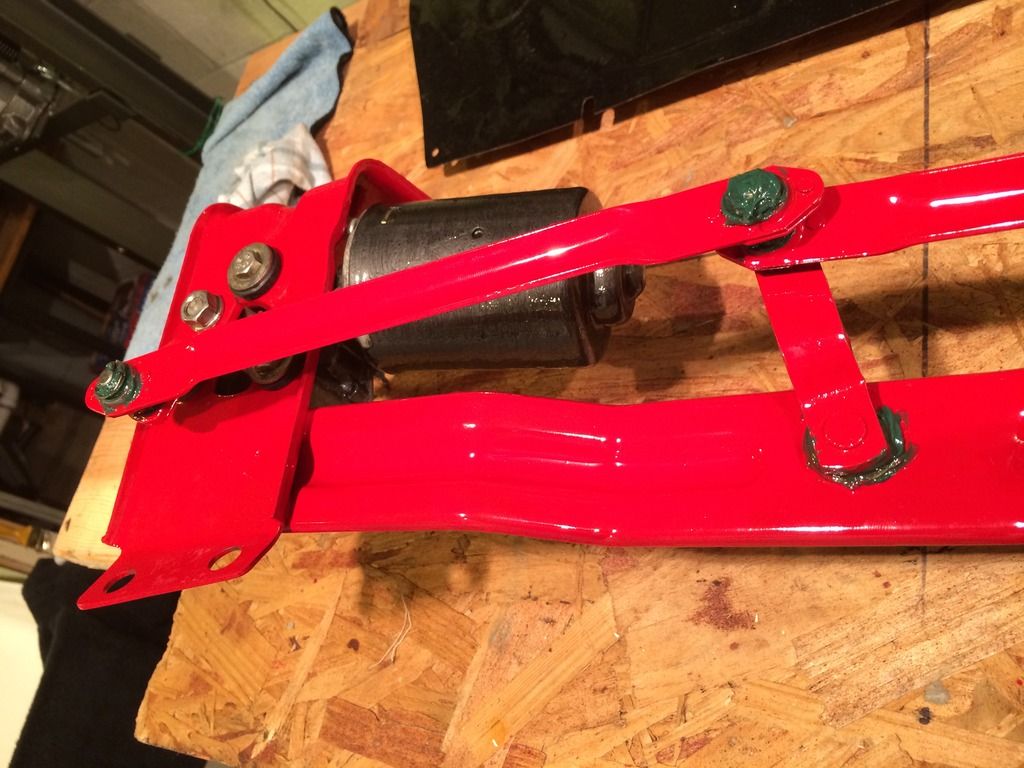
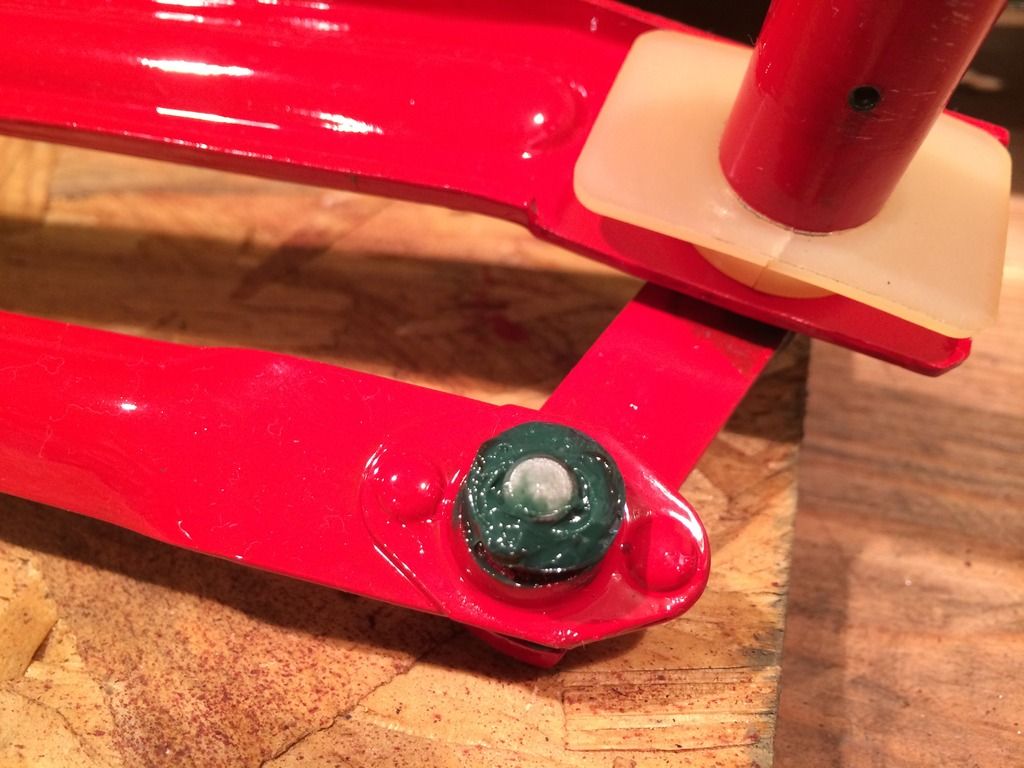
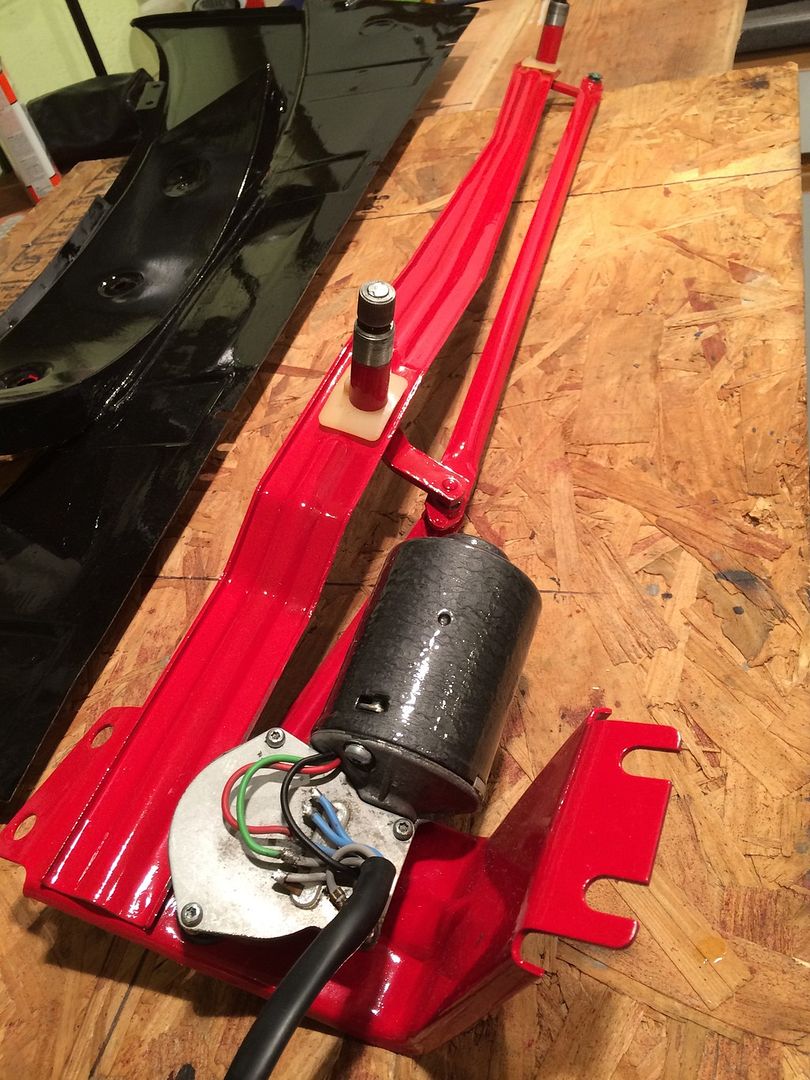
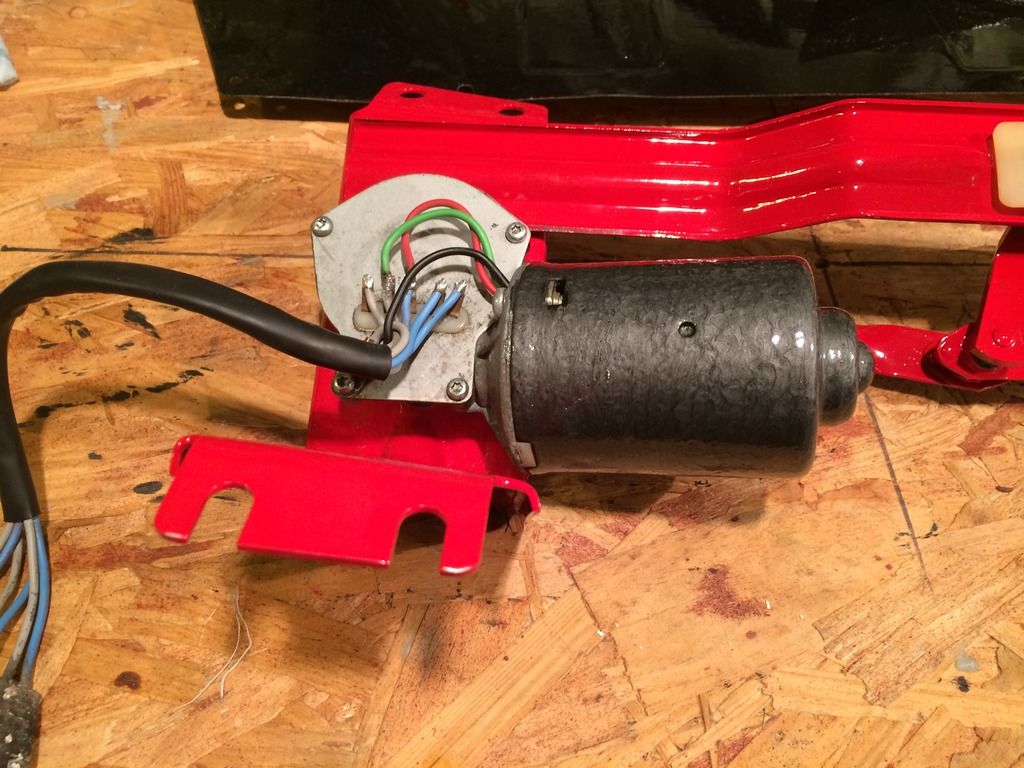
Nice very nice. I also drill 1/8 inch lubrication holes like you have. works great. But your work is much better detailed than mine. what wiper motor are you using.
Re: 1980 spider Restoration phase 2
Posted: Mon Nov 14, 2016 10:29 pm
by DRUMMOND
Hi Spider2081
As far as I know its the original motor. I just enameled the outside and cleaned up the inside.
Re: 1980 spider Restoration phase 2
Posted: Mon Nov 14, 2016 10:45 pm
by DRUMMOND
Re: 1980 spider Restoration phase 2
Posted: Tue Nov 15, 2016 7:45 am
by spider2081
This is w very inspiring and informative post. Thanks for taking the time to share so much information with us. You do beautiful work.
 )
)