Page 3 of 16
Re: Off to paint
Posted: Tue Jul 15, 2014 11:09 pm
by Ptoneill
Ok so there is progress on the body work, this phase is hard to document because a lot of the work is hidden in the details. Scott has been adjusting all the seams and accessories.
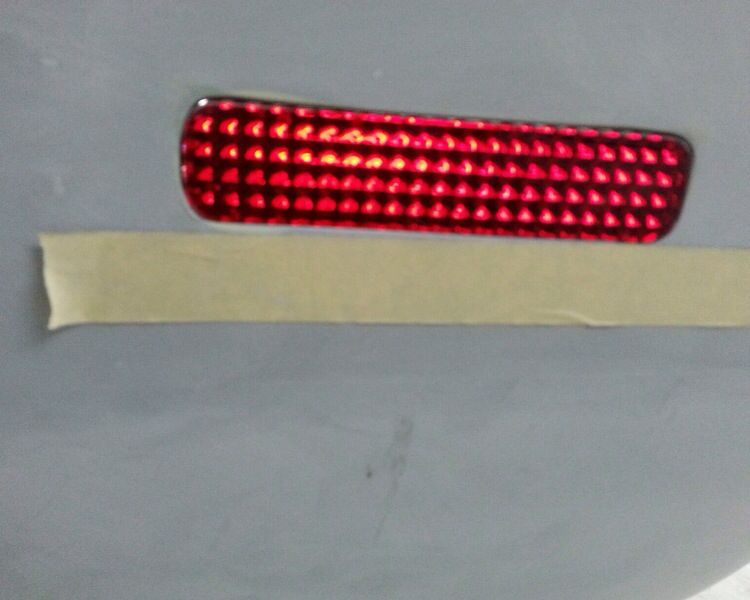
Theses are the Hagan flush mounted LED lenses, he did a lot of work to get the rectangular plate to match the curved lens corners. Then the lens needed to be sanded to match the body exactly, the goal is that the are perfectly flush with the paint.
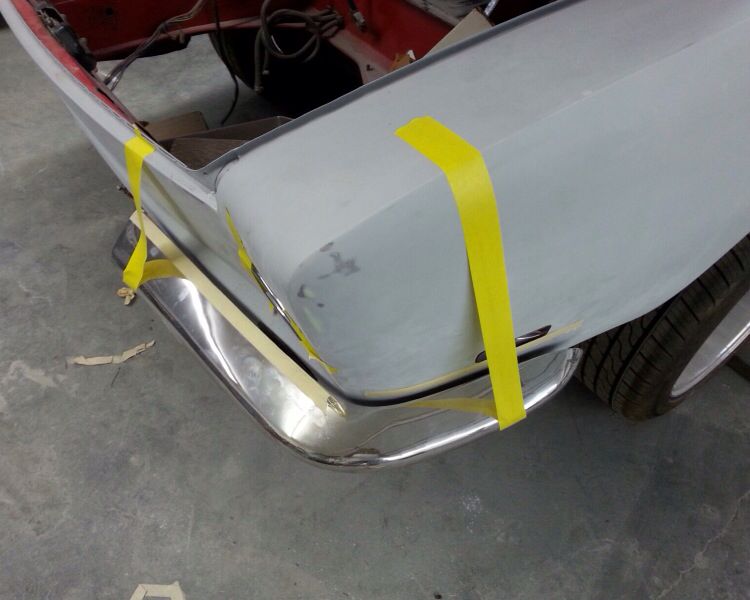
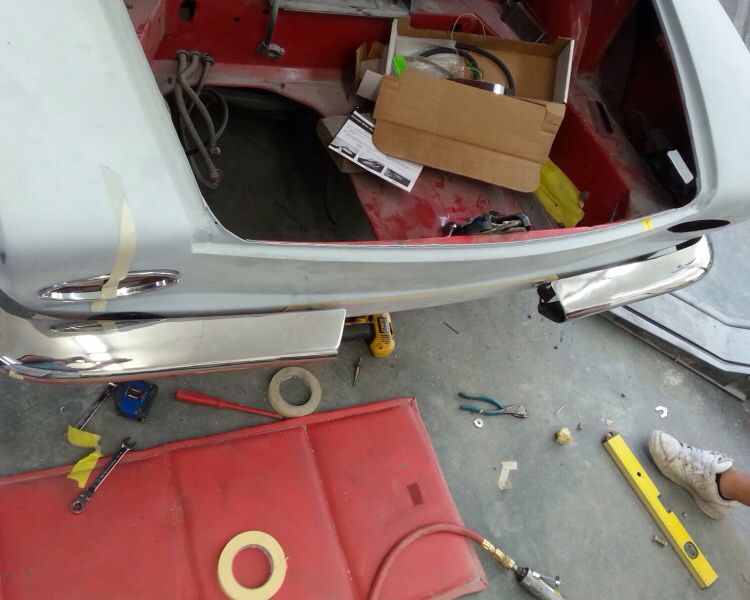
The stainless steel replica bumpers are a major p.i.t.a!!! They do look good but they are deffinately not bolt on, and I personally would not waste my money on the "mounting kit". You are better off making your own. Here is a picture of the modification Scott made to mine, it allows removal of the bumper thru the small slits without any problems.
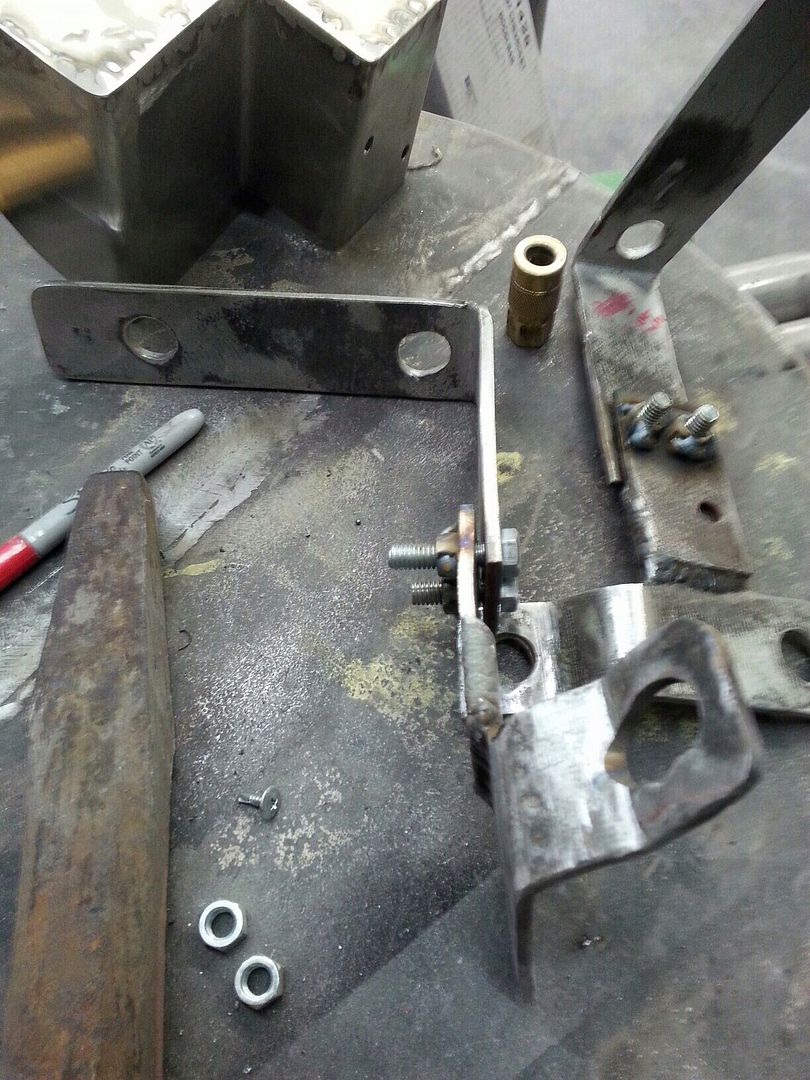
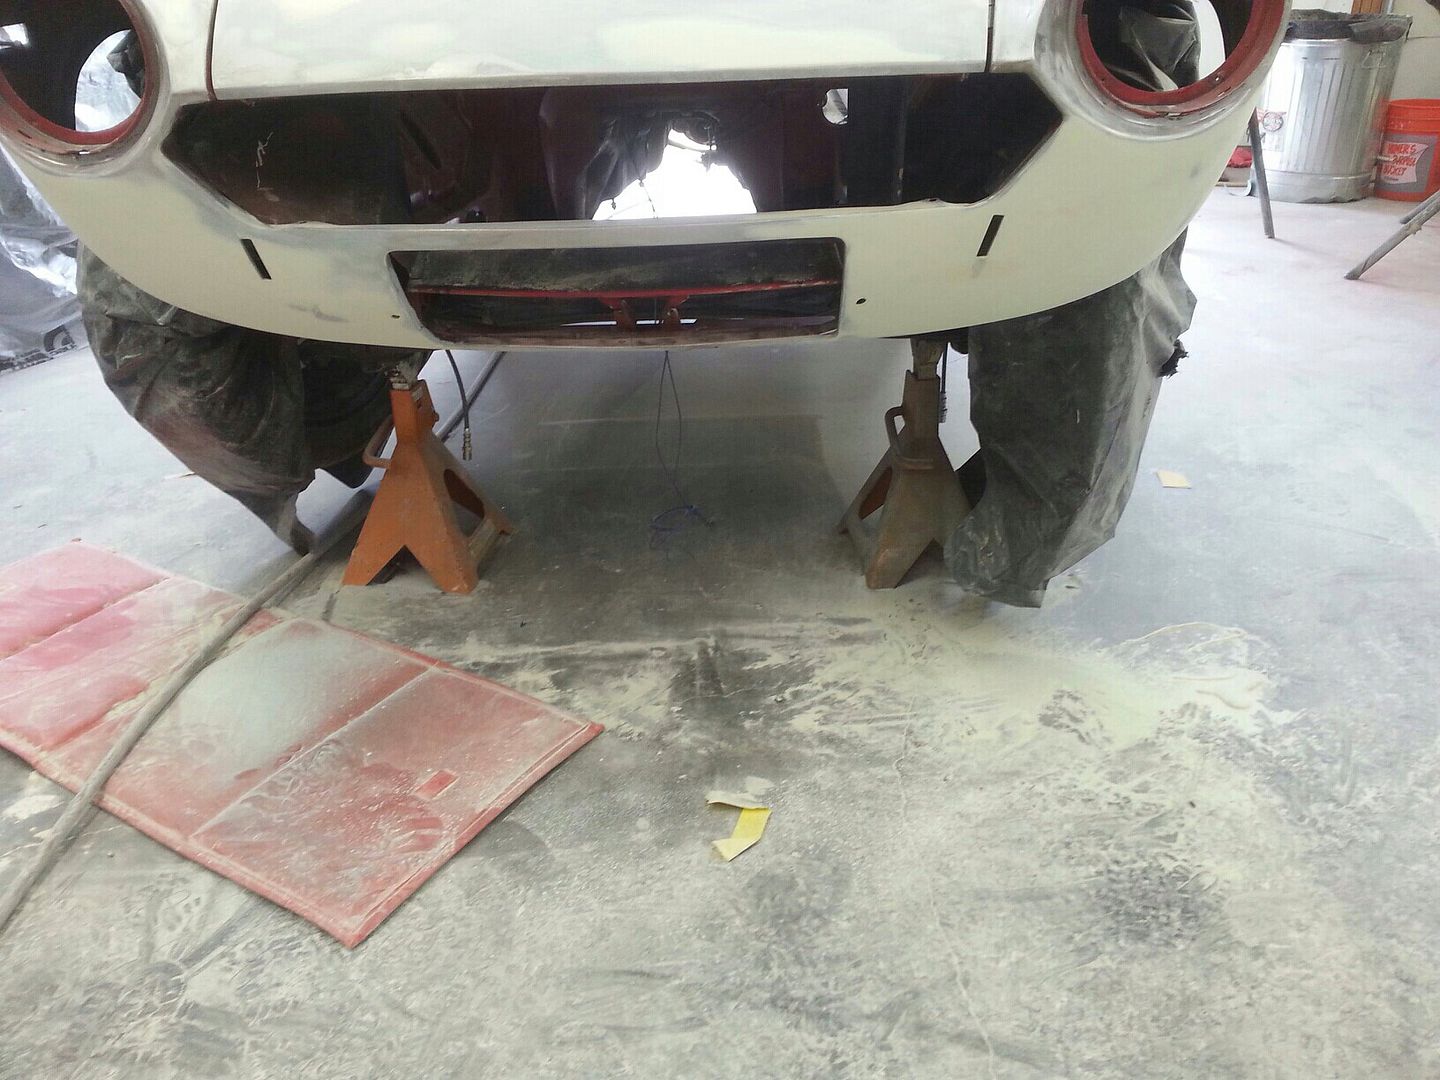
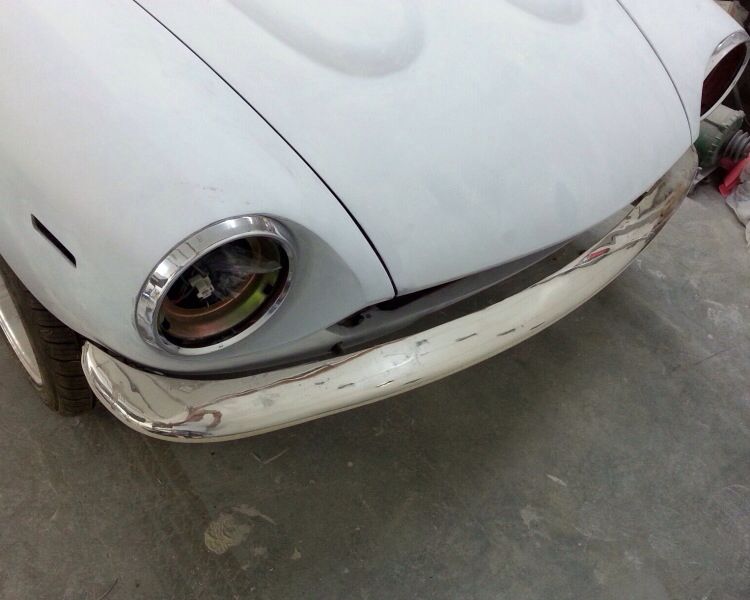
The rear bumpers are mounted on the original shocks, compressed with a set screw to allow me to extend them for removal. A piece of straight bar was attached to the end of the shock and slots were put into it to allow the bumper to be fine tuned. This is how it looks now.
I have sent all the stainless out to a metal polisher, the guy gave me a smoking deal, 350 dollars for 16 pieces of stainless. I will post pictures of his work and address when I get them back.
More to follow
Re: Off to paint
Posted: Wed Jul 16, 2014 8:48 am
by MrJD
Wow... nice progress. Saw your door jamb... good times, lol.
Re: Off to paint
Posted: Mon Jul 21, 2014 9:50 pm
by Ptoneill
Ok so now that the front bumper is sorted out....what a P.I.T.A!!! It is now time for the rear bumper. I ditched the aftermarket brackets and went with the oem bumper shocks. I drilled them out so they would collapse and I then placed a piece of slotted flat steel bar so they could be adjusted in and out from the body. Scott has been fine tuning them... Here are some progress photo's
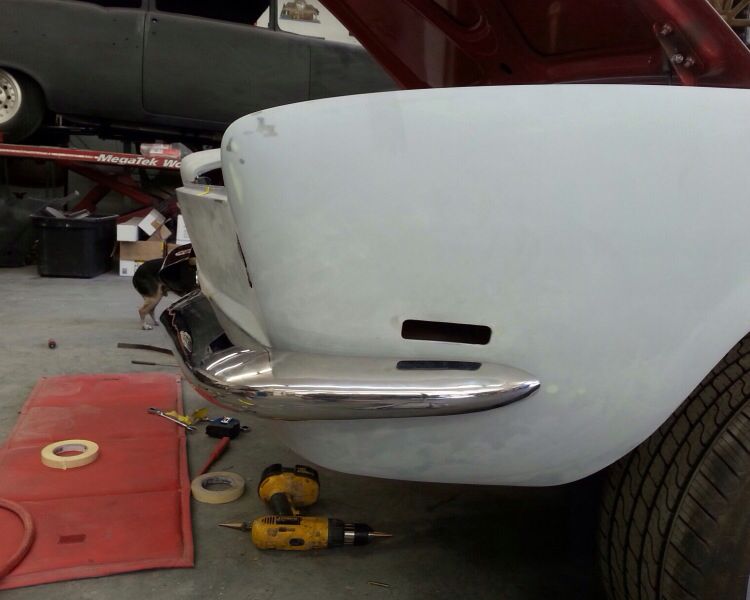
Note the Lokar tail light and the larger exhaust cutout for the Ansa double tip exhaust
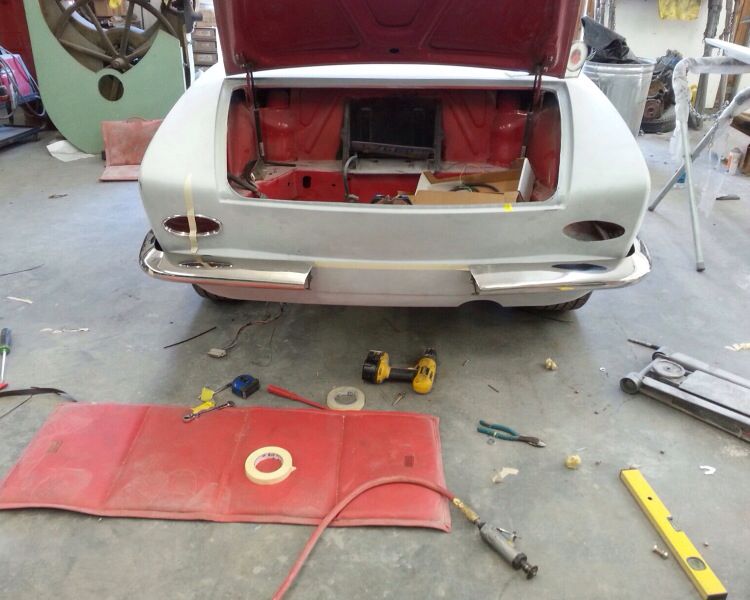
Trying to establish the center
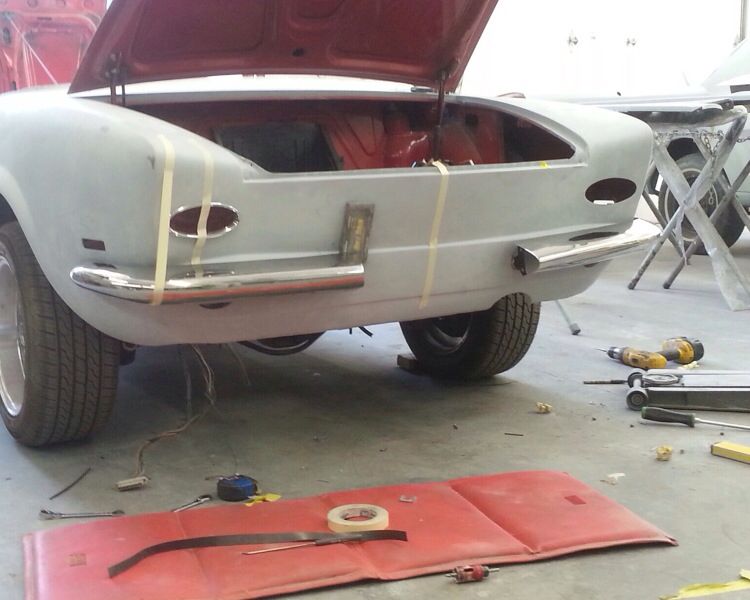
Getting both sides to have equal spacing can be an exercise in frustration!!
More to come.......Scott has other cars to work on besides mine but hopefully we will get into the real cool modifications shortly I cannot wait to see how they come out!!
Re: Off to paint
Posted: Thu Jul 24, 2014 8:52 pm
by Ptoneill
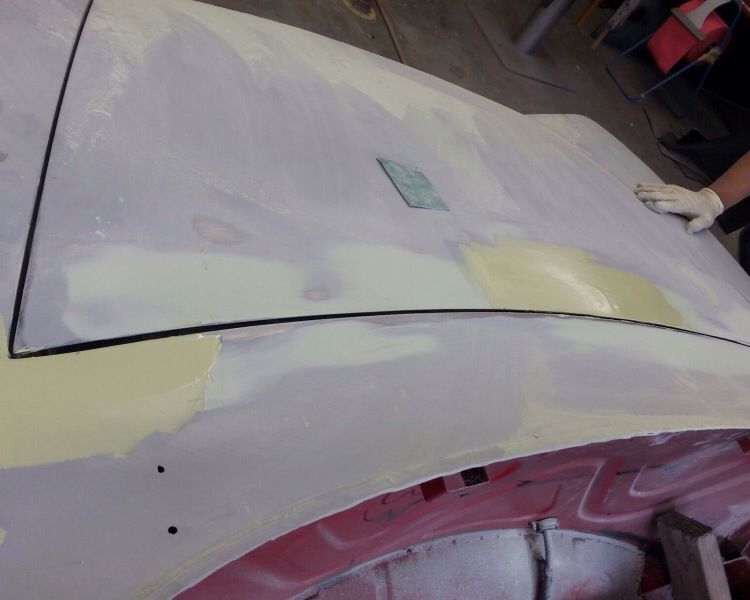
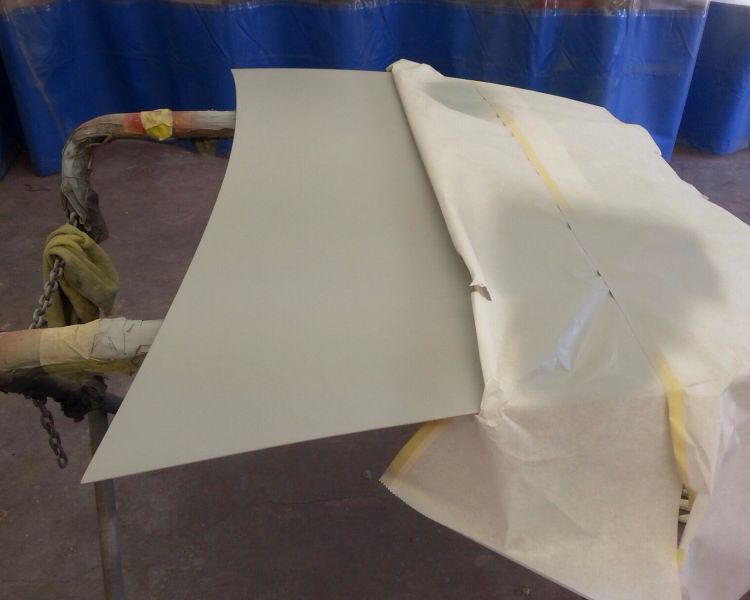
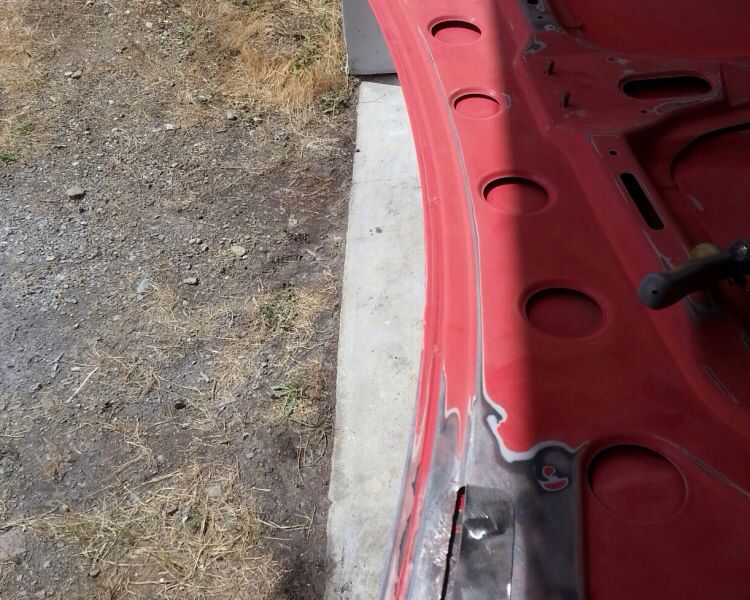
I have a little progress to report, Scott did not like the way the hood and trunk sat so he reworked them. He also attacked a potentially problem area on the hood where the bumper pads are inserted into the hood, rust had formed so he cut out the damaged sheet metal and put in new.
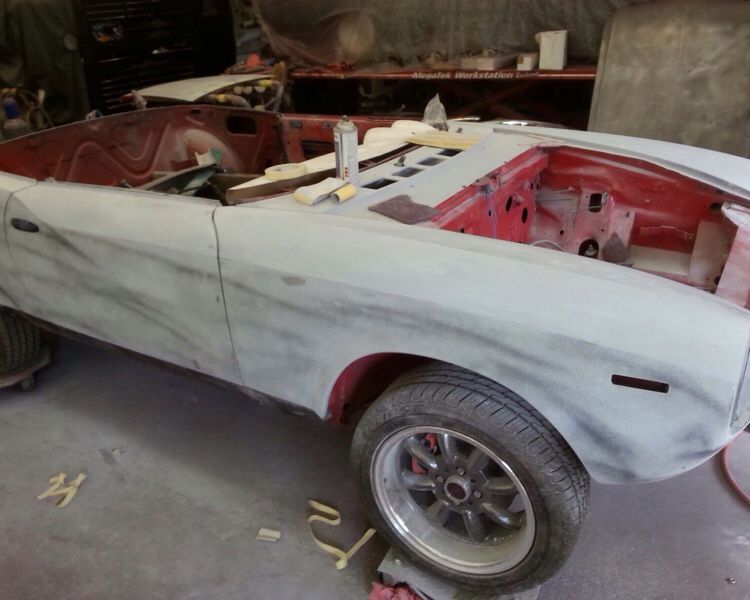
The intermediate blocking was done, this is where the skill of a professional is brought out. I understand the process however it seems like an art form to get it right, maybe when this car is done I will try to get Scott to let me help in the shop so I can pick up tricks.
Hood adjustments, note deleted fiat emblem
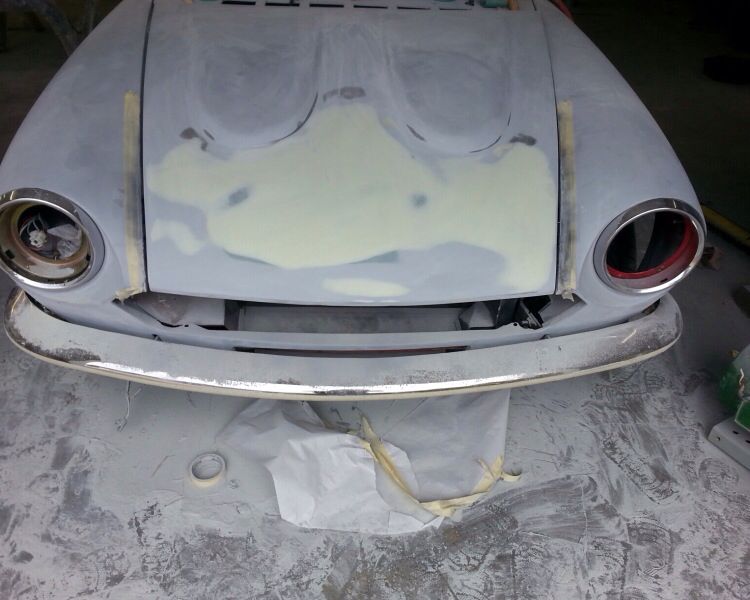
Hood repainted with primer
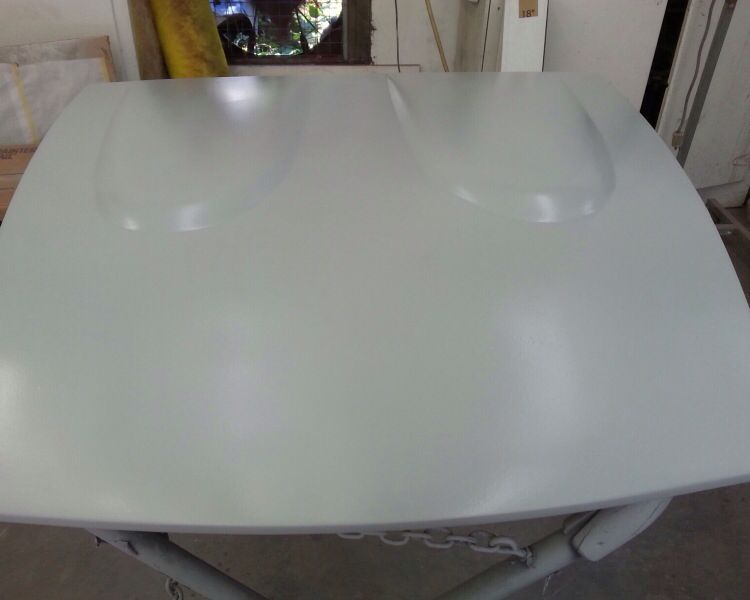
Trunk lid and rear body adjustments
Trunk repainted w/primer
Replacement sheet metal on inside of hood
Intermediate blocking, note how the ridge on the fender is really brought out...if only I remember not to lean on it while working on the engine!! The sticker shock on the body work should act as a reminder.....for a bit!?
All for now, I did order a Nardi steering wheel and all the Dynamat stuff is at the house...getting closer
Re: Off to paint
Posted: Fri Jul 25, 2014 6:12 am
by SoFlaFiat
Nice progress Pat!!
Good body work does take time, that's for sure!
If it was me, I would let the paint dry for a week at least before you start working on the mechanicals. Let it get good and cured then of course cover it well.
Re: Off to paint
Posted: Fri Jul 25, 2014 7:57 am
by Ptoneill
That will not be a problem, what I was referring to was the bad habit I had. I had a 68 Tbird and several truck and I used to lean on the fenders when I worked on them......not really a problem, but I quickly found out that it IS a problem with a 124, it tends to leave permanent reminders in the form of small dents.
I plan on starting on the 1st stage of the interior when the body is finished. I want to get the dynamat in, fabricate the new center console, and get the bugs out of the new electronics,
Re: Off to paint
Posted: Fri Jul 25, 2014 9:02 am
by PininF
Really like the look of those cats eyes as taillights…
I had I very similar idea about a year ago looked for months and eventually found and bought a pair of
'67 Sunbeam Tiger taillights from the U.K they look big in the photo but are a lot smaller than my '79 taillights…
May still put them in one day


Re: Off to paint
Posted: Fri Jul 25, 2014 10:16 am
by Ptoneill
I really like the look of those lights, they remind me of the older 124 rectangular lens having three panels. In my photo bucket account you can see how we cut them into the car.
Re: Off to paint
Posted: Fri Jul 25, 2014 11:09 am
by PininF
Thanks pat,
You're doing such a great job I alway feel inspired and feel motivated to do something when I see how much others are doing, guess I've just gotta pull the finger out and get stuck into it again…got the car under cover as were in the middle of winter over here and I don't have a garage to work in…will have to wait till spring unfortunately…

Re: Off to paint
Posted: Fri Jul 25, 2014 7:15 pm
by Ptoneill
I lived in Canberra ACT for three years while my father was in the Air Force...you need to get it rolling I stll remember the great car trips thru the Snowy Mountains in our old Holden.
Re: Off to paint
Posted: Sun Aug 03, 2014 1:08 pm
by Ptoneill
Ok the paint part of this project has been on hold my painter had to finish a 65 Mustang so I could be given as an anniversary present on 08/02....... Sure beats the hell out of a tie!!
I did get several things for the car, a Nardi Personnal 15 inch steering wheel, some new rubber seals for the windows and hood. I found that 64 VW front bumper surrounds are an exact fit for the supports on my "new old" bumper mounts, I will post pictures when they are installed.
I have given up on the chrome bezel rings on the dash gauges I am either going to get a shop to install them or find different gauges. I thought I had one installed properly however after I finished I realized I had knocked loose dust that had not previously been visible and the inside of the lens was covered. I broke another lens and I could not get the trim ring for the speedometer to even fit over the face......it was very frustrating!!
This week should show some progress on the actual customization we are going to mock up several ideas for ventilation air intake and the center console.
Re: Off to paint
Posted: Wed Aug 06, 2014 9:20 pm
by Ptoneill
We have started to lay out the engine compartment with some of the new items. The new aluminum tanks for the windshield washer and expansion tank have been added, the expansion tank had to have a new bracket made for it as it is larger than OEM. The coil pack for Mark's electronic ignition system will sit below the windshield tank.
Does anyone know if there is an aluminum charcoal fuel filter out there?
The rest of the compartment is being prepped for paint.
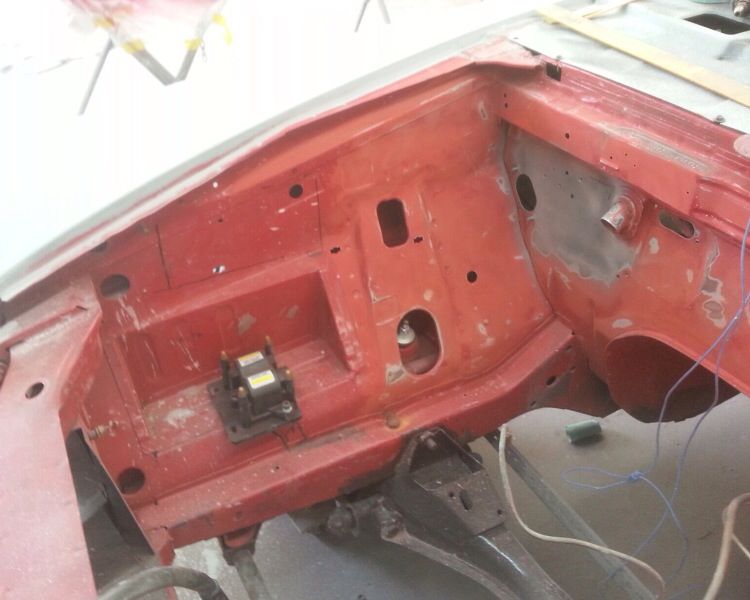
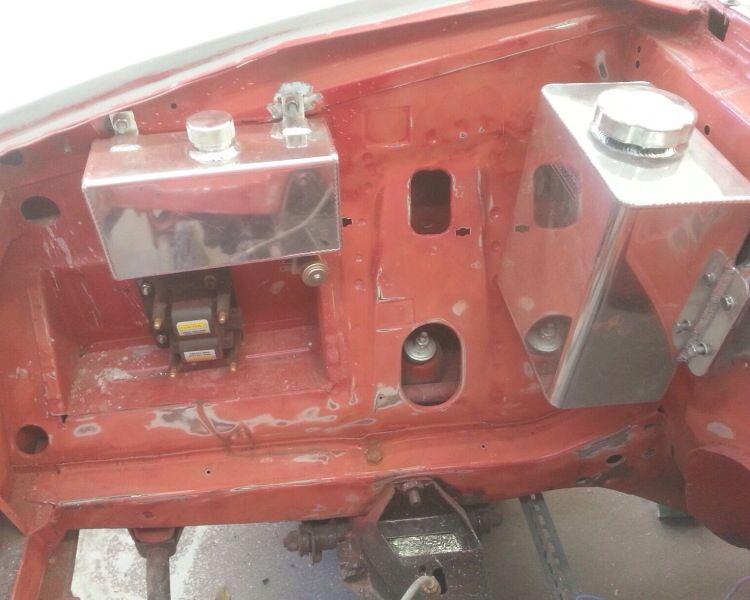
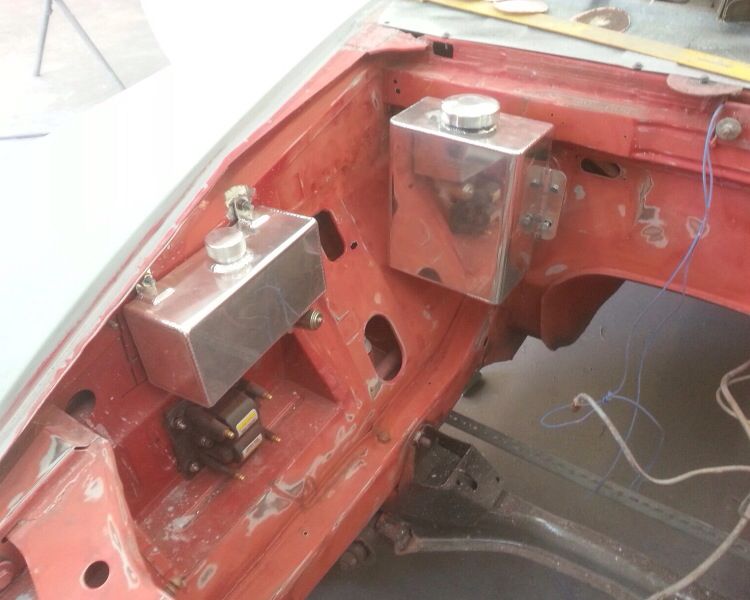
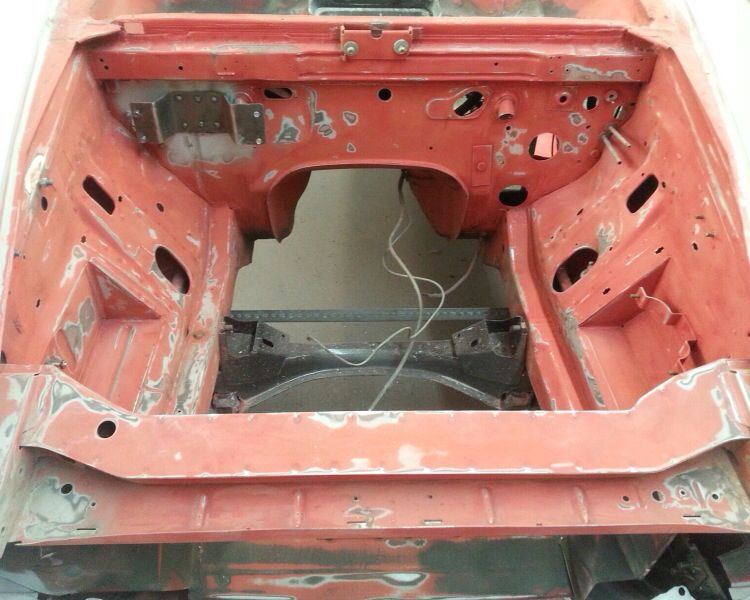
The hood is getting its final touches, all the seams are being smoothed out, I will put the OEM pad back on the inside when it is done.
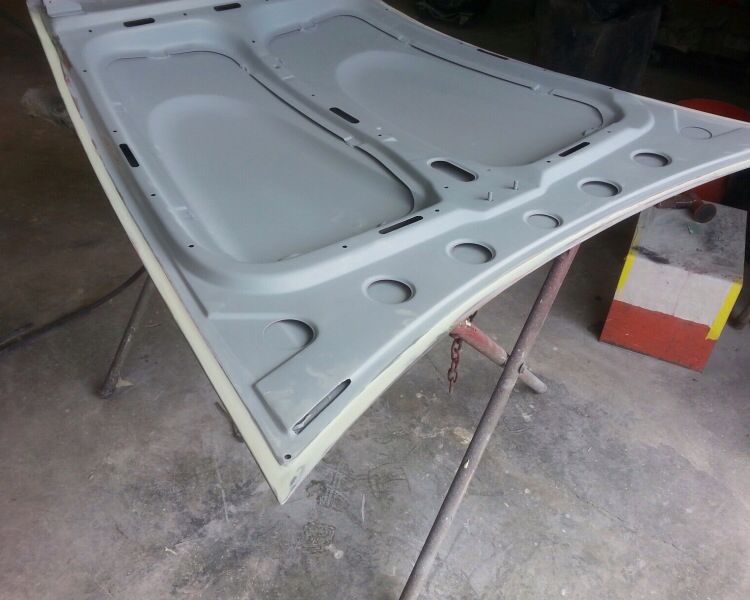
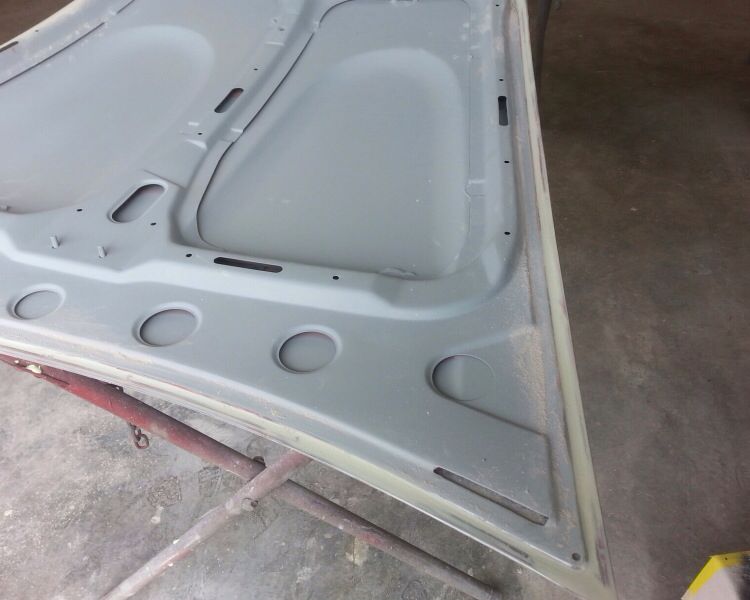
Thanks for watching my progress!
Re: Off to paint
Posted: Wed Aug 06, 2014 9:29 pm
by SoFlaFiat
It's looking great Pat!! That's a seriously big expansion tank!! I love seeing the progress!!
Re: Off to paint
Posted: Wed Aug 06, 2014 9:49 pm
by Ptoneill
SoFlaFiat wrote:It's looking great Pat!! That's a seriously big expansion tank!! I love seeing the progress!!
Yea, I am hoping I like it when the engine is in....I bought a new plastic one but it just seemed "cheap" looking after all the other things I had done...we'll see!
Re: Off to paint
Posted: Thu Aug 07, 2014 9:02 am
by RRoller123
I am constantly both amazed and impressed at the work that you folks all do on these great little cars! Bravo!


