Page 3 of 16
Re: 1978 rolling restoration
Posted: Mon Jun 27, 2011 12:46 pm
by greenharoguy5
Wow, Starting to look very good! I really like what you did with the trunk!
Re: 1978 rolling restoration
Posted: Sun Jul 03, 2011 3:40 am
by DocGraphics
I took the luggage rack off a while back & like the look alot better but didn't know what to do with the holes left behind.
Came up w/ a solution today.
I bought some small carriage bolts, files the heads smooth & painted satin black.
then bought some rubbers washers to go underneath to make them seal.
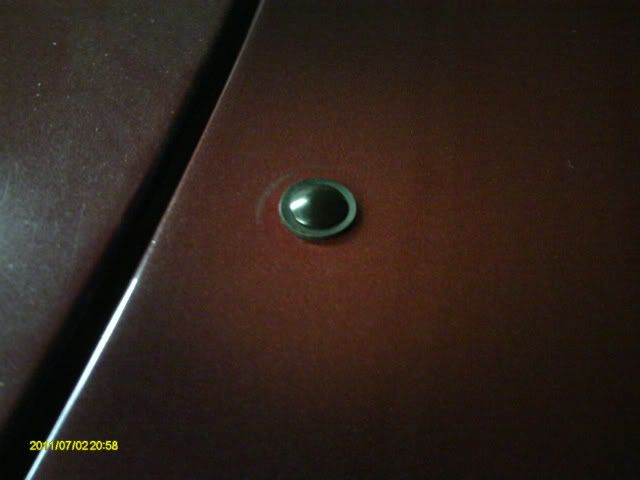
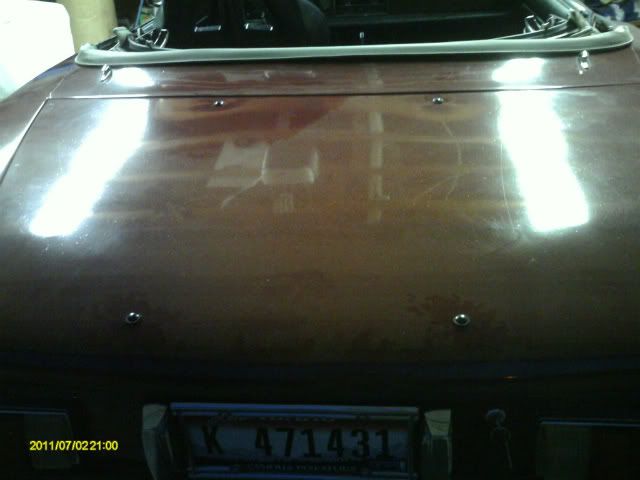
Looks alot better than it did.
I spent the rest the day figuring out how to mount my seats.
It was definately trial & error, thought I had a plan but Noooooo.
Build mounts, fit seats, not good, remove seats, start over, build mounts, fit seats, not bad, remove seats...
I think I have it figured out now, I'll do a full write up w/ pics when done.
More to come...
Re: 1978 rolling restoration
Posted: Wed Jul 06, 2011 2:41 am
by DocGraphics
& now the story of mounting the seats.
My first plan was to mount a 1/8" plate of alum across both stock mounts, I mounted the sliders w/ the 1/2" spaces so the adjuster bar had room to be pulled up to adj.
The sliders had the same bolt pattern front to back but 1.5" narrower so I mounted them in the stock holes on the inside & thru the plate to the outer.
Plan #1: FAIL - seats way to high, looking thru the the visor & being 3/4" out of center was definately noticable.
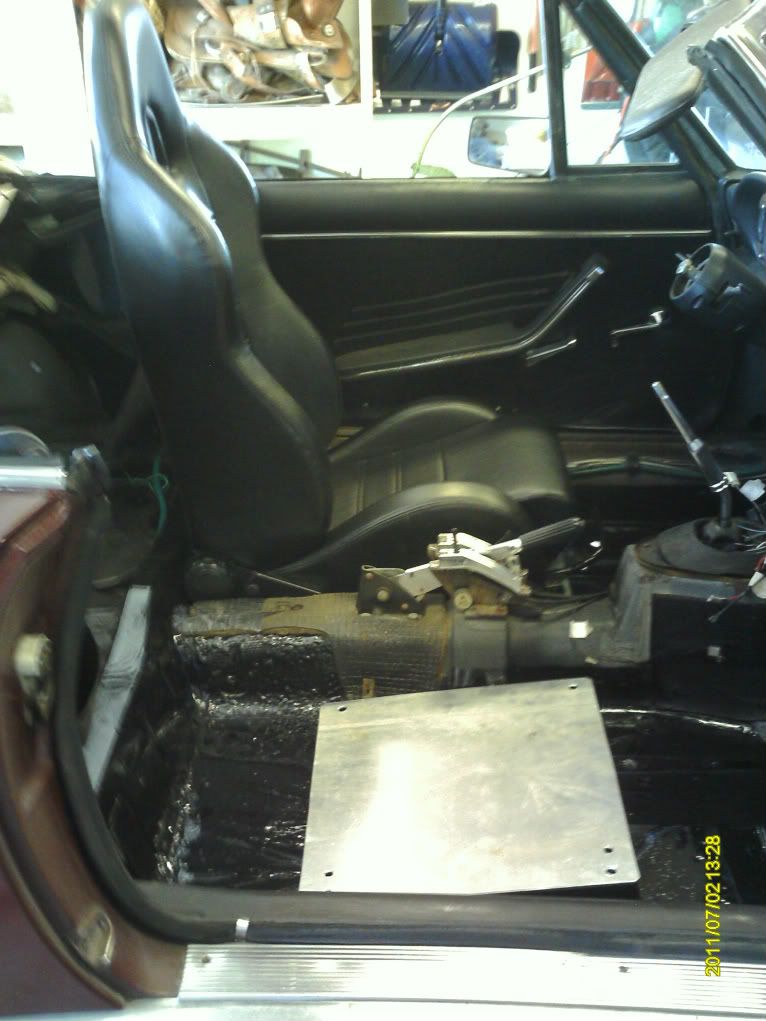
START OVER
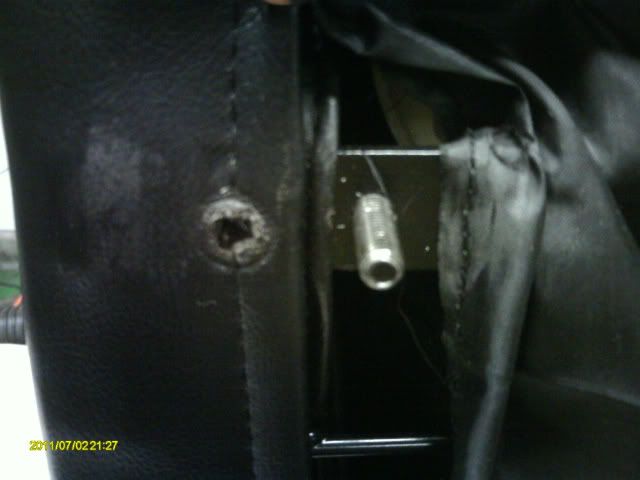
So on my second attemp I drilled & tapped new mounting holes in the bottom of the seats 1" in on both sides.
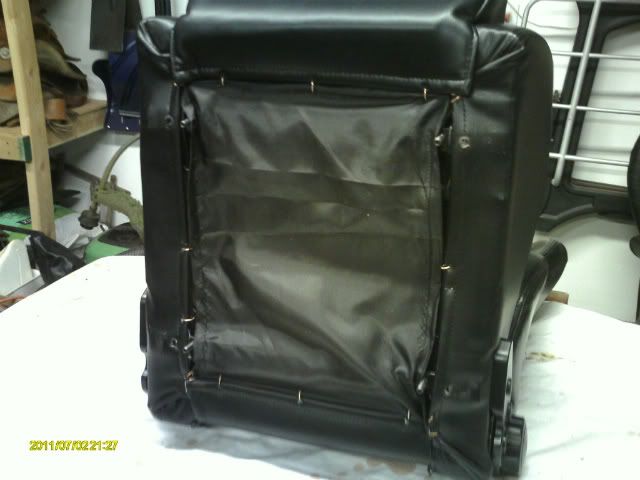
Installed the mounting bolts thru those holes from the inside out to make them stud mount.
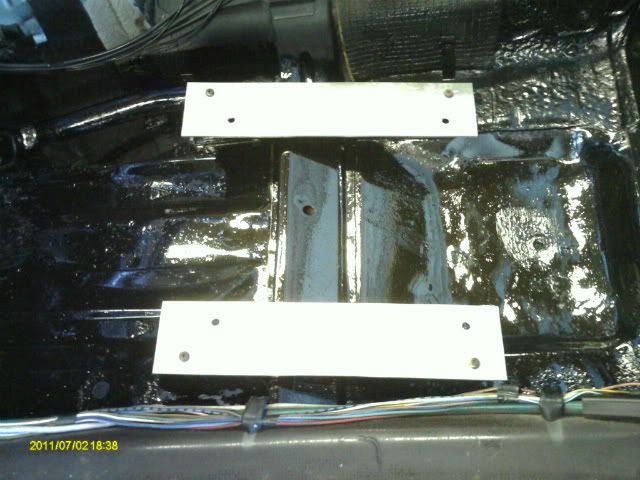
Then I made plates that bolt on top each stock mount w/ appropriate mounting holes to center the seats on the mounts.
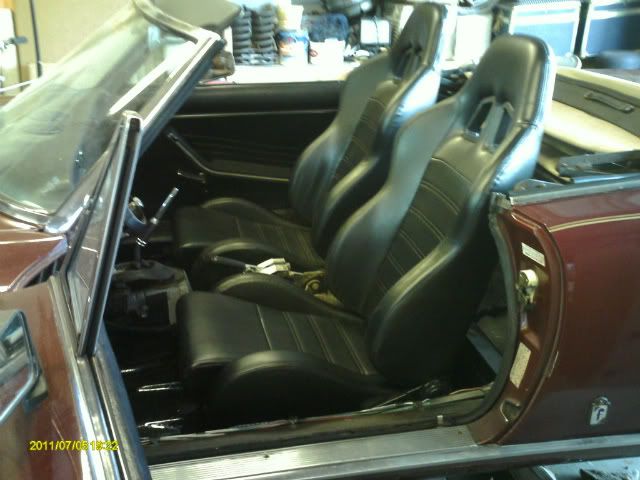
I mounted the seats W/O the sliders, drivers side where I can reach the pedals comfortably & pass side to match.
If I need to move them I can just unbolt them & drill new mounting holes to the front of rear of the first ones in the mounting plates without removing the plates.
Plan #2: SUCCESS, I like where they are (height & depth) & both the wife & I are about the same height so shouldn't need the adjustments.
new studs
mounting plates
Fit real well
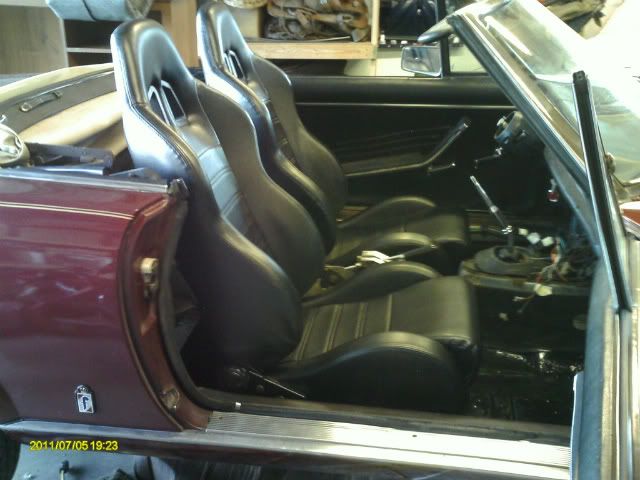
from rear
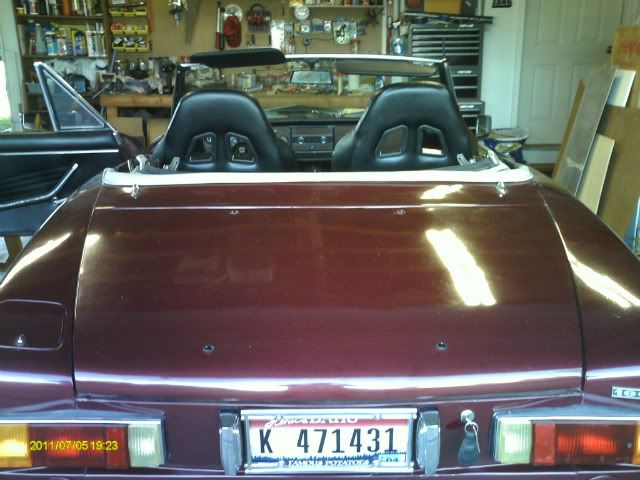
The one big thing I did find out is the pass side mounts are 1/4" higher in the front & 3/4" higher in the rear, than the drivers side so the pass seat looks just a little higher from behind when both reclined at same angle.
I like the way WBPDX welded in cross braces lower across between the stock mounts to use the sliders & achieve about the same height I did, so if the no-slider thing becomes an issue that will probably be the way I go.
Now back on to finishing the floorboards
More to come...
Re: 1978 rolling restoration
Posted: Mon Jul 11, 2011 3:21 am
by DocGraphics
This weeks progress (only 3 weeks till I can drive, so thats the timeline to get the interior done & the car on the road again)
I got my carpet & padding ordered this week, hopefully it all will get here by next weekend.
I also bought a roll of "Protecto Wrap" from HD so I can lay down a rubber membrane before the pad & carpet.
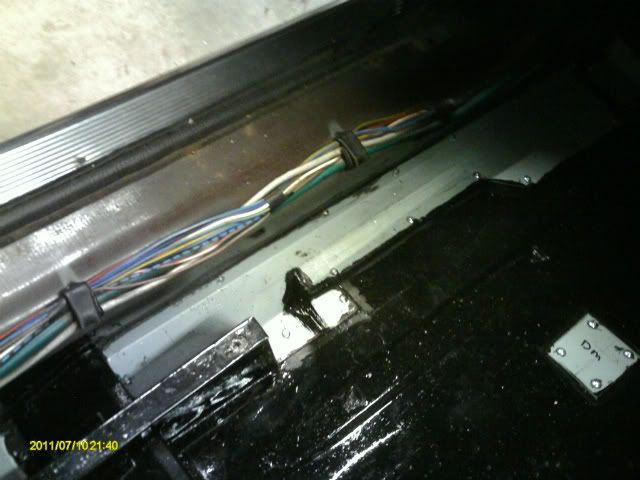
I got the floor patches in on the drivers side. I put a bead of seam sealer around the rust holes & around the perimter on each of them & then screwed them down so they cinched up tight on the sealer. I will replace the screws w/ rivets once the sealer is dry so I don't have all the screw heads sticking up. Then another coat of POR15 over the patches & anywhere else that needs touch-up.
Heres one of them
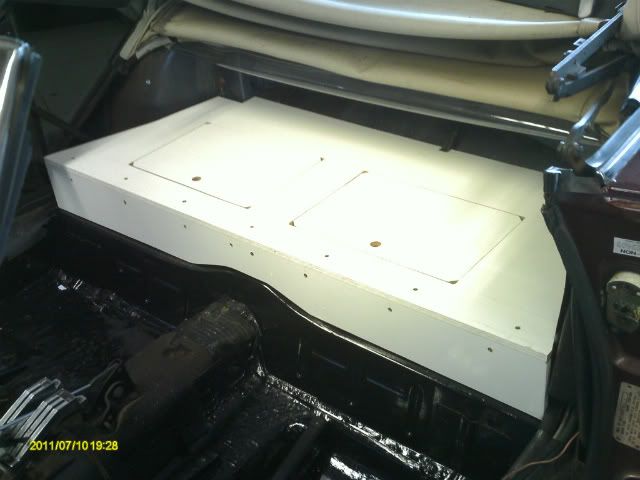
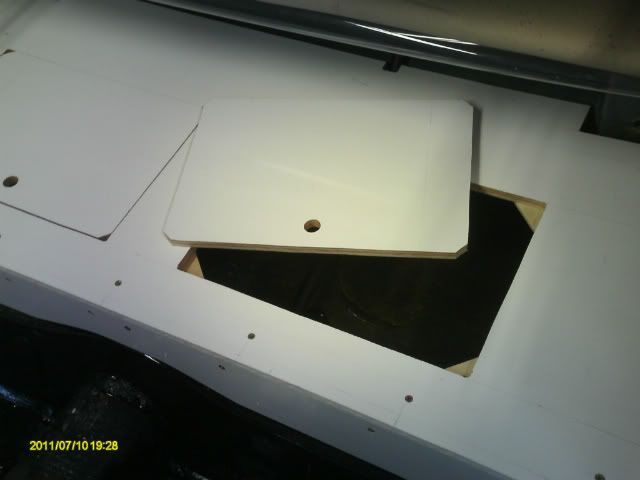
Next was making a package shelf/storage where the rear seat was, I have decided to not put the roll bar back in so this was alot easier than originally planned.
I made it out of 1/2" sign grade plywood, I used a combination of a couple ideas I had seen here to do my design.
I used foster48x's drawing for the shapes (worked perfect) then did removable cut-outs. I will cover it completely w/ carpet (same as floor) that I can lift up to gain access, with velcro across the front so the doors are hidden,.
I will be doing a speaker box like foster48x too.
I really am enjoying putting this car together, It may seem like it's happening quickly but I am really taking my time to make sure everything is done as perfectly as I can.
I have been able to put alot of hours into it in the last couple months & as each thing is completed it's one step closer to being able to show it & my work off....& drive the piss out of it!
More to come...
Re: 1978 rolling restoration
Posted: Mon Jul 11, 2011 8:31 pm
by Fiat88
Great job! Its coming along nicely. I like the luggage rack idea!
Re: 1978 rolling restoration
Posted: Mon Jul 18, 2011 3:27 am
by DocGraphics
Lots of progress this weekend.
I got all the patches done, the screws replaced w/ rivets & another coat of POR15 everywhere.
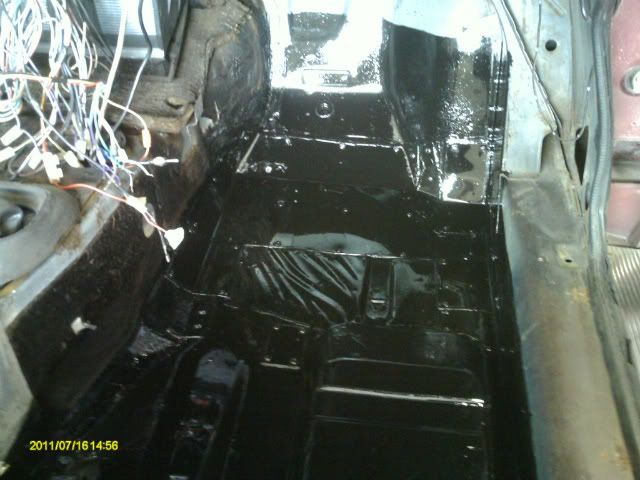
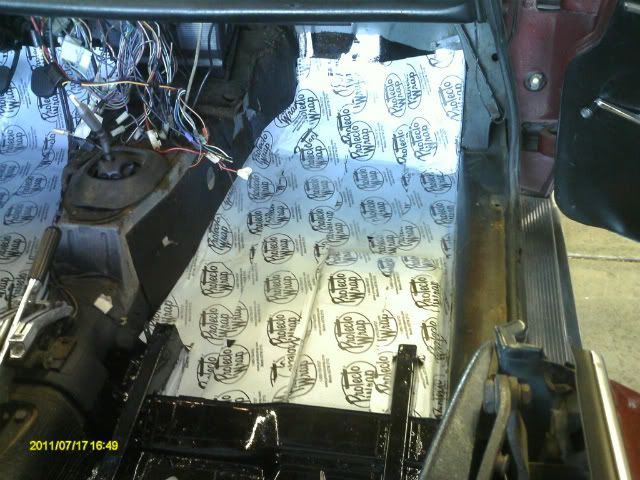
Then I put the "Protecto wrap" rubber membrane in the floor board area, It's definately sealed up now, I did cut the drain holes back in. (from HD 6' X 50' roll did all the floors w/ extra)
This stuff is cool, plastic backing on a like a 1/16" super sticky rubber membrane, I covered the entire floor area & up the sides of everything.
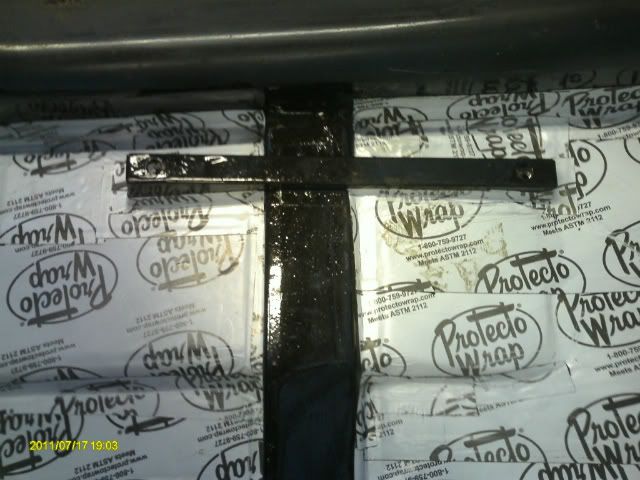
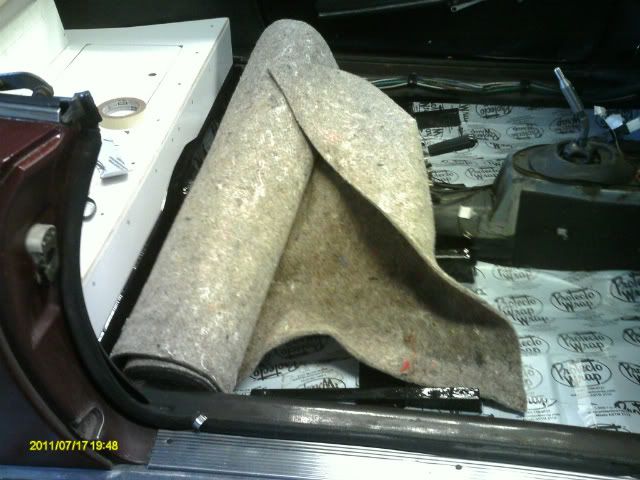
I bought carpet padding from autotrim.com that will go down before the carpet. It's about 3/8" thick.
Finally I broke out the patterns I made for the carpet, cut them apart & will be fine tuning them before I cut any carpet.
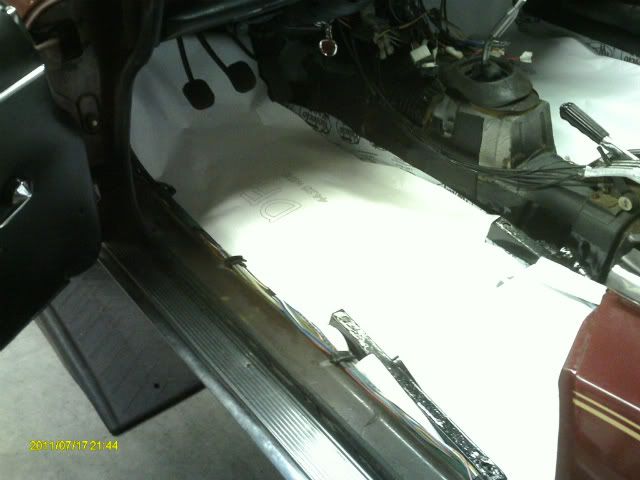
Carpet place said 7-10 days shipping on my carpet & last Fri was a week, so should be here real soon.
I'm getting real close to getting the interior back together for now, only 2 weeks till I can drive it, can you say excited!
I also got a speaker box built (thanks for posting the dims foster48x) I still need to get some speakers before I finish it though.
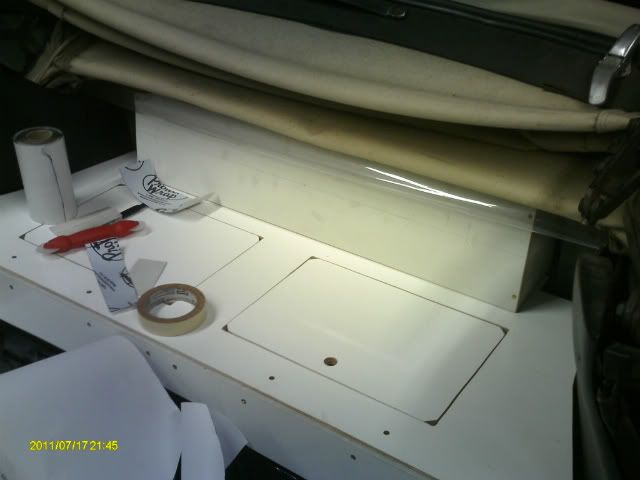
More to come...
Re: 1978 rolling restoration
Posted: Tue Jul 19, 2011 10:17 am
by jimmycakes401
I love watching stuff like this.
Next Wednesday I hope to get the majority of my own car into my garage. If all goes well. I'm in WAY worse shape to start then you, but someone already started a lot of my work. That looks great. I assume the Protecto Wrap is made specifically for car floors? Does it have sound deadening properties as well? I'm going to google it up now.
Re: 1978 rolling restoration
Posted: Tue Jul 19, 2011 2:02 pm
by DocGraphics
Dynamat (& the likes) are made for car interiors but are a bit spendy.
The "protecto wrap" I bought at Home Depot, it is for sealing around doors & window in new home construction.
I don't know how much sound deadening it will do but it should do some + I am putting in a layer of padding under the carpet too.
It definatelly seals the floors up waterproof (w/ drainholes). It won't rust from the inside-out any more!
I got my carpet yesterday so I should be getting the interior put back together (for the time being) in the next 2 weekends to meet my Aug 1 timeline.
Re: 1978 rolling restoration
Posted: Mon Jul 25, 2011 3:40 am
by DocGraphics
More progress this weekend.
I made brackets to attach the rear storage deck. On the outside bottom edges in the front I put brackets inside storage area screwed from outside & in the back corners screwed to bottom & bolt under seat belt retractors.
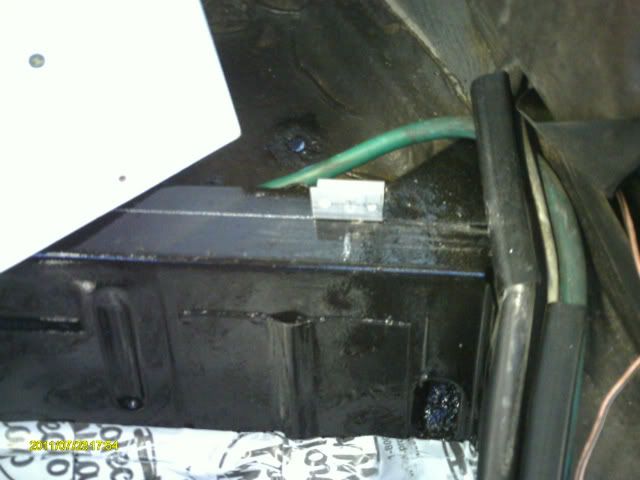
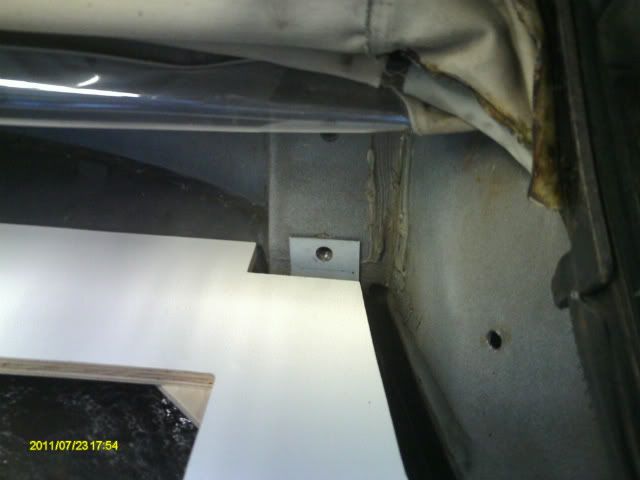
I still had the piece of styrofoam & decrepid factory insulation that goes in the passenger footwell so I reinstalled that to protect from the exhaust heat (non-catalyst car exhaust goes down center not under pass seat)
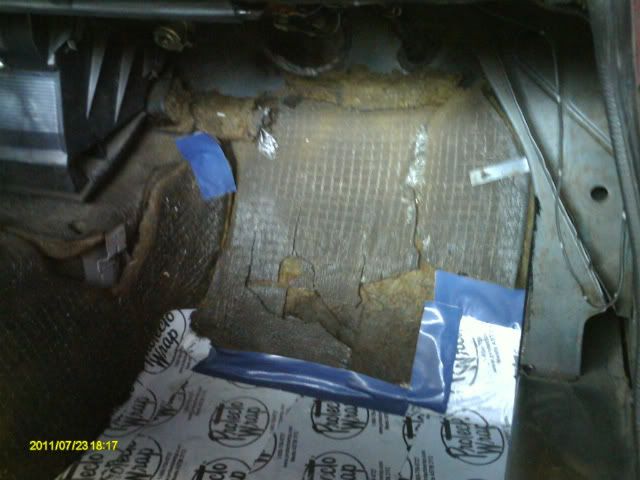
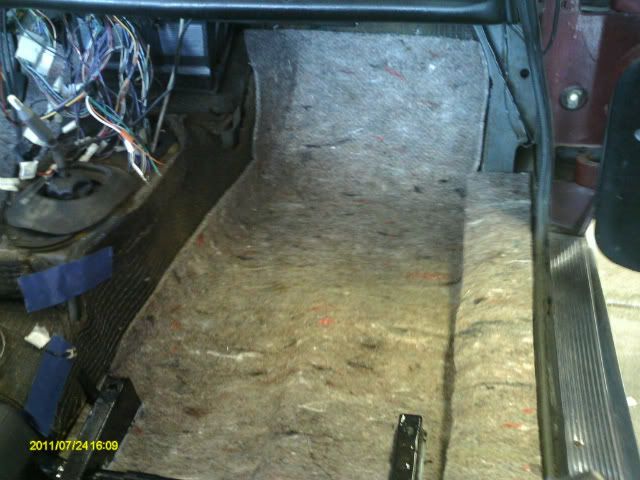
I got all the carpet padding cut to fit & install w/ spray adhesive (sticks good).
I covered pretty much everywhere that didn't still have the factory stuff.
Carpeted areas should be nice & soft & very sound deadening (& not rust & water proof!)
padding not glued down in this pic
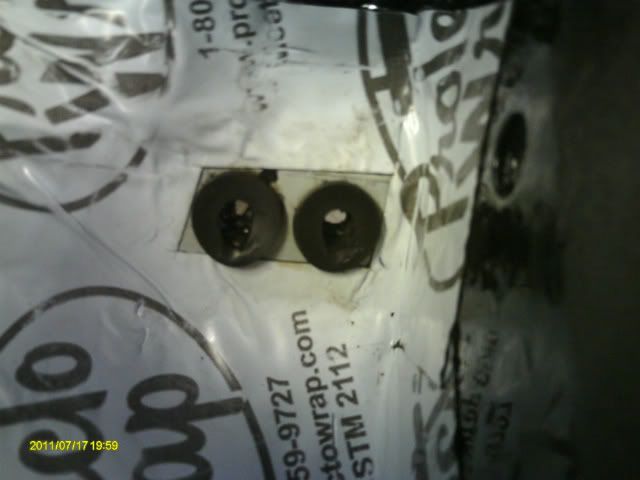
Then got the gas lines reinstalled w/ original grommets in the new sheetmetal, got them to fit great, tight in the floor edge!
Padding glued down in this pic
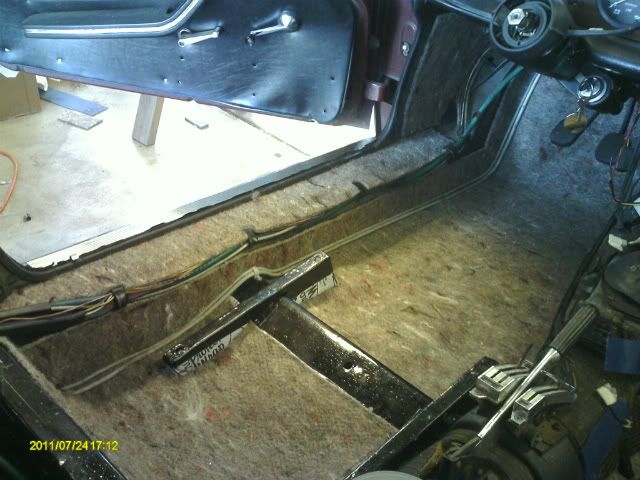
Gonna put that cheap fuzzy Home Depot carpet under the storage deck & up the back wall, then in goes the storage deck & I can start cutting & installing the good corn row carpet.
Times getting short, only 1 week till I can drive it - carpet, consoles & seats & I'm back on the road!
More to come...
Re: 1978 rolling restoration
Posted: Mon Jul 25, 2011 8:22 am
by jimmycakes401
Awesome. You don't happen to have a template for that storage unit do you? Looking forward to seeing it finished. Not sure what I'm going to do in the back seat, but I'm liking your design.
Re: 1978 rolling restoration
Posted: Mon Jul 25, 2011 7:35 pm
by DocGraphics
Here is a link to the post by foster48x explaining the build w/ dimension.
http://www.fiatspider.com/f08/viewtopic ... =rear+seat
That is what I used w/ a few minor changes to mine to make it hidden storage.
When I get the carpet in the storage doors will be hidden & just look like a package shelf.
I am using his speaker box design too (as well as his trunk ideas - different post), thanks for the great posts foster48x!
Re: 1978 rolling restoration
Posted: Tue Jul 26, 2011 8:19 am
by jimmycakes401
Thanks! However, I think the links aren't working.
Re: 1978 rolling restoration
Posted: Tue Jul 26, 2011 12:27 pm
by DocGraphics
If that link isn't working for you try to search "rear seat storage shelf" by foster48x to get to it
Re: 1978 rolling restoration
Posted: Thu Jul 28, 2011 3:28 am
by DocGraphics
I got some more done today.
I got the fuzzy black carpet put in under the soon to be storage area & up the back wall.
Not the best pics but heres a couple.
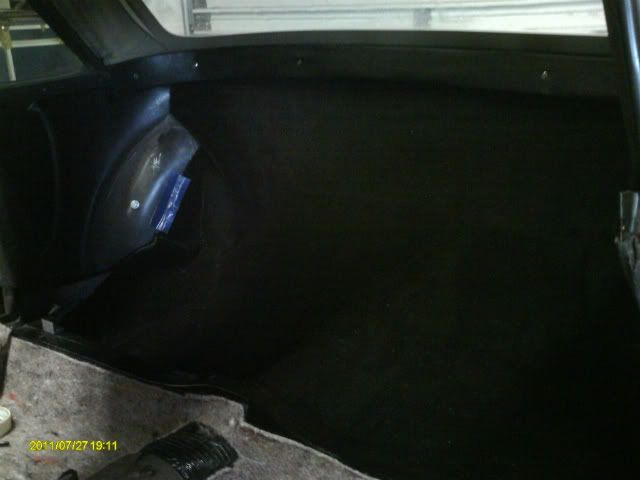
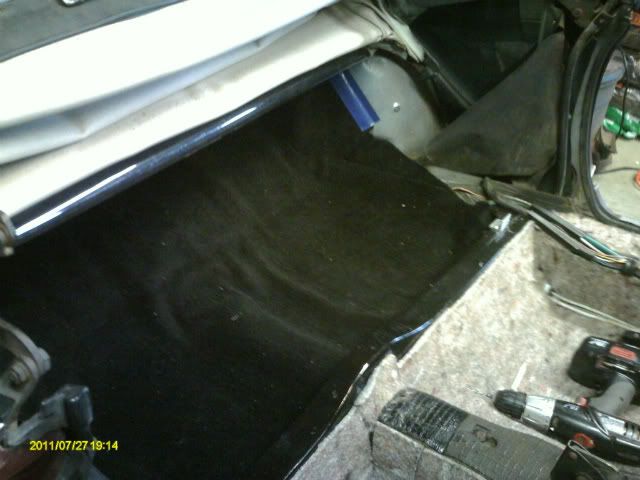
Next I covered the speaker box I made with the same carpet & installed the 5-1/4" Pyle component speakers I bought.
Turned out looking real nice if I do say so myself. I will be putting a back on it too after I do all the wiring.
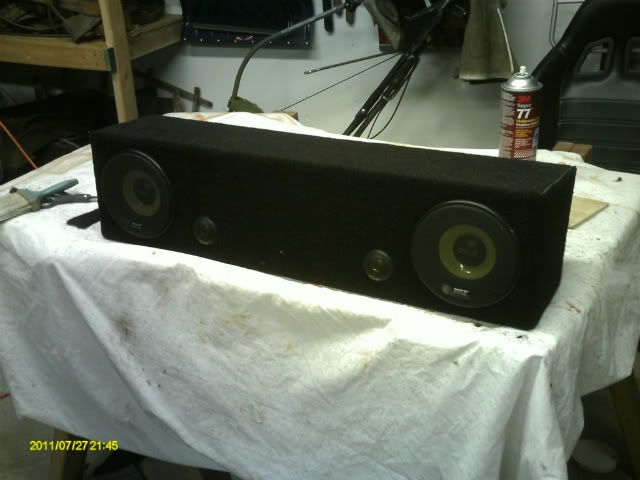
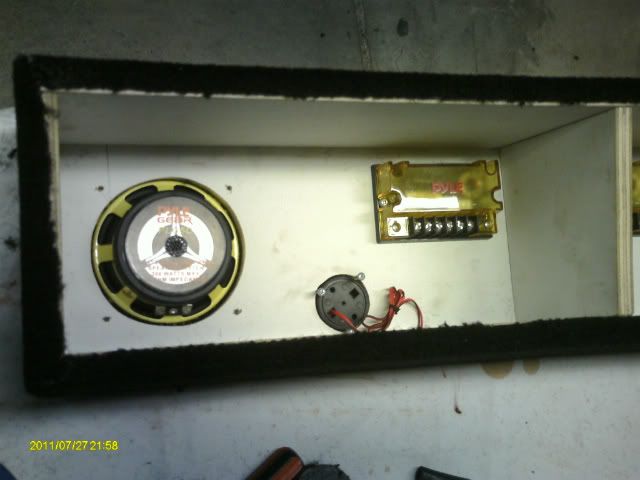
That does it for the cheap Home Depot carpet, next I start cutting & fitting the corn row stuff. I have already test fit my paper patterns & made a few tweaks here & there & have them ready to go.
Re: 1978 rolling restoration
Posted: Thu Jul 28, 2011 7:34 am
by jimmycakes401
Nice box!


