Page 13 of 19
Re: 1980 spider Restoration phase 2
Posted: Wed Feb 07, 2018 8:34 am
by rodo
Wow, right there with the other comments: amazing job, such detail! nice.
Wonder if you could talk a bit about how you handled the dash. I've got mine stripped (of vinyl) and I'm just not sure which direction I want to go. Did you also stitch it together? Glue it in? Thanks for any advice.
Re: 1980 spider Restoration phase 2
Posted: Thu Feb 08, 2018 11:22 pm
by DRUMMOND
Hi Rodo
My dash was pretty beat up. top was badly cracked and the paper mash on the inside had white mold growing on it. That was my starting point. I dried it all out, opened up the cracks To make sure the body filler would have a good depth to solidify and have decent adhesion. Sanded it all level. Sealed the whole dash with fiberglass resin, two coats inside, this adds strength for the glove box and instrument binnacle.
I then made a pattern for the Vinyl and sewed it up this way. It is stapled onto the dash underneath so no glue. This is just my preference, if in the future I need repairs, it will come off fairly easy. Here are some photos
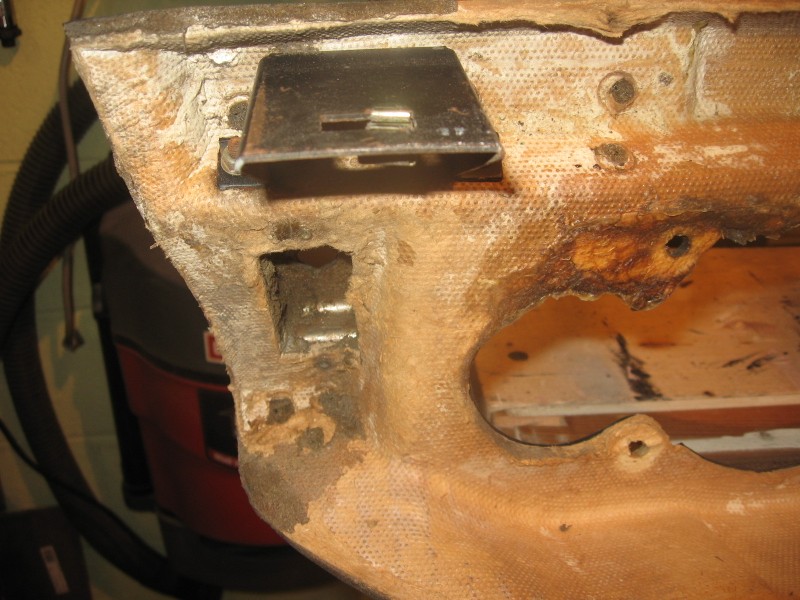
White mold
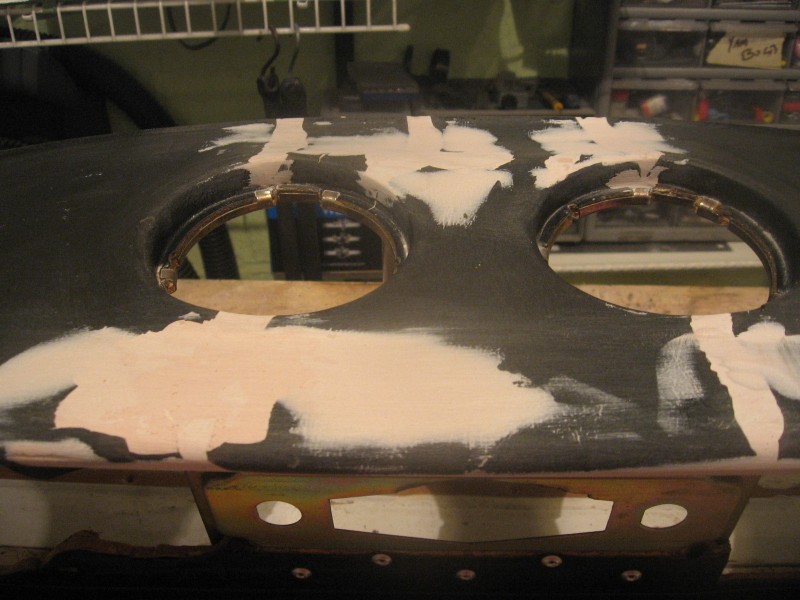
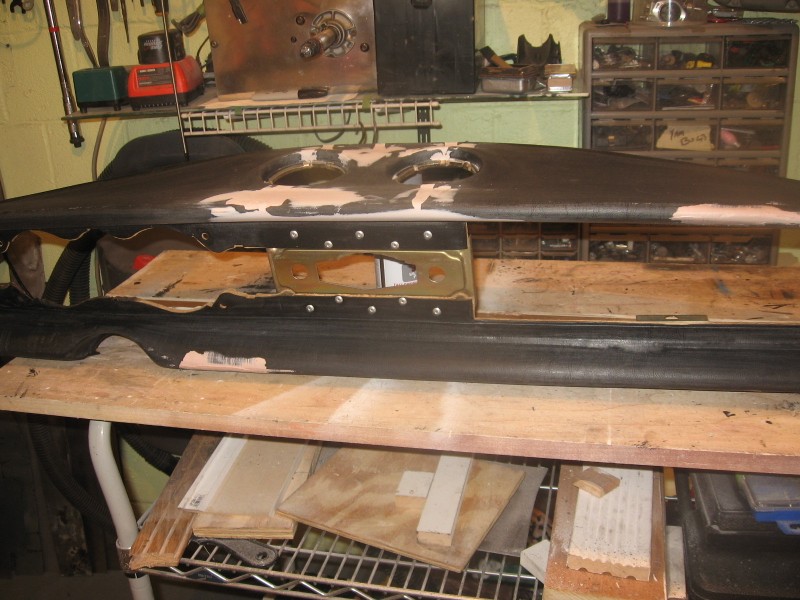
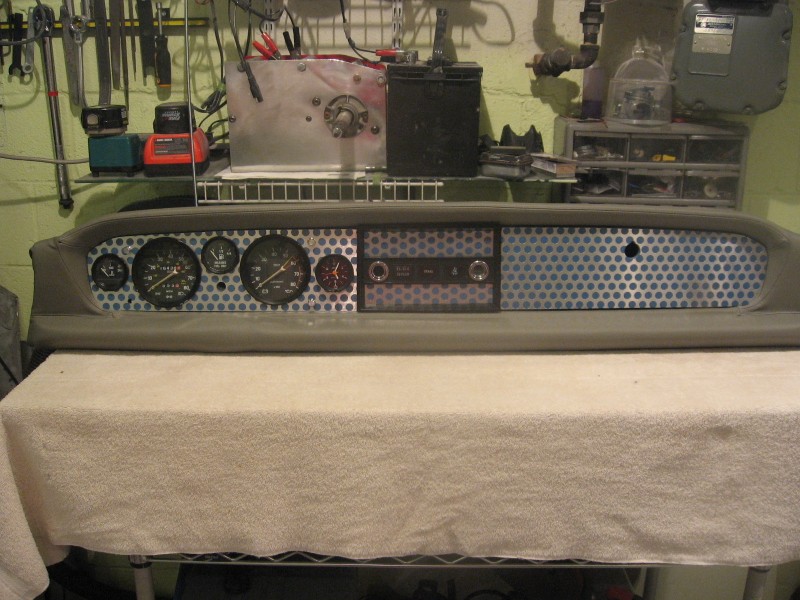
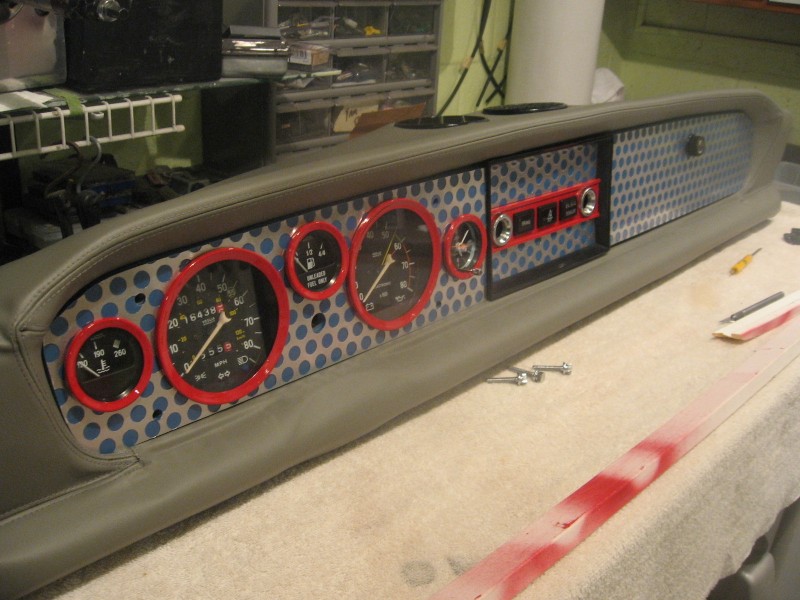
So far so good!
Let me know if you need more info
Re: 1980 spider Restoration phase 2
Posted: Sun Feb 25, 2018 11:57 pm
by DRUMMOND
Update So far:
All electrical systems Finished and Working.
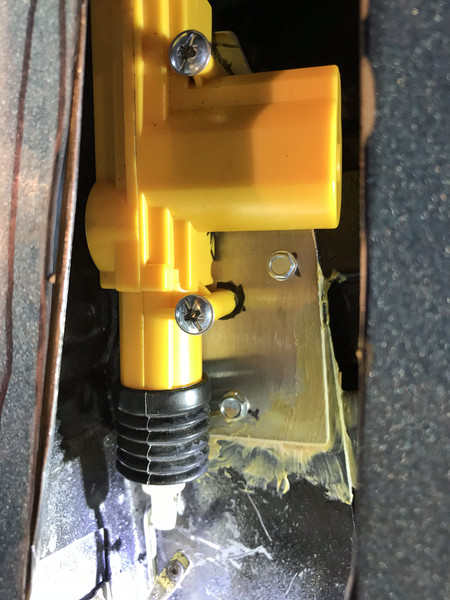
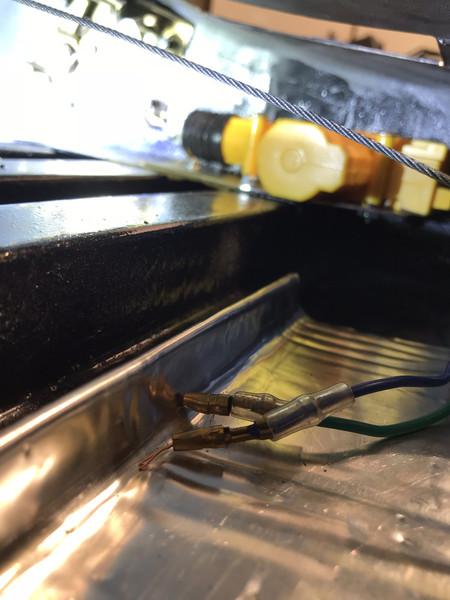
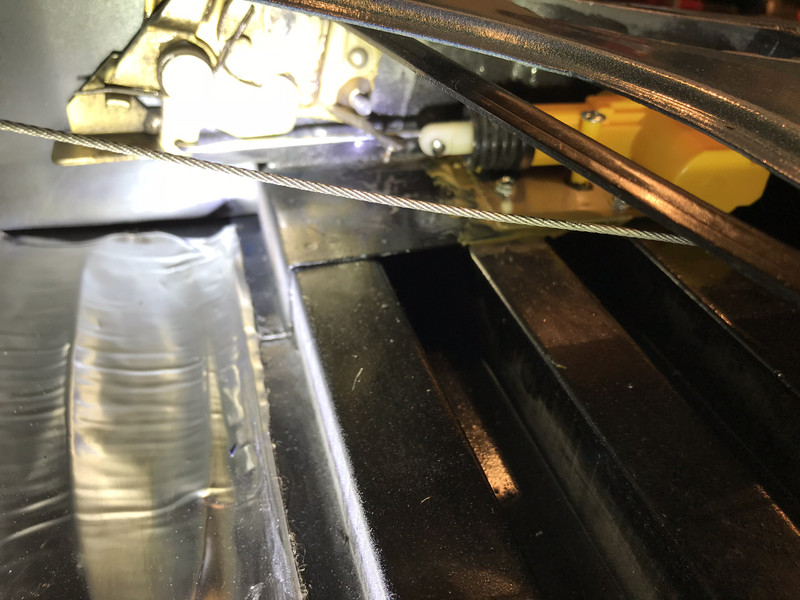
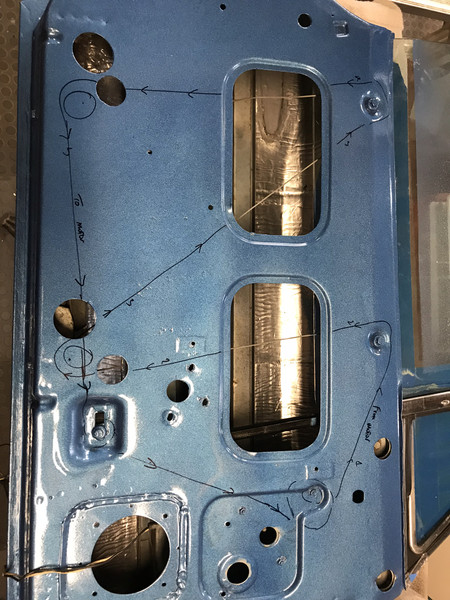
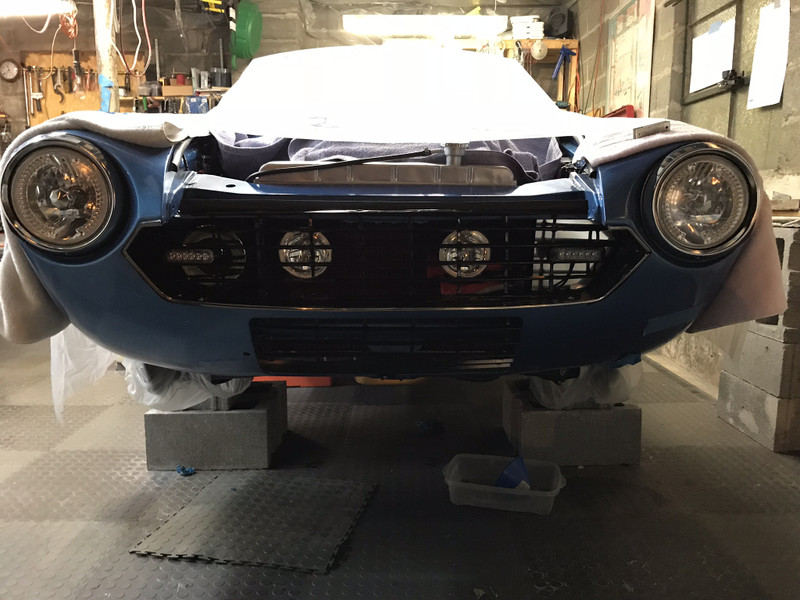
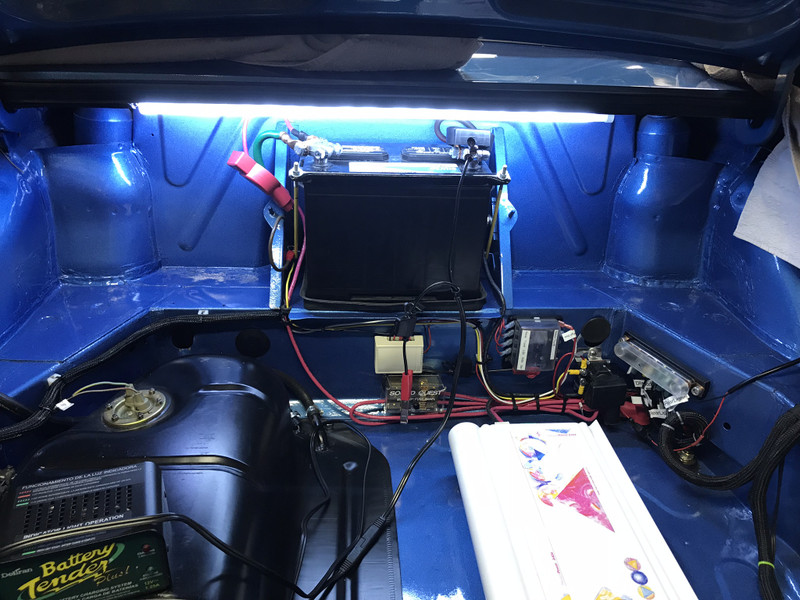
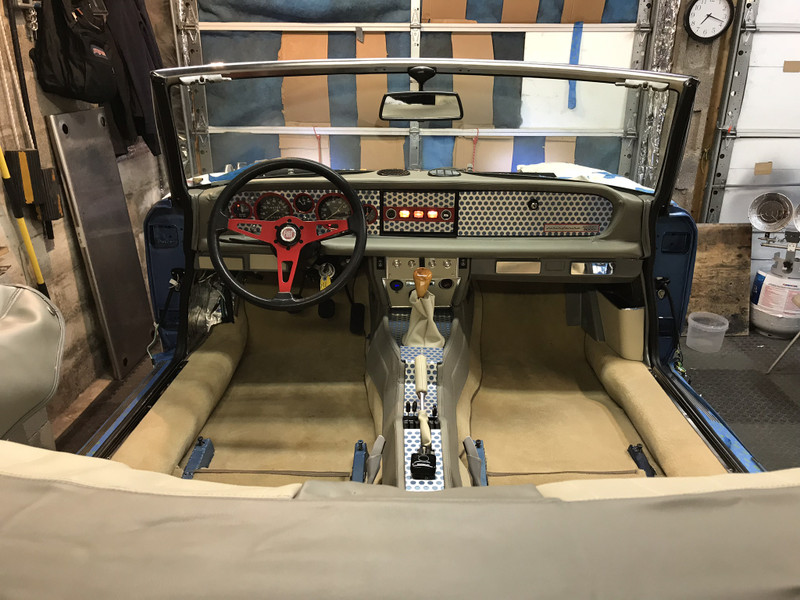
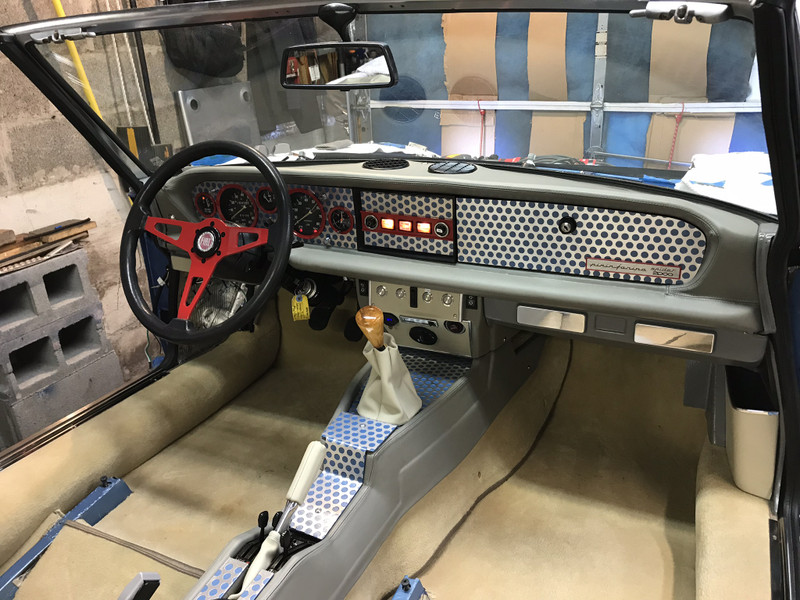
Total renovation of wiring loom, All terminals/wire labeled, Upgraded all lighting systems to LED, Added DRL's, Bluetooth amp, Automatic Lights, Added 2 new fuse boxes & Original renovated fuse box, Upgraded engine bay grounding stations, Added new ground station to trunk (mainly for Amp, Lights and Fuel Pump) Remote Charge pins for Battery, Automatic doors with poppers, Magnetic switch for trunk light (no longer have to have lights on to work), New driving Lights, All heavy draw equipment on Relays, New light switch, Pushbutton start.
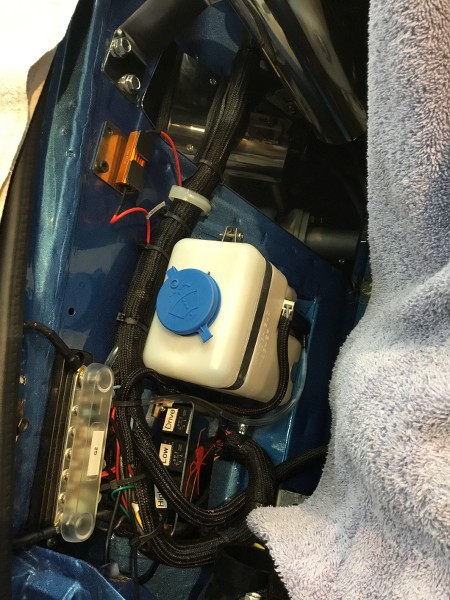
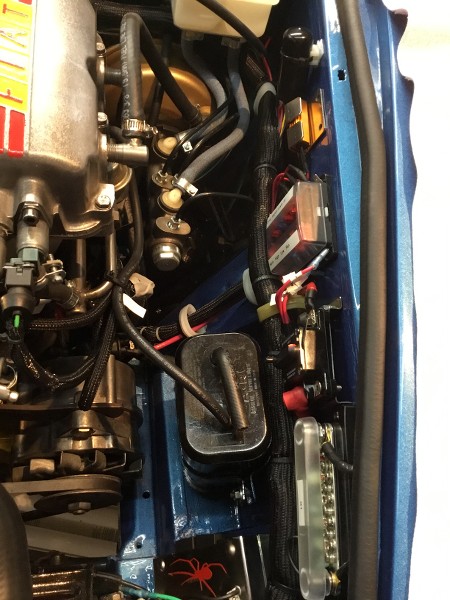
Next up, brake fluid and Bleeding brakes
Re: 1980 spider Restoration phase 2
Posted: Mon Feb 26, 2018 6:08 pm
by RRoller123
Fantastic! Really inspiring work.
Re: 1980 spider Restoration phase 2
Posted: Mon Feb 26, 2018 7:47 pm
by dinghyguy
Hi Drummond,
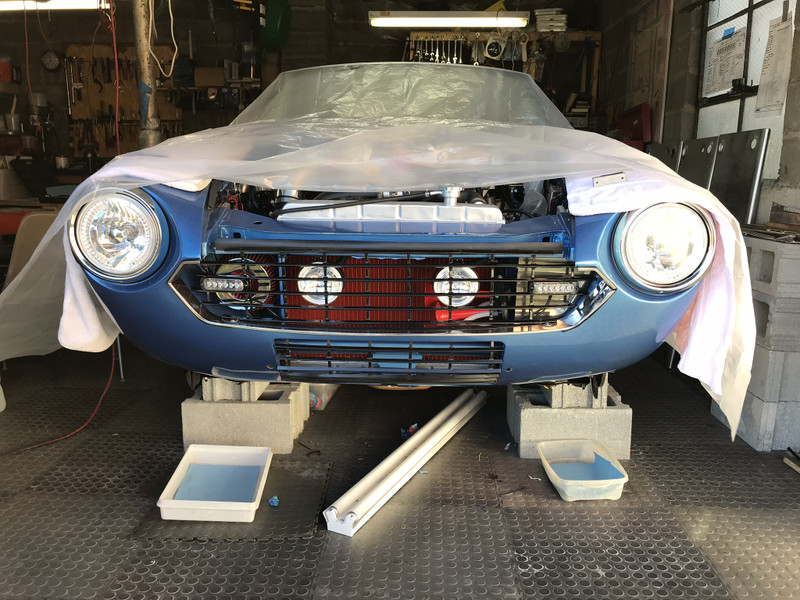
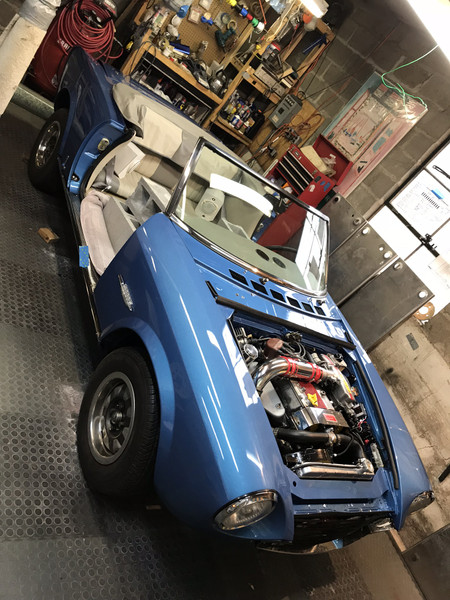
As always, wow. I have to ask what the additions under the dash are for, it is not readily evident in the latest photos. Also, are there 4 lights behind the grill (one hidden by the cloth ) or only 3? Whose lights did you install?
And finally, when is the test drive? I hope there will be some video!
cheers
dinghyguy
Re: 1980 spider Restoration phase 2
Posted: Tue Feb 27, 2018 11:05 pm
by DRUMMOND
thanks for the nice comments!
Dinghyguy
driving lights are: Pilot Performance Lighting PL-195C Pilot 4"
Main Lights are: Allisson automotive Fiat Spider H4 Headlamps with Two LED Circuits
Signal Lights are:GPPOWER Universal super thin 6-LED Amber
only two lights behind the grill. the left side holds the air filter, the right side is a Polished SS block off plate which holds the horn compressor and 4 relays
Additions under the dash: they are the old air conditioner vents, Just replaced the vents with aluminum plates as they were all broken. also helps hide all the wiring.
Re: 1980 spider Restoration phase 2
Posted: Wed Feb 28, 2018 4:17 pm
by AriK
Yes +1! Truly inspiring progress. Keep up the great work!
Re: 1980 spider Restoration phase 2
Posted: Thu Mar 15, 2018 10:39 am
by familyman
Something I change when restoring Spiders is to move the wiring that is normally strapped to the top of the left foot well on the driver's side. I don't like that the carpet doesn't conform over this lump of wires. On one of my cars, I opened up the loom and got enough slack free to route the bundle of wires along the bottom of the foot well so it was less visible. On my current project, I plan to open up the bundle of wires, and get them to lay side-by-side so that they conform to the shape of the sheet metal. I may just glue them in place. Then the carpet will hide the wiring and lay tight over the shape of the sheet metal. Likewise, I have built up the lower portion of the floorboard on the passenger side (where the catalytic converter bumps up the floor board), so that the passenger floor board is flat, like on a pre-catalyic-converter Spider. It's amazing how these two changes improves the overall fit and finish of the carpets.
Re: 1980 spider Restoration phase 2
Posted: Sun Mar 18, 2018 11:02 pm
by DRUMMOND
Re: 1980 spider Restoration phase 2
Posted: Sun Mar 18, 2018 11:11 pm
by nelsonj
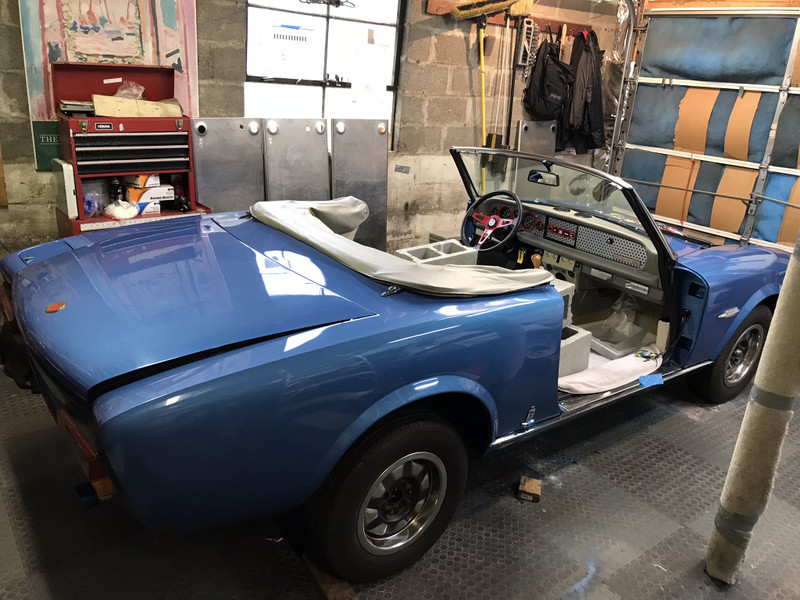
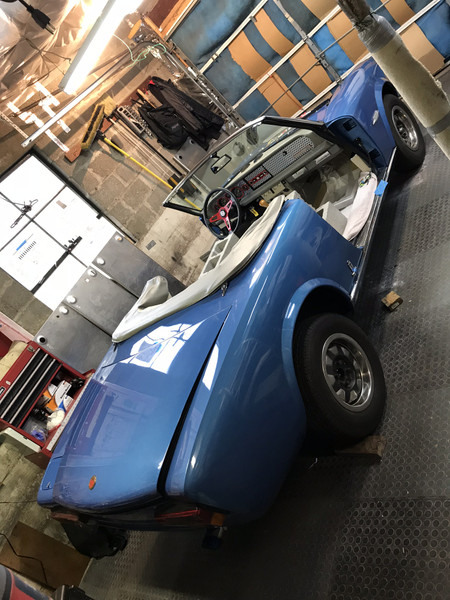
The paint looks gorgeous - can't wait to see it with doors and seats! Please keep positing, and congratulations on reaching this mile stone.
Re: 1980 spider Restoration phase 2
Posted: Sun Apr 22, 2018 12:02 am
by DRUMMOND
Re: 1980 spider Restoration phase 2
Posted: Sun Apr 22, 2018 12:04 am
by DRUMMOND
Re: 1980 spider Restoration phase 2
Posted: Sun Apr 22, 2018 9:53 am
by ORFORD2004
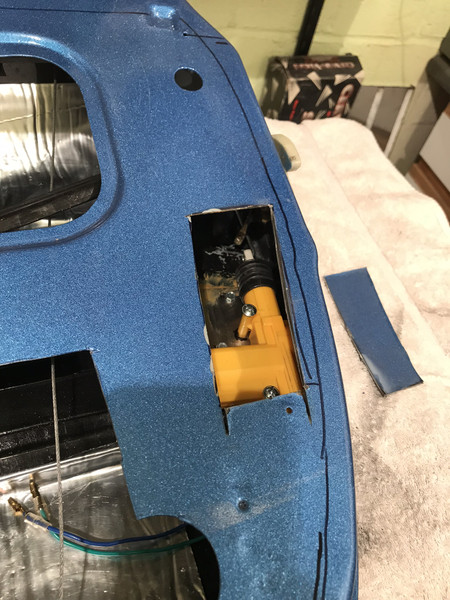
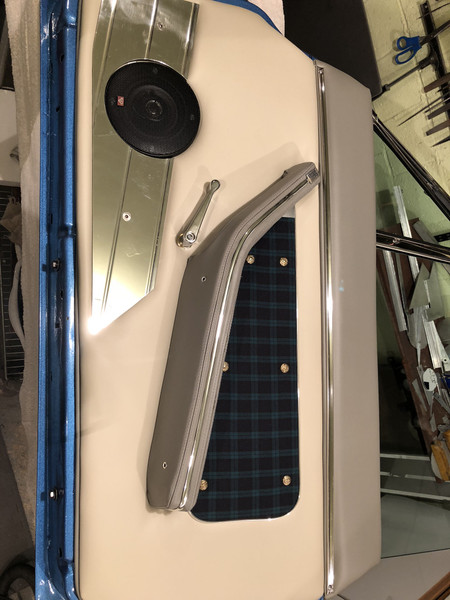
Look like I won't be the only one with door lock

Re: 1980 spider Restoration phase 2
Posted: Mon Apr 23, 2018 10:30 pm
by DRUMMOND
Re: 1980 spider Restoration phase 2
Posted: Sat Apr 28, 2018 9:51 pm
by Gplayer
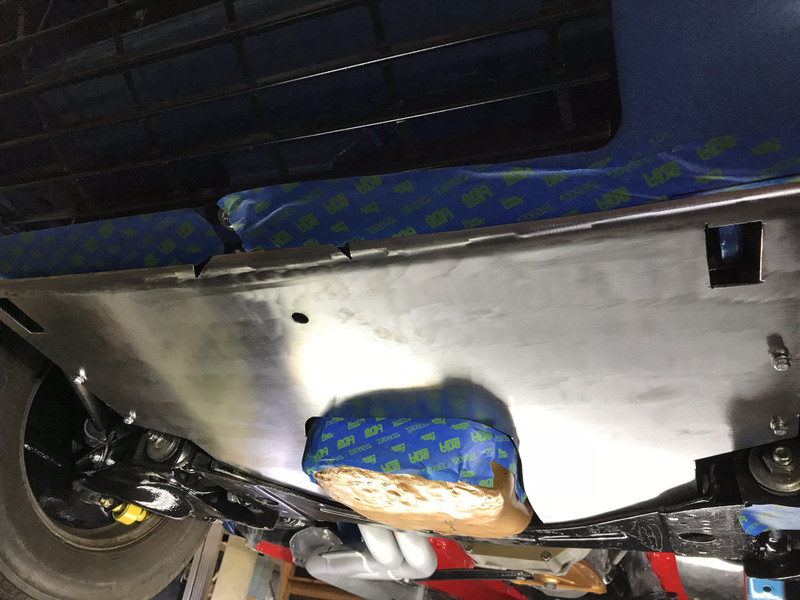
So quick question, going a bit far back in your thread, how much sound absorbtion mat did you need to do the whole floor pan?


