Page 2 of 3

Re: 77 Fiat 124 Restoration Project

Posted: Sat Oct 06, 2012 7:57 pm
by mfusaro
Just ordered a carb kit for the 32 ADFA. I still like to find a used carb so if totally screw up the rebuild, I'll have something to fall back on. I really don't want to spend more than $50 for a used one.

While I was cleaning out the trunk of the car, I found a few spare parts but I don't think any of it is usable. One thing of interest is that the previous owner - or maybe several previous owners ago - bought a timing belt which was still in the box. There was a receipt inside that was dated 2002! Well if some one was thinking about changing the timing belt ten years ago then it really needs to be changed now. So I'm going to order the parts - no way I'm going to use the belt in the trunk!

Here's where the parts list starts adding up: Might as well replace the roller, water pump, hoses and thermostat. I'm not sure if the camshaft seals are leaking. Haven't noticed any obvious leaks near the front of the engine. Since the timing belt needs to be replaced every 25k, maybe I'll hold off on those until next change.

Does anyone know what kind of coolant Fiats take? The coolant that's in there now is an orange color. Looks clean and it's no contaminated. Looks a little be like VW coolant.

I would like to thank the person who submitted the timing belt diagram. I know the timing alignment tool is not really necessary but does anyone know where to find of these things?

Re: 77 Fiat 124 Restoration Project

Posted: Sat Oct 06, 2012 8:01 pm
by mfusaro
[quote="Redline"]My 1,2,3,5 are noisy and my 4th gear is silent. I replaced the oil and it didn't change. It shifts precisely, never pops out of gear, and has not changed in the last 10'000km. I simply figure TADTS* and will not touch it until something drastic happens.

That's exactly what mine is doing. It doesn't sound really serious yet so I think for now I'm just going to change the oil and not worry about it. I found another gearbox on craigslist for $300 which is from a 76. I wonder if I should buy it just in case.

Re: 77 Fiat 124 Restoration Project

Posted: Sat Oct 06, 2012 8:05 pm
by mfusaro
RRoller123 wrote:I am not sure on the older engines, so I am only refering to the FI 2000, where the tension is set by the tensioner bearing and spring assy by itself. Is there a different system on the earlier non-FI engines?
I have a really old shop manual dating back to 72. I think they changed something on the later models because from what I've been hearing the spring sets the tension so you don't manually have to do it.

Re: 77 Fiat 124 Restoration Project

Posted: Sat Oct 06, 2012 8:07 pm
by mfusaro
124JOE wrote:i have a 32adfa for sale "i bought a 32/36dfev for $200"
Image
hope this helps
What are you asking for the 32 ADFA?

Re: 77 Fiat 124 Restoration Project

Posted: Sat Oct 06, 2012 8:14 pm
by mfusaro
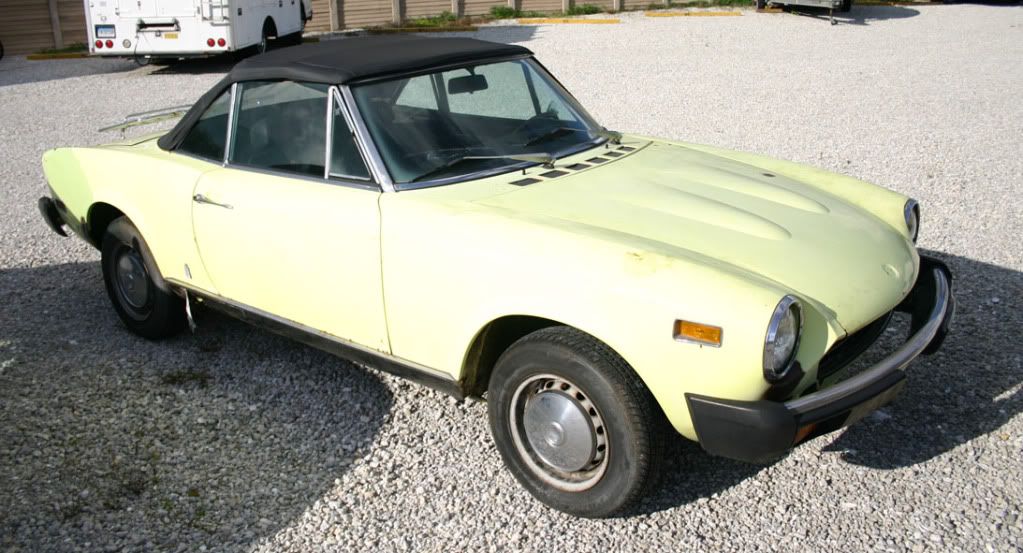
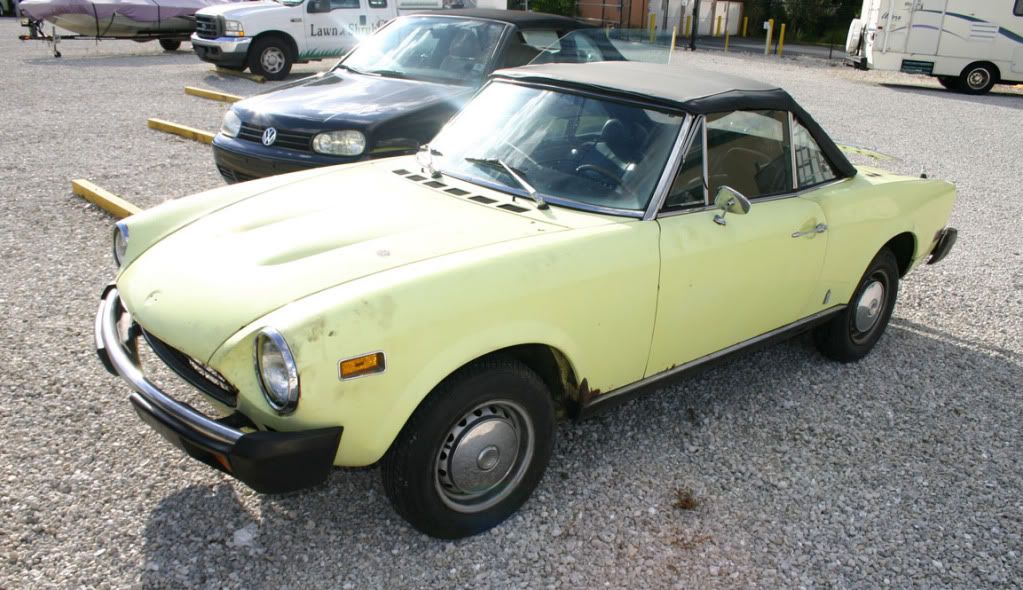
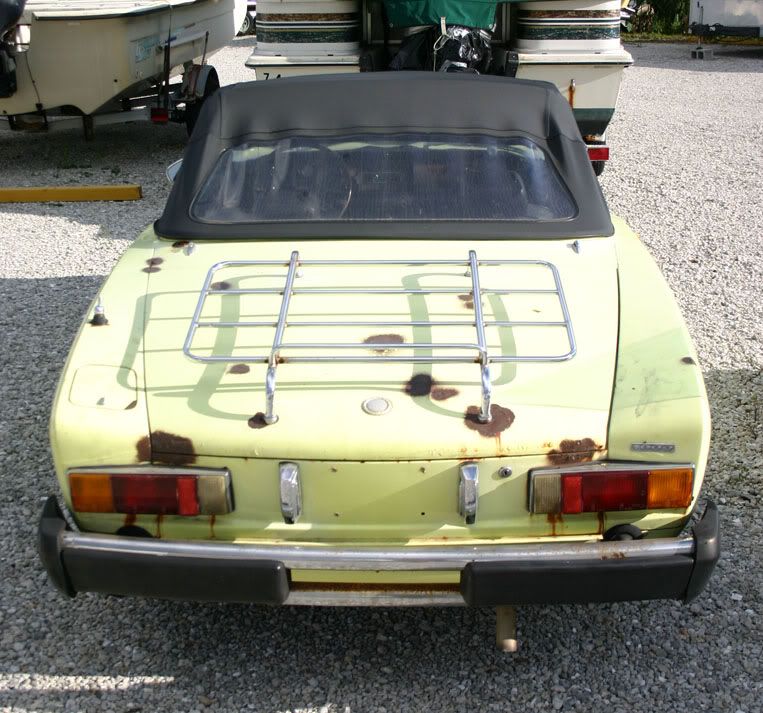
Here are some photos of my lemon 77 Fiat:
Image
Image
Image
Image

Timing belt and carburetor

Posted: Tue Oct 09, 2012 8:23 pm
by mfusaro
I decided to go ahead and start ordering parts for the Fiat. I ordered a carb rebuild kit for the 32 ADFA which should arrive by this weekend. I also a timing belt, timing belt roller, water pump and water hoses. I checked the front end for leaks and didn't see anything that would justify changing out the seals, so I'm going leave them alone for now. With 25k between timing belt changes, I don't think it's a big deal to put it off.

I decided to change the water pump because they are cheap and easy to replace. I would have ordered a thermostat but I don't want to send the $80 for a new one. The old one seems to be working fine. I don't want to spend a fortune replacing everything that might go bad.

My goal for now is to get this car running and driving to the point I don't have to worry about it breaking down every time I turn the key. I can't keep it disassembled for too long...whatever I do to it I need to have it up and running within a day or two. The timing belt looks simple enough. The more I look at it, the easier it seems to do. I'm going to try to take plenty of pictures while I'm doing these repairs for future reference and to help anybody else that might be doing the same thing.

Re: 77 Fiat 124 Restoration Project

Posted: Wed Oct 10, 2012 12:02 pm
by 124JOE
I need $100 for my adfa

Re: 77 Fiat 124 Restoration Project

Posted: Thu Oct 11, 2012 1:39 pm
by mfusaro
124JOE wrote:I need $100 for my adfa
Sorry 124JOE but I just bought one off of eBay. I bought it cheap but it needs a rebuild.

I've been doing some research about the EMPI 32/36 DFEV carburetor. Sounds like a good replacement for the 32 ADFA but I'm a little worried that my car is going to turn into a Frankenstein. I had a Jeep once that the previous owner installed a Rochester carburetor and no matter what I did the car never ran right. I want to avoid problems like that again but if I had an in depth, step by step, fool proof instructions on how get this carb to work I might give it a shot. For right now, I'll just rebuild the old one.

Re: 77 Fiat 124 Restoration Project

Posted: Thu Oct 11, 2012 2:11 pm
by mfusaro
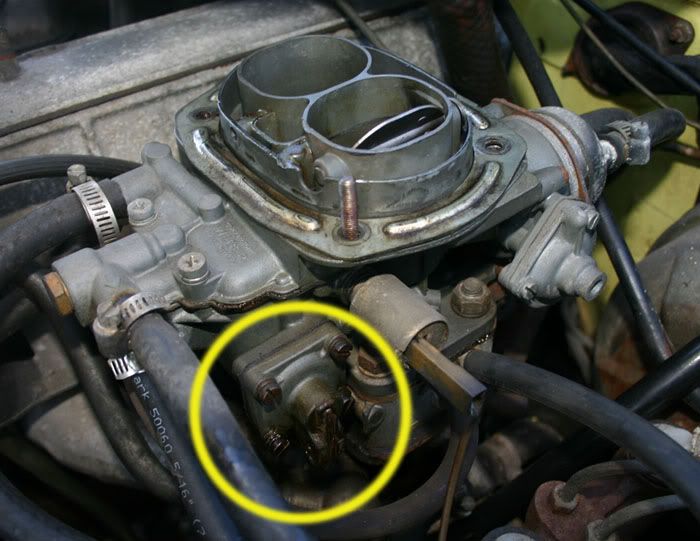
I took some pictures of the engine today. I highlighted the part on the carburetor that's leaking. It appears to be coming from the accelerator pump:

Image

Re: 77 Fiat 124 Restoration Project

Posted: Thu Oct 11, 2012 2:15 pm
by mfusaro
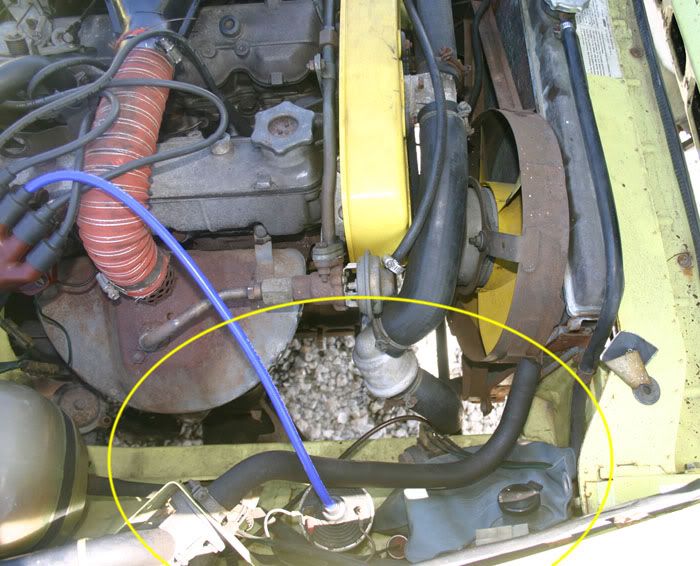
Although I don't think it's important, I noticed that there is a hose that isn't attached to anything. I'm assuming it goes to the air pump that someone removed at one time. I don't like to leave it hanging around if it's not needed. What's the normal fix for this? I live in Florida so I don't have to worry about emissions.

Image

New timing belt

Posted: Fri Oct 12, 2012 10:53 pm
by mfusaro
I finally have all my parts to change out the timing belt, so today I decided to do it. I had a few problems but for the most part it wasn't that bad. I go through each step in case someone is thinking about doing the same thing. Maybe you can avoid some of the pitfalls that I ran into.

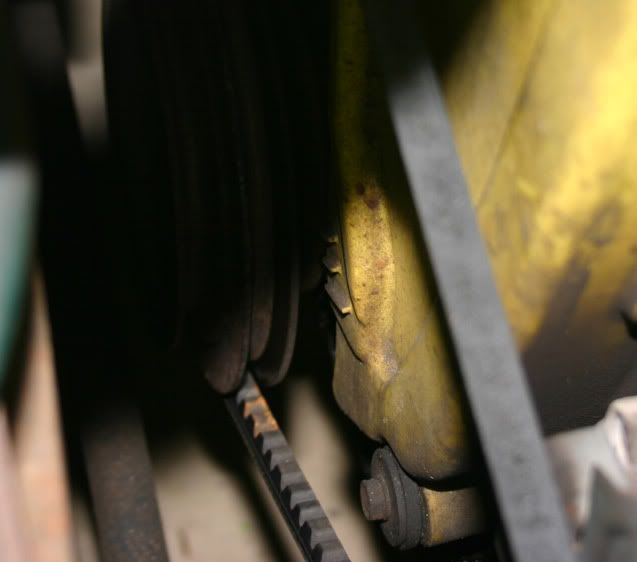
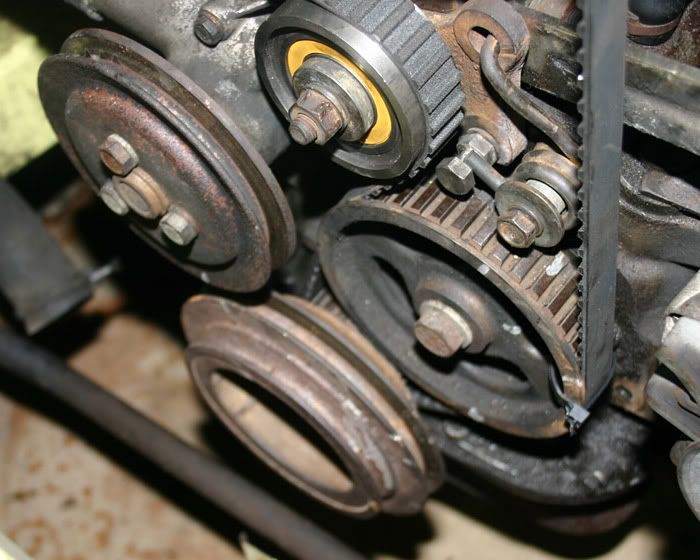
1. I lined up the timing marks that are on the timing cover. There's two short marks and one long one. I lined up the longer one to the notch on the crank pulley. The notch was hard to see so I marked it with a sharpie. After that, I put the car in gear to hopefully keep crank from moving
Image

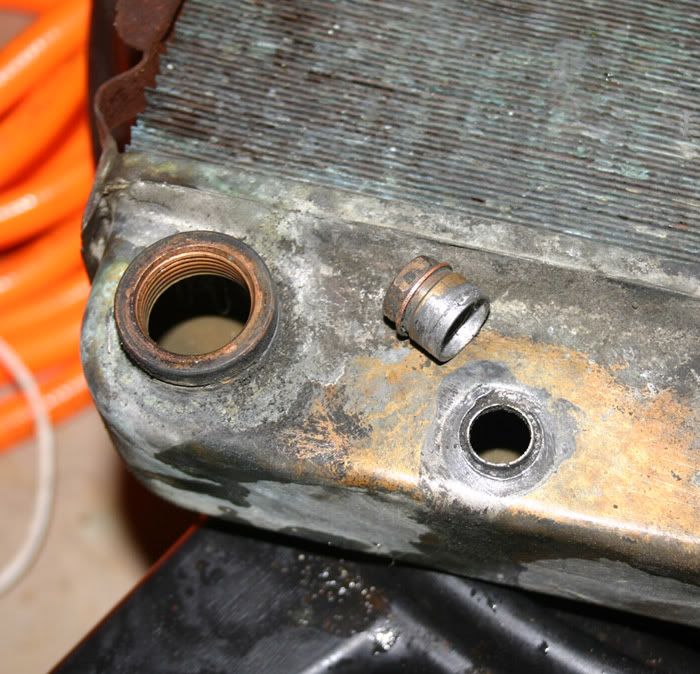
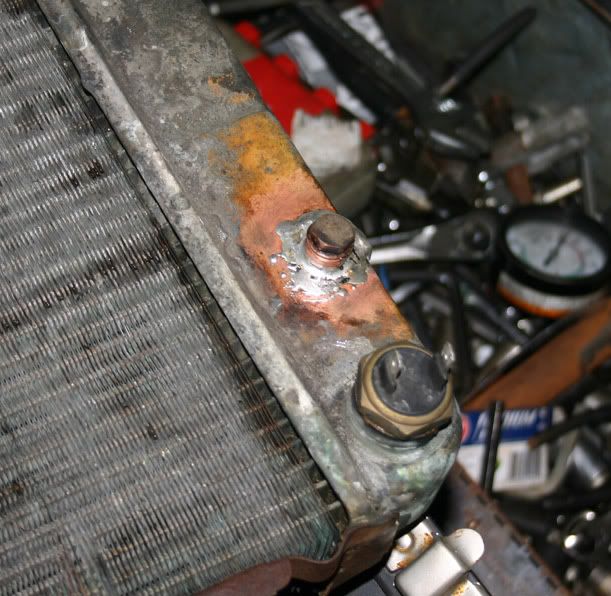
2. Drained and removed the radiator. This is where I ran into problems. I tried unscrewing the drain plug at the bottom of the radiator. With little effort, the entire drain tube broke off! I think someone had this problem before and repaired it. It came off so easily that I'm surprised it didn't leak or pop off before. I went to the local hardware store and bought a brazing kit. After a few tries, I managed to braze the tube back on. It wasn't a pretty fix but I did a leak check and didn't leak. I never removed the drain plug. Next time I go to drain the radiator I'm going to remove the lower radiator hose.
Image
Image

3. Removed the hoses and water tee and the timing cover.

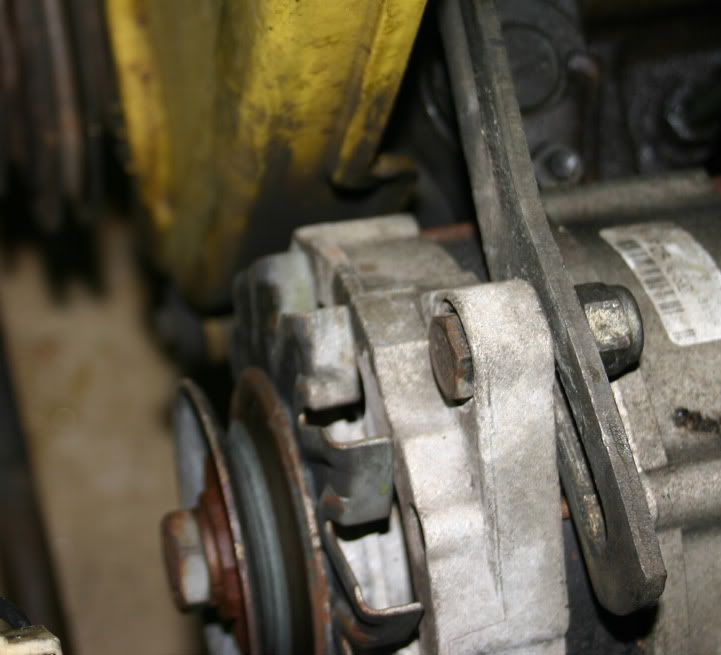
4. Loosed the alternator to remove the v-belt.
Image

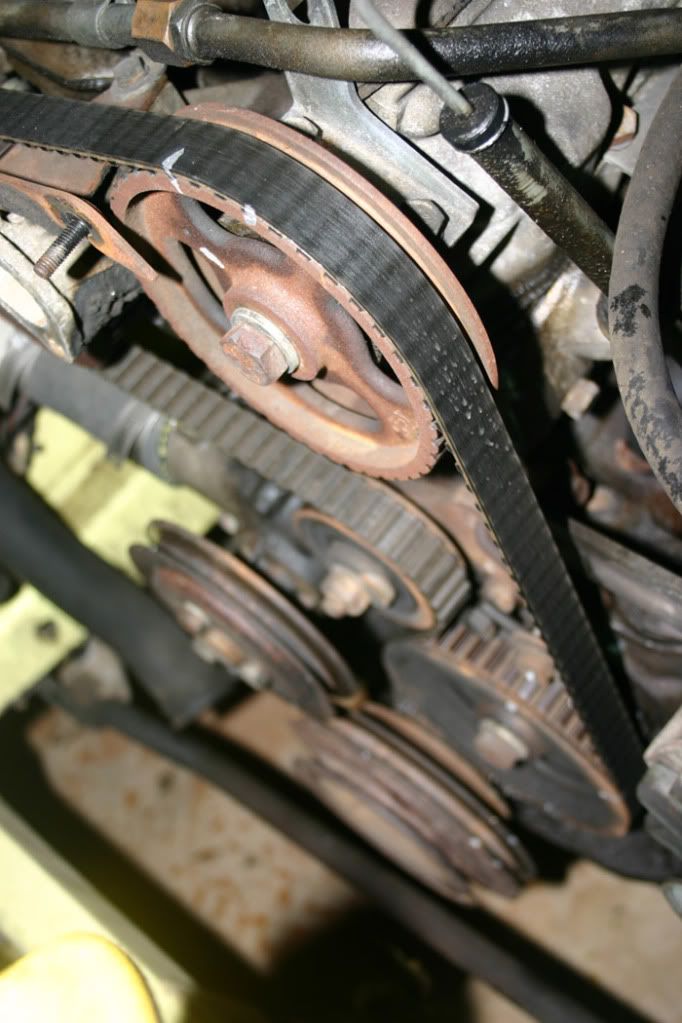
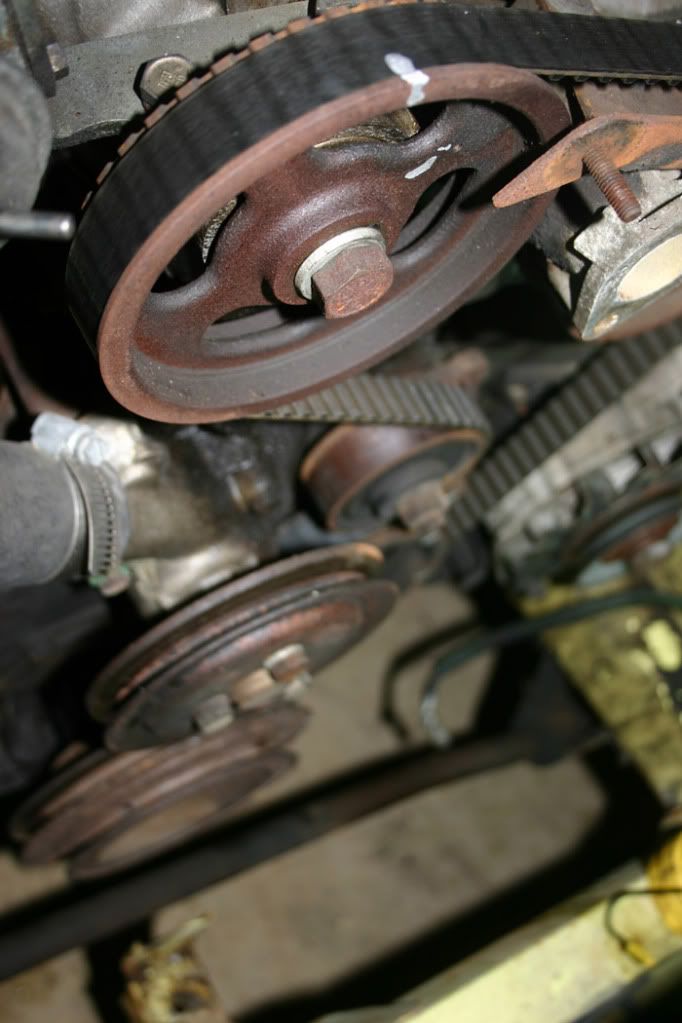
5. Finally, I got full access to the timing belt. I marked and double marked everything. It really bothers me that the engineers didn't take the time to make timing marks for everything. I wasn't taking any chances. I marked the cams, the oil pump pulley and the crank.
Image
Image

6. Removed the old belt. Although it was still snug, I didn't have to remove the spring to remove the belt. It came right off with my hands. With that being said, I'm glad I changed it now instead of waiting.

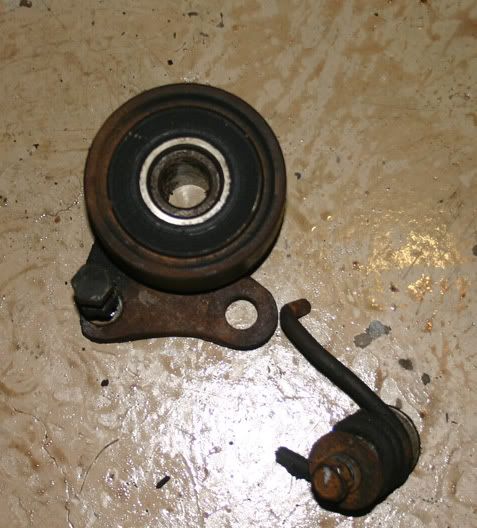
7. Removed the roller tensioner. Although it was a little rusty, it still seemed like it was in good shape. I bought a new one anyways.
Image

8. Installed new timing belt. I started with the cams and placed zip ties to keep the timing belt tight against the cam pulleys. I then wrapped the timing belt around the oil pump, keeping it tight and using zip ties. I then wrapped the timing belt around the crank. Interesting, I didn't need to remove the crank pulley. There was enough room to slip the timing belt in place without taking the pulley off. I know some people have struggled with this pulley before but if the oil seal isn't leaking, there's no need to remove it.
Image
Image

This is were I ran into another snag. I've read other threads saying that if you put the car in gear and engage the emergency brake, the crank pulley shouldn't move while you are installing the timing belt. Mine did. I was worried that might be off so I put the timing belt cover back on to re align it. Crisis averted!

Almost done with the timing belt. The next problem I had was re installing the spring tensioner. I though I could put the tensioner back on and then pry it back to install the timing belt. That didn't work out too well. So. I first put the timing belt on the tensioner then moved the spring back in place with some vice grips. Even without the spring in place, the timing belt is a tight fit. After I put the spring back on, I tightened everything up: from what I read, the spring is only there to adjust the initial tension. After that, it's bolted in place. That explains why my old timing belt was loose enough to remove by hand.

9. Rotated the engine until all the timing marks lined up again. This is to make sure you're not hitting any valves and the timing is correct. If you never replaced a timing belt before, this is important. If there's any resistance, then more than likely the valves are hitting the pistons. Stop immediately if you have this problem and check your timing marks.

10. Put all the parts back on. I installed new water hoses except for the lower hose - Advance gave me the wrong hose. I also got the wrong v-belt. The old ones didn't look really bad so I reused them. I was going to change the water pump but when I looked it, I didn't see any play in the bearing. I decided to save for later. I did notice some seal leakage-not enough to change it this time around. Now that I have more confidence in replacing the timing belt, I can go in there next time and replace the seals and water pump.

11. Started it up, go the engine warmed up and check for leaks. Got the air out of the cooling system. I was really worried about the drain tube up but it held up. Might try to get another radiator but the old one seems to be working great-car doesn't overheat or run hot. Job done! It took me about 3 hours to do but considering I had to take the time out to braze the radiator I could have finished it much sooner.

Re: 77 Fiat 124 Restoration Project

Posted: Sat Oct 13, 2012 11:28 am
by RRoller123
Excellent report! We love pictures, they are better than thousands of words.

Carb rebuild and some other things

Posted: Mon Oct 15, 2012 9:30 pm
by mfusaro
Today I installed my rebuilt 32 ADFA. I wasn't too sure how it would run because the rebuild kit that I got was crap. It didn't have nearly all the parts that I needed. So I just cleaned the carb and made the best of it. It did make a big difference. Before, the car idled really rough and it would die. After the rebuild, the idle was steady at 1100. I could have adjusted it more but the engine has a misfire somewhere.

Did a compression check. The first two cylinders checked good. The third one was a little lower than the other 2 but still good. The forth one was much lower, about 75 psi. I suspected that I wasn't getting a good seal with the compression guage hose so I tried another one. This time it checked good, about 140psi. When I pulled the plugs, they seemed to be firing like they should. I think the problem with the misfire has to do with the plug wires, so I ordered a set. The distributor and points look good, so I'm going to leave them alone.

Changed the engine oil and the gearbox oil Had some problems locating a stock oil filter so looked for a substitute. I ended up using a Purolator L14670. It was a little narrower and a little taller than the stock filter but other than that, it was a good fit. I refilled the gearbox using NAPA 90W mineral oil. This oil was suggested somewhere else on this site. Unfortunately, it didn't do anything for the gearbox noise. I didn't think it would.

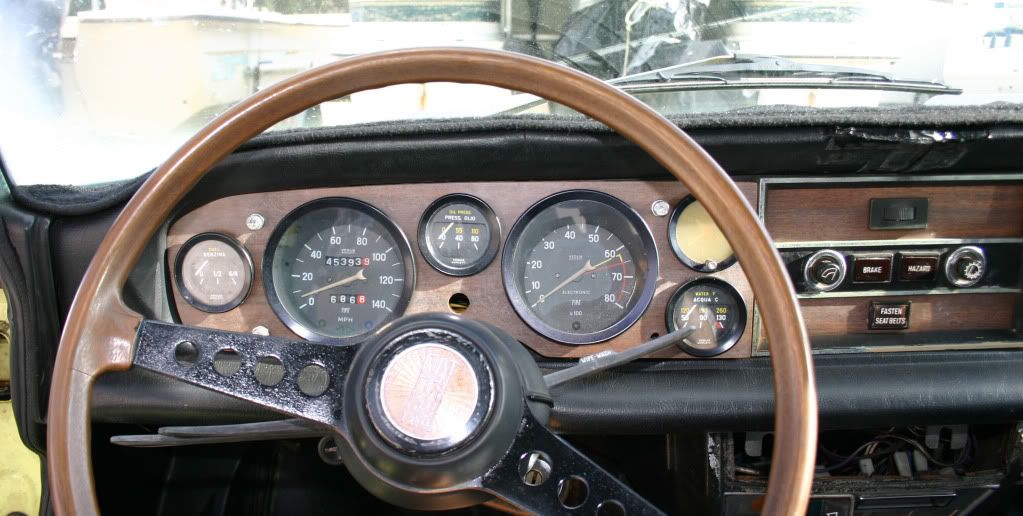
Got some issues with the oil pressure guage. Sometimes it works and sometimes it doesn't. I cleaned the contacts on the oil pressure sensor and on the oil guage. It didn't make a difference. Tested the voltage going to the guage and it's reading about 5volts. I'm assuming it's a guage problem but I'm not 100% sure. The good news is that the little red light works.

Re: 77 Fiat 124 Restoration Project

Posted: Tue Oct 16, 2012 12:49 am
by FiatBen
Wow. You're making amazingly fast progress. I wish I could work 1/10th that fast on my Fiats.
Keep posting. I love following this story.

Re: 77 Fiat 124 Restoration Project

Posted: Wed Oct 17, 2012 2:02 pm
by mfusaro
FiatBen wrote:Wow. You're making amazingly fast progress. I wish I could work 1/10th that fast on my Fiats.
Keep posting. I love following this story.
Thanks FiatBen. Still have a ton of work to do on this car. The engine has a misfire which I'm hoping will be solved by a new set of plug wires. Distributor cap, rotor and points look like they are in good shape.

Looked at the EGR valve, which could also cause a misfire. When I first checked it, I didn't notice any vacuum pressure going to the valve, so I applied my own vacuum pressure. The valve wouldn't open. Next I used a screw driver to pry the valve open. After moving the valve open, I didn't noticed any change in engine speed. Something was blocking the passage way to the intake manifold. Upon closer inspection, I noticed something sticking out between the EGR valve and the tube going to the intake manifold. Apparently, someone capped off the valve at one time.

At this point, I'm not sure if I should leave it alone or try to fix it. If the EGR valve is already plugged, then there shouldn't be any reason why it would cause a misfire. Even if I do try to unplug it, the EGR valve doesn't appear to be working and I'm not sure if the vacuum lines are routed correctly. Still, I like to keep things stock and fully functional. If I don't decide to fix it, I might as well remove the rest of the system and clean up my engine bay. Someone already removed the air pump so there's no point in trying to get all the emissions working in this car.

If anyone has any suggestions - remove the EGR valve or get it work again, I would like to hear it. Keep in mind that it does not work so removing it won't make a difference to the environment. I'm not 100% sure how the EGR system works in these cars but as far as I know removing the system will only improve engine performance.