Page 2 of 16
Re: 1978 rolling restoration
Posted: Fri Jun 10, 2011 5:12 pm
by manoa matt
Looks great, keep it up. You should consider changing out ALL the rubber lines in the fuel supply, fuel return, and fuel vent lines. There are several small sections of rubber lines as the hard lines pass into the car along the drivers side sill.
Re: 1978 rolling restoration
Posted: Fri Jun 10, 2011 5:47 pm
by DocGraphics
Thats the plan. I will be pulling the hardlines out of the inside while I fix the floorboards so I am planning on all new rubber pieces between the carb & the hard lines & tank when it goes back together.
Re: 1978 rolling restoration
Posted: Sun Jun 12, 2011 5:00 am
by DocGraphics
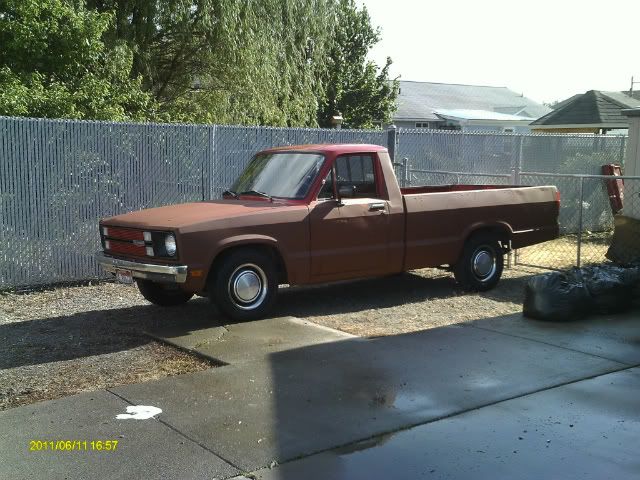
I got the Courier finished for now & parked in it's new home OUTSIDE THE GARAGE! On to the Fiat!
Here's a pic of my other project. Mechanicals all rebuilt & interior restored, just need to do body work & paint & lower it. Been working on it for just about a year now. Both it & the Spider are 1978.
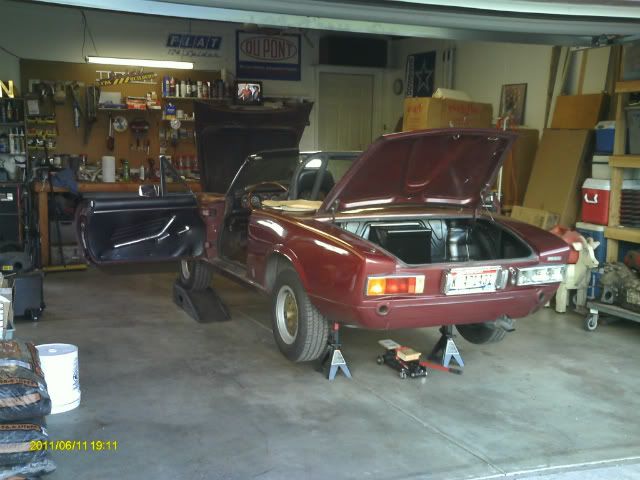
Spider is now flying solo in the garage, moved it over to the middle so I can get the doors all the way open to strip the floor boards to fix the rust issues & replace the carpet & get the seats mounted.
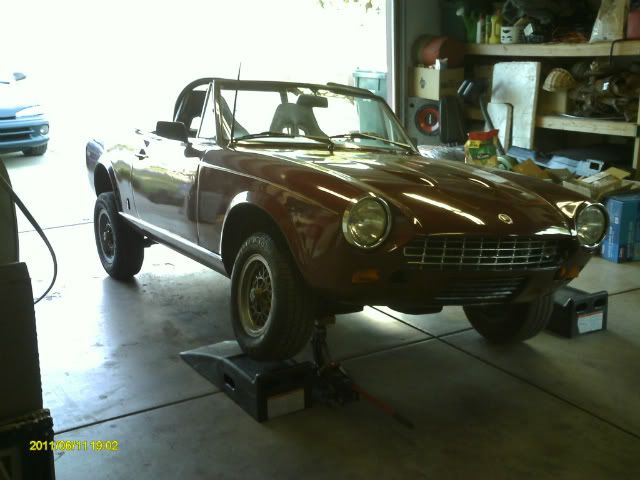
Heres a cool pic, check out the articulation in the suspension, looks like I could go wheelin' with that travel.
Re: 1978 rolling restoration
Posted: Mon Jun 13, 2011 1:25 am
by tartan18
You've got a great and well organized shop. I am looking forward to more photos of your rolling restoration project. I am doing the same sort of thing with my 1975 124.
Re: 1978 rolling restoration
Posted: Mon Jun 13, 2011 2:23 am
by DocGraphics
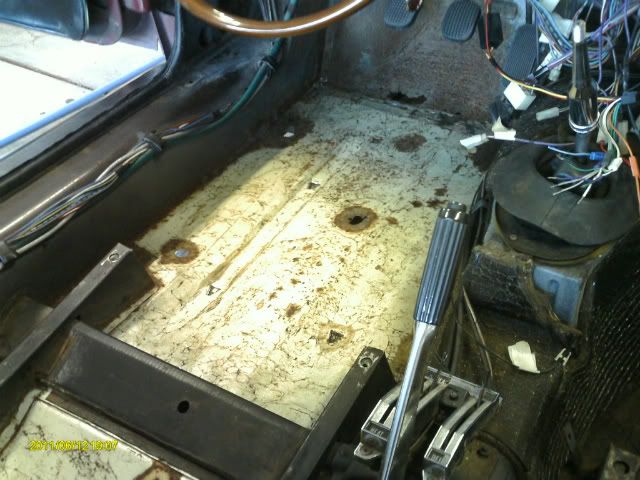
Well today I pulled the rollbar out & started removing the old tar-like stuff from the floor boards.
It came off fairly easy, I used a heavy 2" putty knife & a hammer & chiseled it off in small chunks.
Came off pretty clean but the chunks flew everywhere. It took about 2 hours to do the drivers side.
I got the drivers side done & half the passengers, I am not touching the center hump as it is in good shape & all the insulation is still intact.
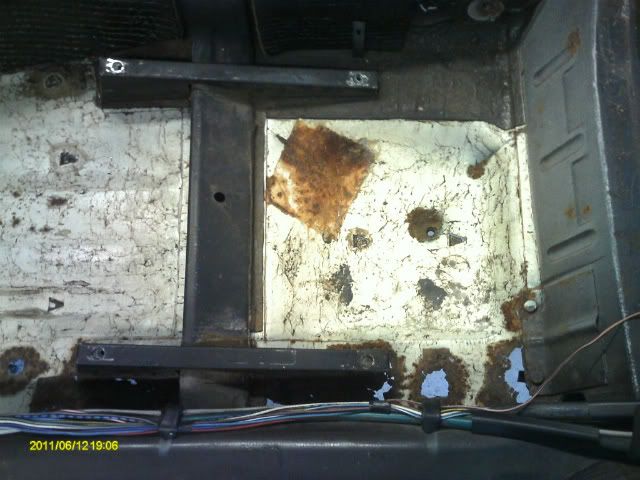
Now I can deal with the exposed rust areas. No real surprises on the drivers side I could see all the holes prior to removal but the pass side is revealing more than expected.
I don't have a welder so after the rust is neutralized I will POR 15 everything then I plan to rivet in some sheet metal patches w/ seam sealer in between, I will use fiberglass in a few places that can't take a patch panel. Then some of the Protecto Wrap rubberized insulation stuff from HD.
Heres pics of the drivers side
More to come...
Re: 1978 rolling restoration
Posted: Thu Jun 16, 2011 1:49 am
by DocGraphics
I got the passenger side all chipped out, A little more rust than expected. The front by the tranny tunnel is definately worse than I thought. All fixable though.
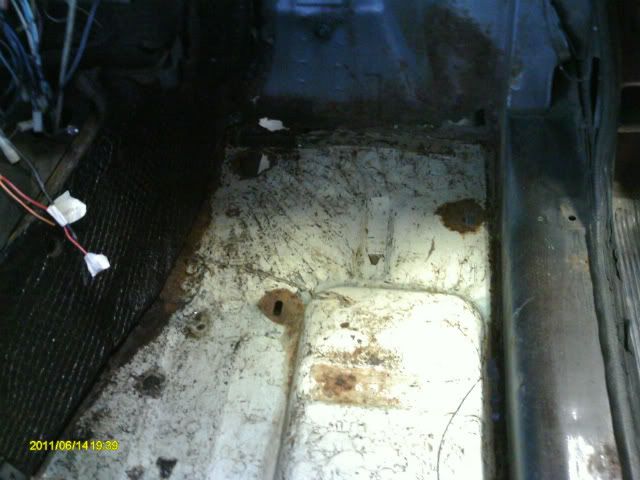
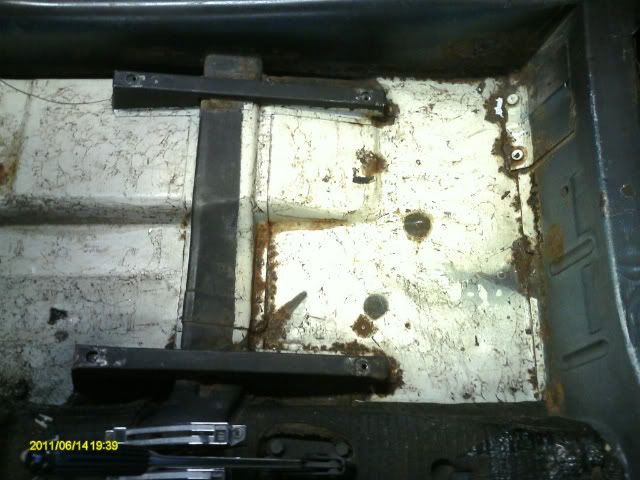
I found on the DCFiat.org tech page some tips for rust repair including using fiberglass cloth w/ the POR 15 for the small holes. I like that idea.
http://www.dcfiats.org/tech/POR-15-2.pdf
More to come...
Re: 1978 rolling restoration
Posted: Fri Jun 17, 2011 11:28 pm
by WBPDX
Thanks so much for posting pics of those seats - I had been looking at a few different styles on eBay, and now I am totally sold on those - They look absolutely ideal!
Re: 1978 rolling restoration
Posted: Sat Jun 18, 2011 12:36 am
by DocGraphics
Just to let you know, as I kind of eluded to, they're firm & not real cushy.
Bottom cushions are OK but firm & side bolsters realy hold your bottom from sliding around.
The back padding is quite firm, I kinda wish they had a little more/softer padding.
I imagine they are going to "wear in" just great to fit my shape as there is padding there, just firm.
I won't have to worry about sliding around in them during any spirited driving sessions.
Don't get me wrong, I am QUITE pleased with them, especially at that price & they got here in like 4 days.
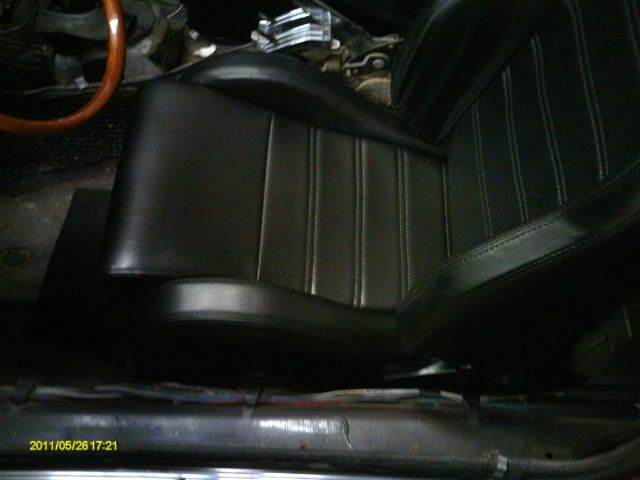
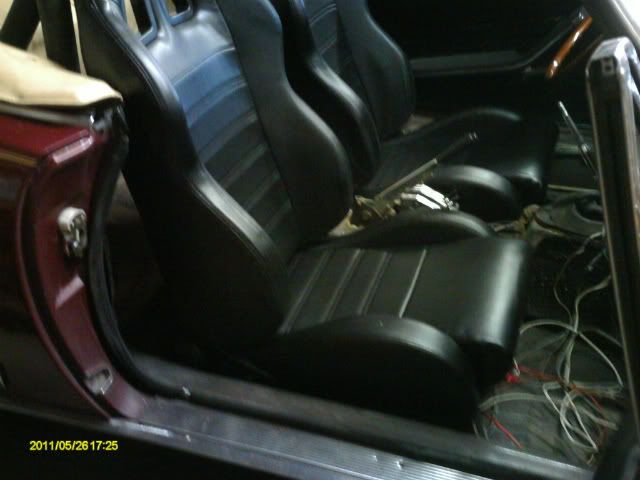
That said, they fit well in the car with plenty of clearance on both sides (not mounted yet).
Seem to sit real low, with my butt in the seat they compress to only about 1" above the flat base where the sliders mount. I can't imagine how they could sit any lower.
I will be working on the floor board this weekend, I need to get all the rust fixed & new carpet in then I will be mounting them.
I will post up my mounting solution when I get there.
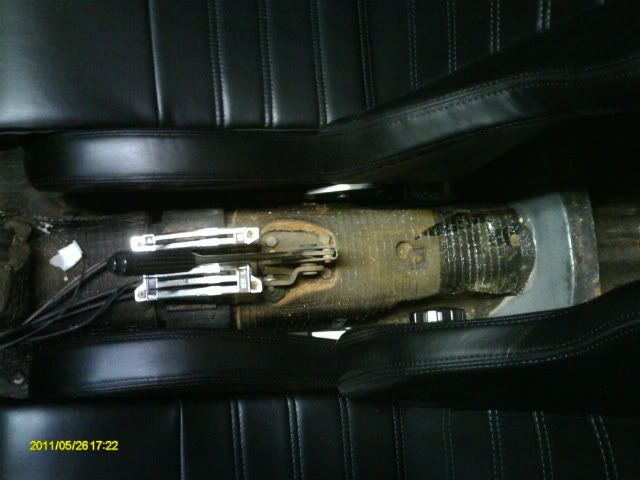
Heres some clearance pics of them sitting in the car, they will sit a little higher with the sliders.
Re: 1978 rolling restoration
Posted: Sat Jun 18, 2011 2:46 am
by WBPDX
Thanks for the extra photos - still lookin' good.
I could care less about the padding, they have to be better than my worn out seats...
Re: 1978 rolling restoration
Posted: Sat Jun 18, 2011 7:23 pm
by TronDD
I have used POR15 and fiberglass patches on the floor of my Chevelle and it worked well. They also make POR15 seam sealer which is the same stuff but really thick. Comes in a tube. Works good spread over small holes and gaps too big for the paint to fill but not big enough to need the fiberglass.
Tim.
Re: 1978 rolling restoration
Posted: Sat Jun 18, 2011 8:28 pm
by NJFIAT1981
Hi Don,
Your project is moving along nicely. Loos like alot of work but the reward at the end will be worth it. Boot cover came out nice. George
Re: 1978 rolling restoration
Posted: Sat Jun 18, 2011 8:56 pm
by TulsaSpider
Great progress! Love the thread! So where did you get the seats?
Re: 1978 rolling restoration
Posted: Sun Jun 19, 2011 3:39 am
by DocGraphics
I found the link to these on evil-bay while searching for seats for my truck.
http://cgi.ebay.com/ebaymotors/2x-CIVIC ... ccessories
Heres the link to their store "Vision Technology"
http://stores.ebay.com/vision-technolog ... 4340.l2563
I punched "honda seat" into their search box to bring up seat options I thought would work.
They have like 6 or so different styles, I liked these the best to fit the look of my car. Prices good too.
Re: 1978 rolling restoration
Posted: Mon Jun 20, 2011 3:19 am
by DocGraphics
I got the trunk boards made this weekend, ready for carpet.
I had a piece of really nice 1/4" plywood I decided to use, patterns took the most time to get exactly right before I actually cut the plywood. I couldn't be happier with the way it turned out.
Bottom boards fitted. I patterned it as 1 piece then cut it apart so the seam & the grain lines up perfectly.
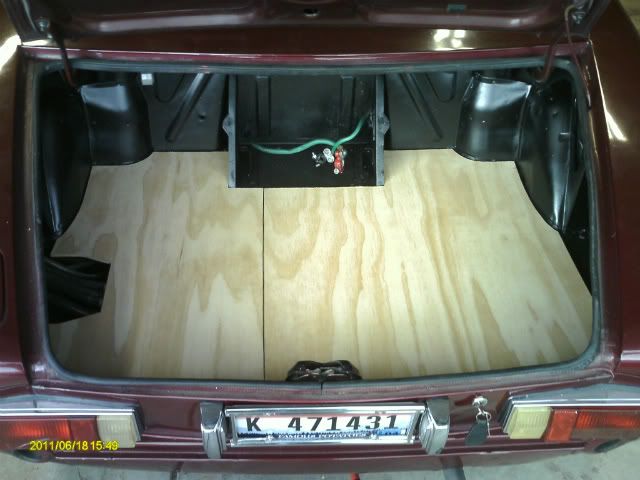
Sealed them all up with leftover deck stain/sealant, both sides.
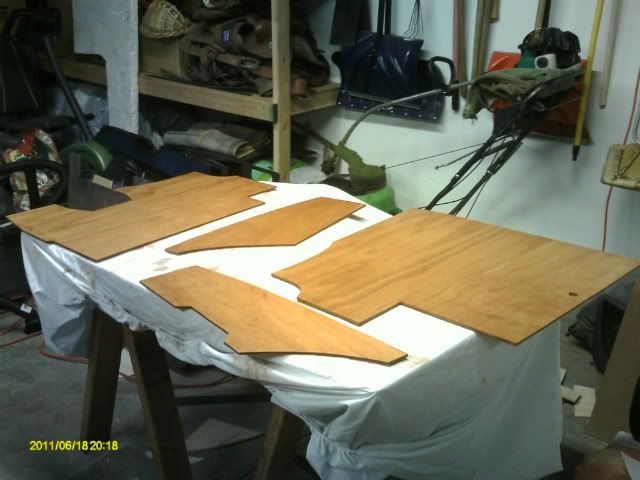
Fabricated the metal brackets (Z-bend) attached to the removable panel that rest on top of the permanent panel at middle & rear for support, permanent panel has the support board underneath just in from center edge like the original.
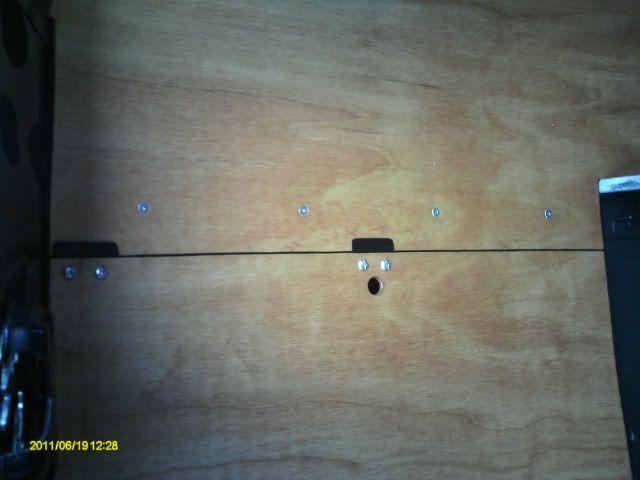
Heres everything installed.
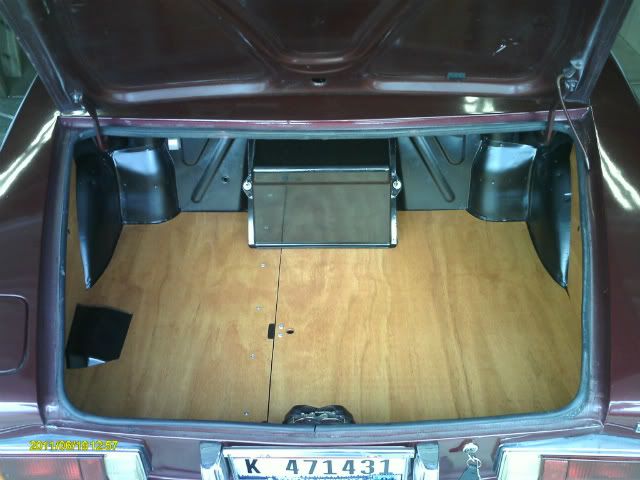
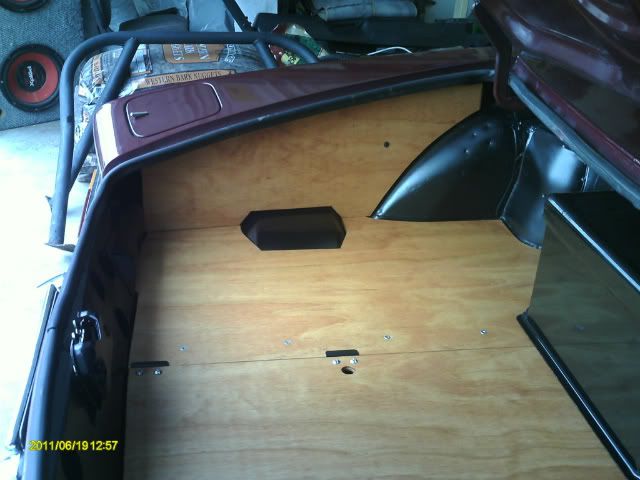
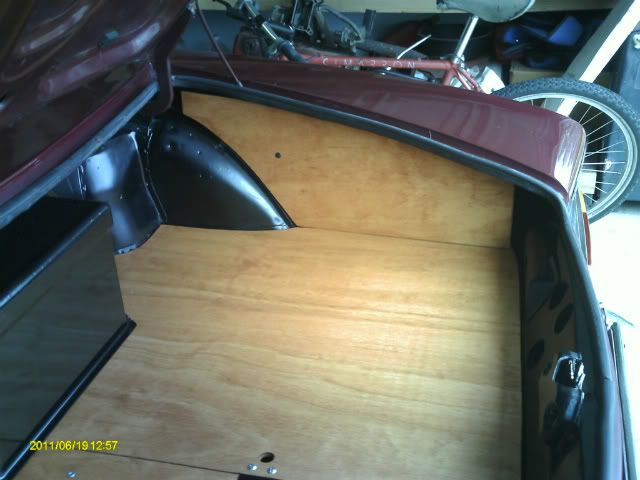
Wife says it looks too good to cover up with carpet!
I will be doing carpet in the trunk to match the interior.
More to come...
Re: 1978 rolling restoration
Posted: Mon Jun 27, 2011 2:18 am
by DocGraphics
I made quite a bit of progress this last week
I cut & bent up sheet metal patch panels to cover all the rust areas.
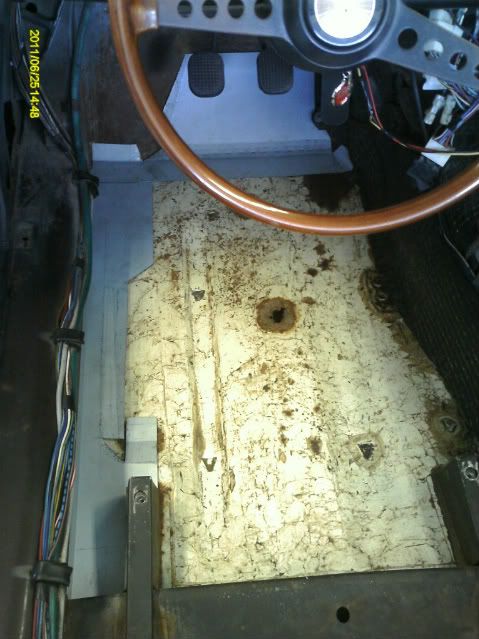
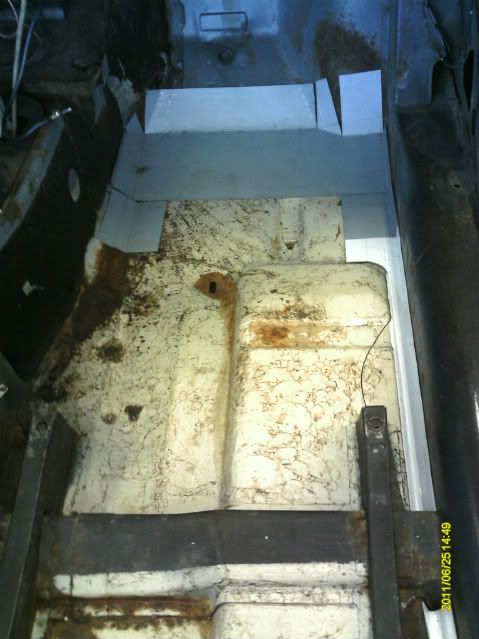
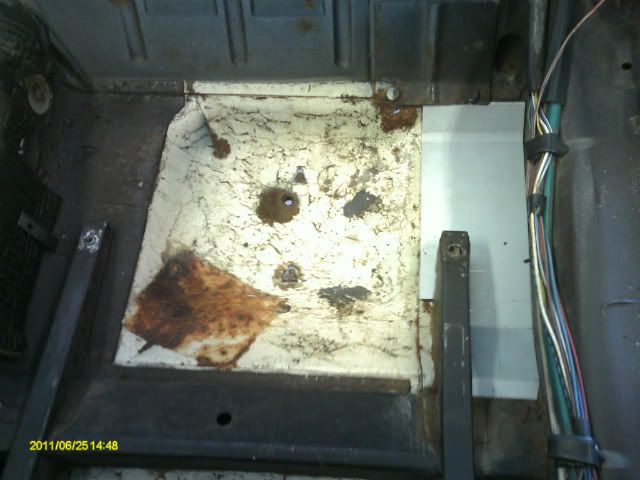
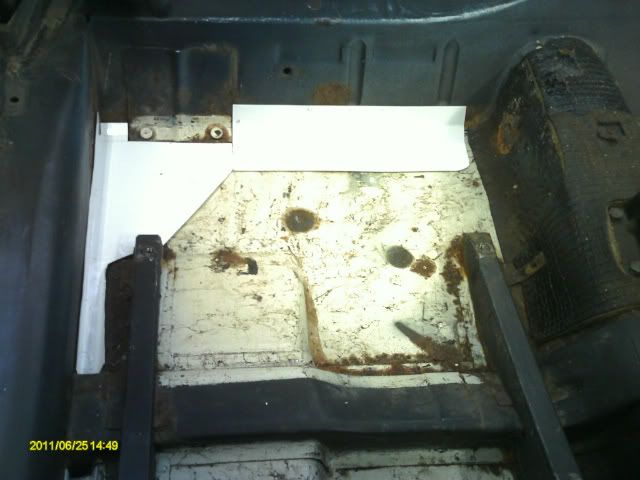
They pretty much cover the whole front & outer edges where the floor meets the edges.
Next I took a wire brush in my drill & ground all the rust areas real well, then cleaned/degreased everything real well.
------This is the TURNING POINT for the interior, from here on out things go IN the car not OUT-----
I next laid down a thick brushed on coat of POR15, even up the sides a ways
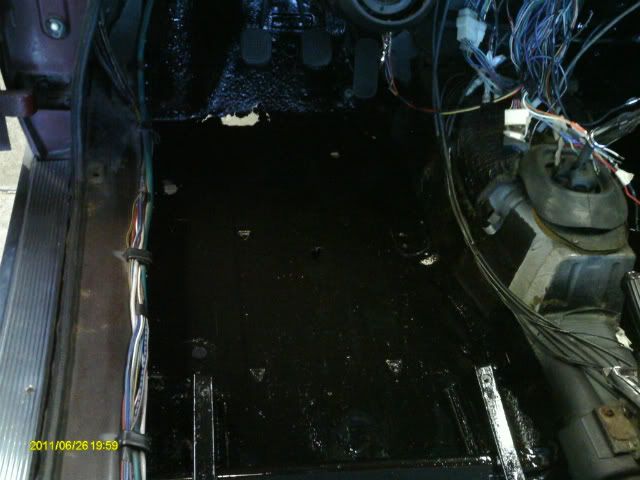
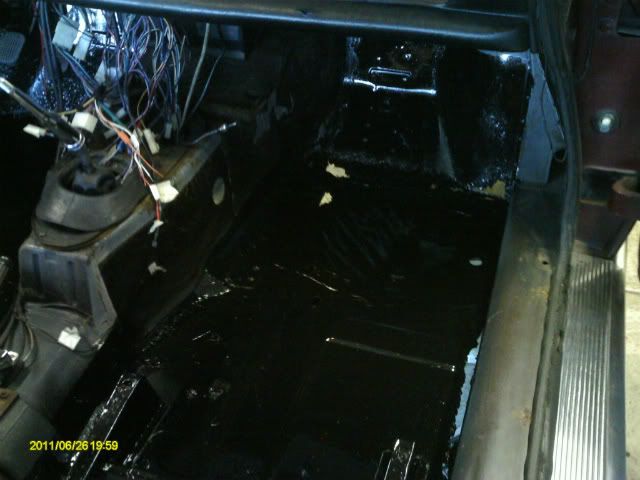
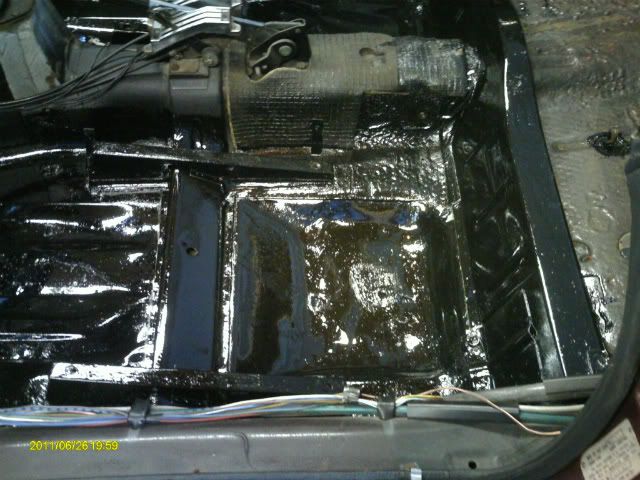
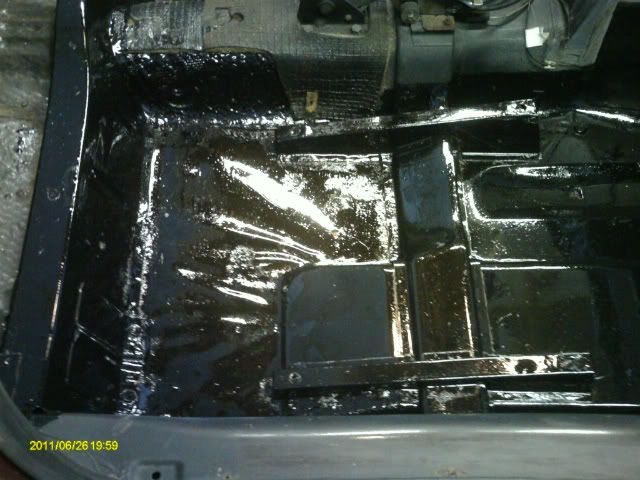
& painted the backs of all the patches
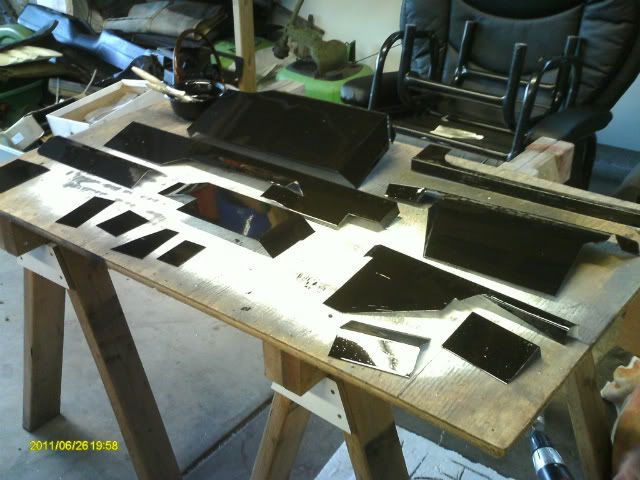
Once everything is completely dry I will rivet the patches in with seam sealer around all the rust holes & under the edges of each, Then I will paint it all again with another coat of POR15.
Then on to the seat mounts, sound/heat insulation, carpet...
More to come...


