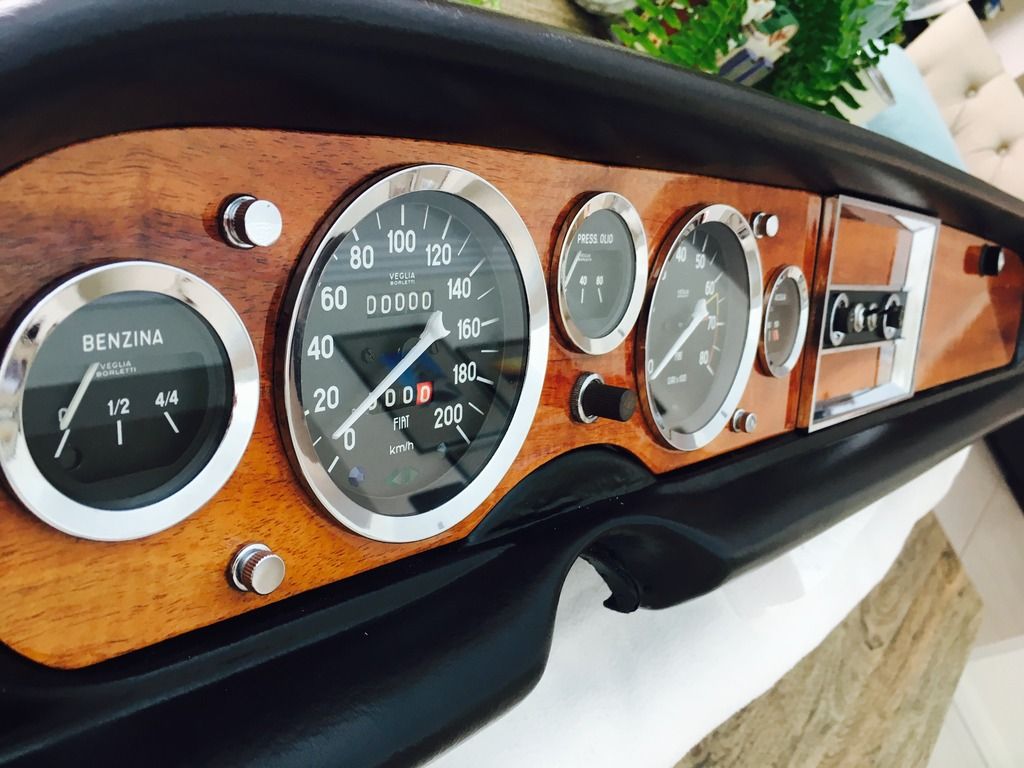
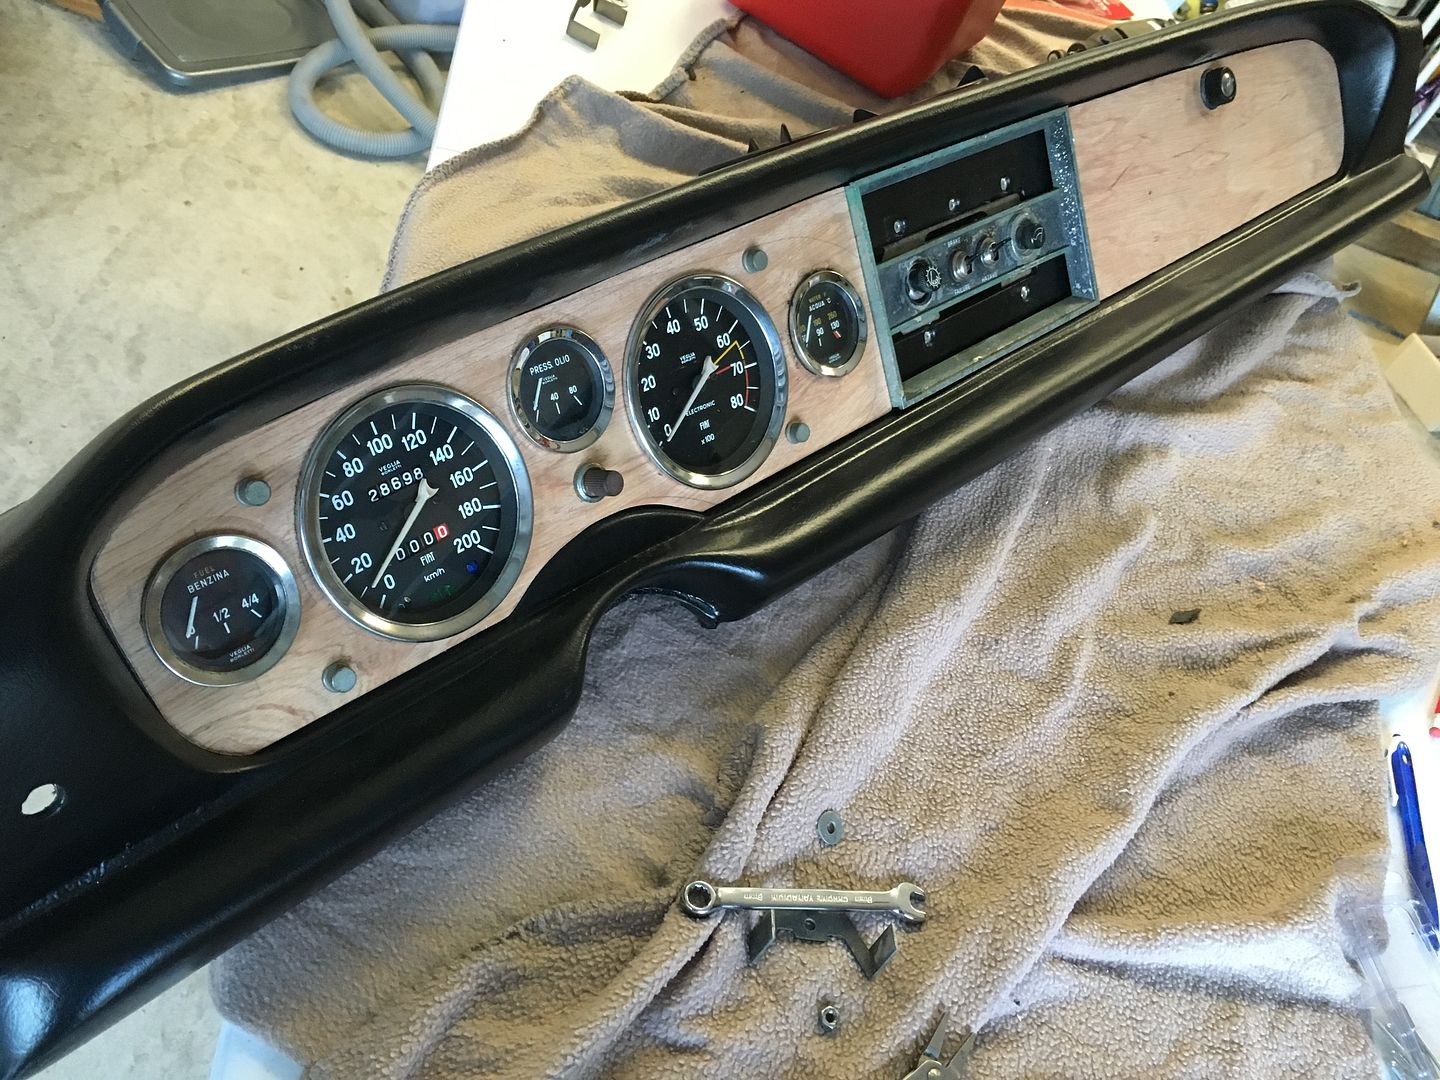
After much interest and requests, here are the steps taken to make my dash.
Step 1. Sourcing the materials
Not being an expert or ever having veneered timber before, I surfed the net and spoke to many people on what materials I will need. Surprisingly there is heaps of info available on YouTube. This is what I sourced:
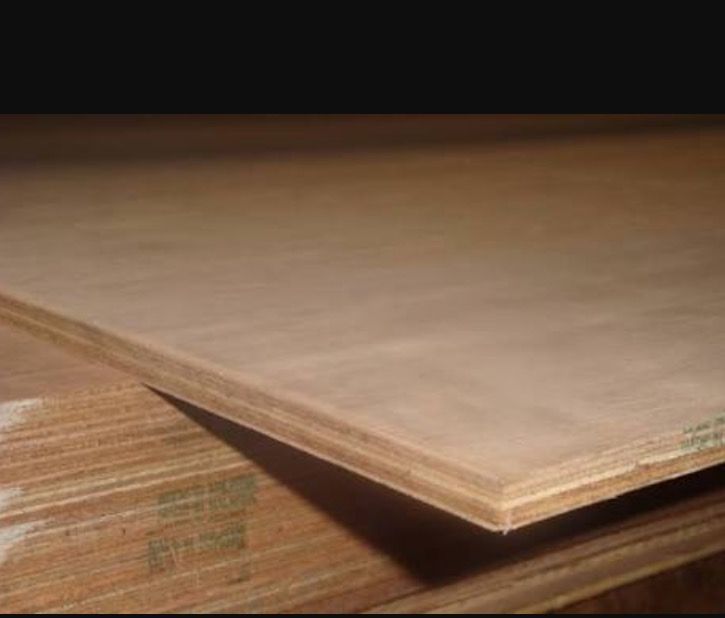
Hardwood Plywood with "AA" grade face and back and marine grade bond. Excellent veneer quality makes this easier. Marine bond will not deteriorate due to moisture exposure. Also excellent strength and stiffness.
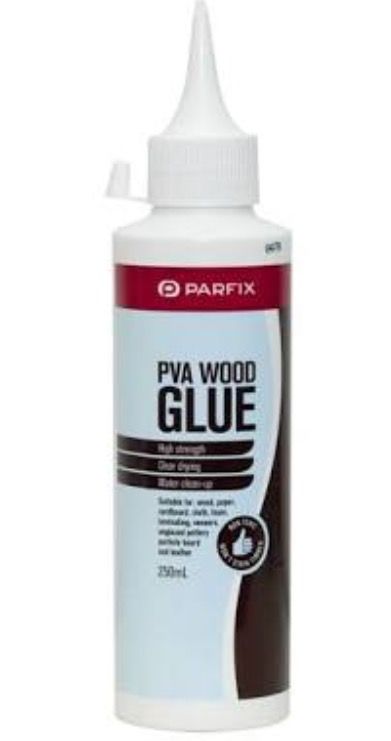
I used a good PVA based adhesive suitable for general exterior woodworking joinery and other craft uses. It is non-toxic, will not stain the ply/timber.
MDF (thick boards) to sandwich the veneer.
Clamps to compress
Baking paper to ensure veneer does not fix to MDF sandwich boards.
Ordinary paper to absorb any PVA glue
Polyurethane (Motorvehicle) High Gloss Clear
Hole saw bits
Veneer
Process
Measure out the dash pieces. You can use your original panels and cut out using a jigsaw and hole sole drills.
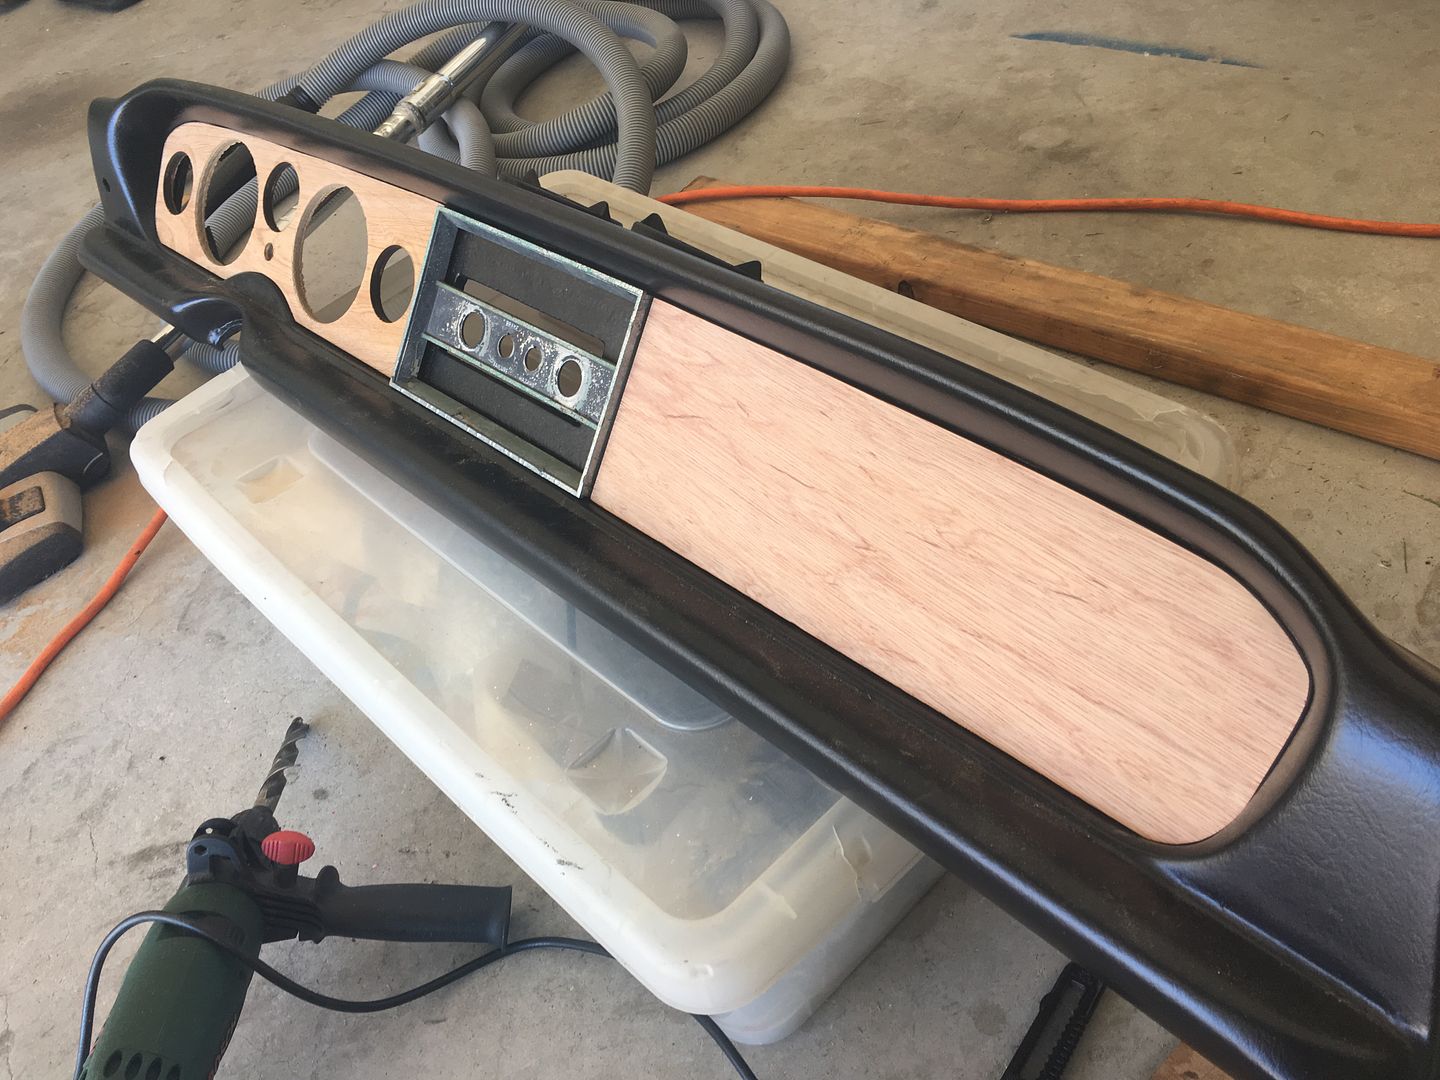
Test Fit all the gauges prior to veneer.
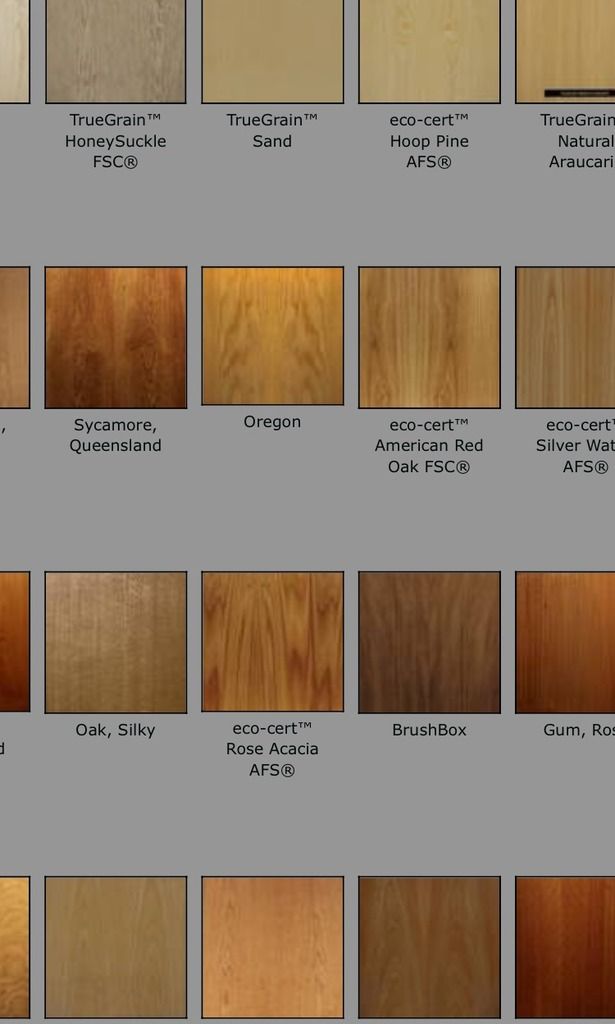
Choose your veneer - I used Blackwood. Don't cut the holes out at this point. Test fit the veneer to ply making sure you have enough to cover area.
Cutting the holes out will be easier after veneer is glued to ply.
Get your clamps ready and MDF as you don't have a lot of time from applying your glue to clamping.
Place one MDF (compressing board) on a bench, next place a sheet of baking paper on top. Place 1-2 sheets of white paper next.
Sand lightly all the panels and coat side with PVA glue. I used a sponge roller(small) to spread the glue evenly.
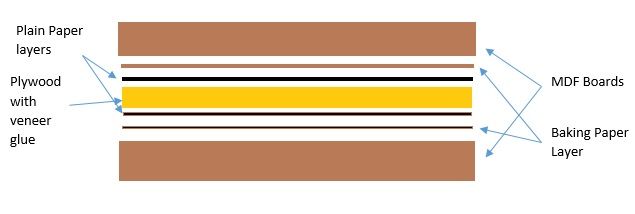
Once glue is on plywood, place your veneer on the ply. Place this on the paper face up and repeat paper sequence, white paper, baking paper then MDF. Hold tightly and place clamps evenly on each corner and compress.
Not my work below as I did not take photos. Similar clamps and process adopted like below:
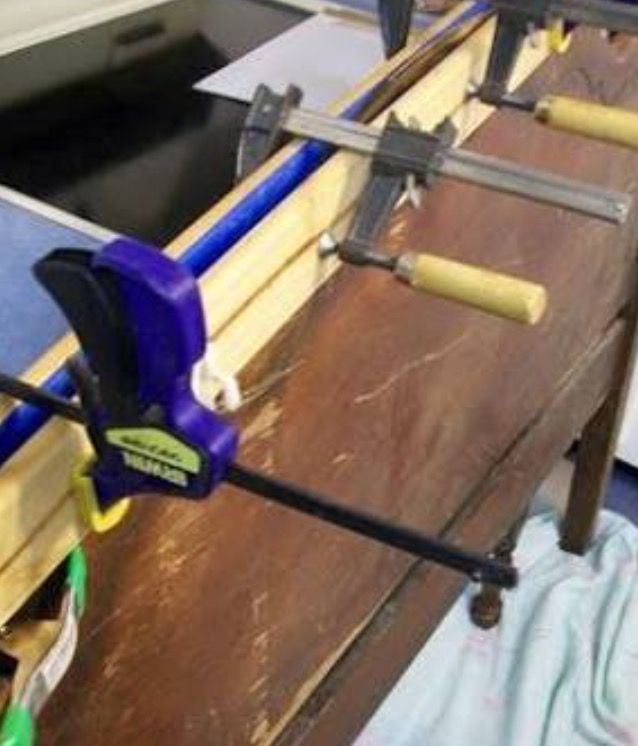
Next- leave for at least 24 hours.
Cut out your gauge holes using a sharp Stanley blade.
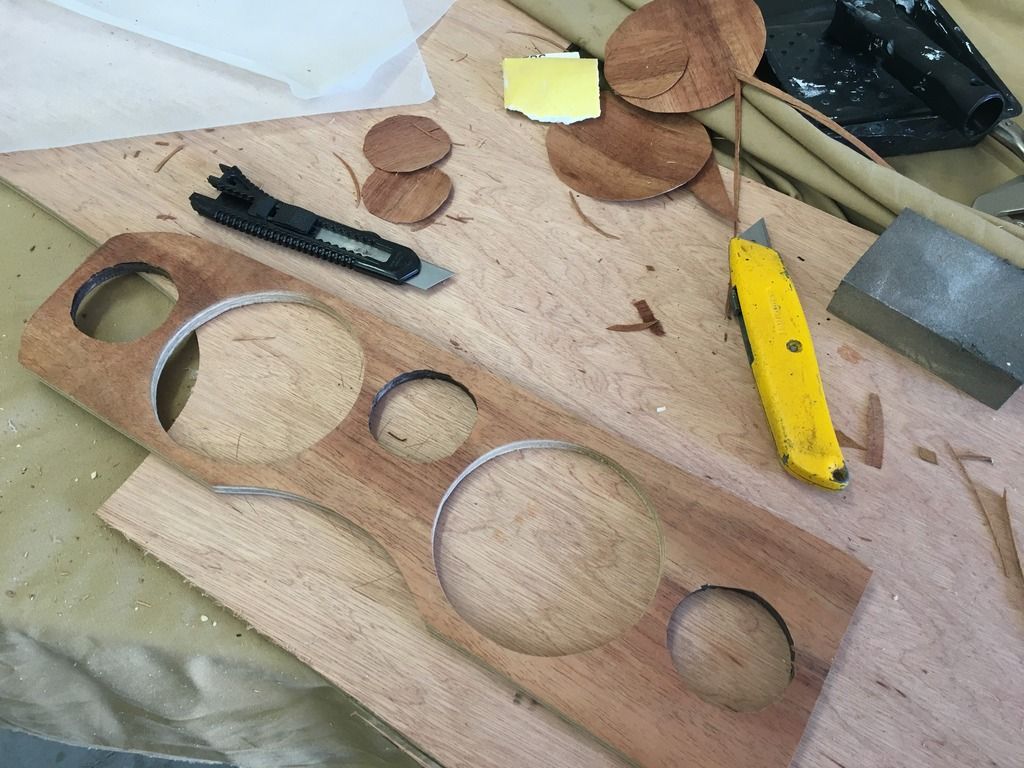
Sand your veneer lightly.
Now you have options for clear. You can either approach a motor vehicle paint shop to clear for you, or clear yourself. Typical sanding between coats with very fine sand paper.
Note, I had my painter clear the panels as I think a professional will alway give you a better result.
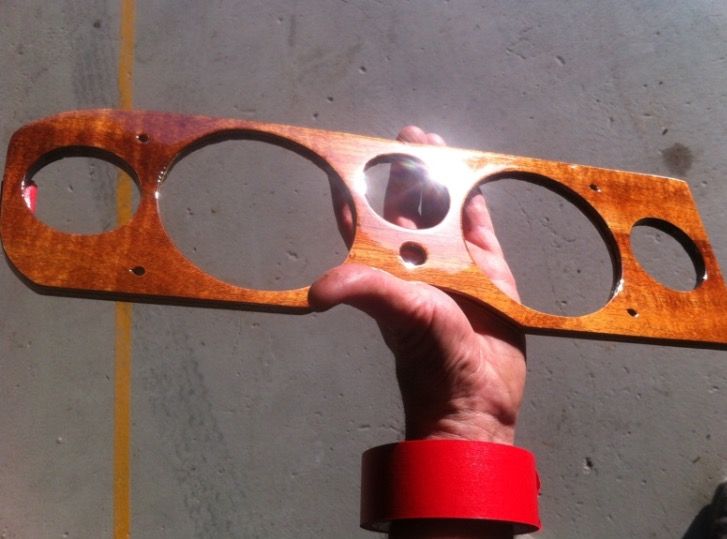
Making new dash panels
-
- Posts: 199
- Joined: Fri Jun 24, 2011 3:08 am
- Your car is a: 1967 Fiat 124 Spider
Making new dash panels
Last edited by Mick124 on Thu Feb 23, 2017 9:05 pm, edited 1 time in total.
- joelittel
- Patron 2018
- Posts: 1013
- Joined: Tue Mar 08, 2011 6:53 pm
- Your car is a: 1980 Spider 2000 FI
- Location: Evanston, IL
Re: Making new dash panels
Gorgeous. I love the look.
- RRoller123
- Patron 2020
- Posts: 8179
- Joined: Sun Nov 13, 2011 2:04 pm
- Your car is a: 1980 FI SPIDER 2000
- Location: SAGAMORE BEACH, MA USA
Re: Making new dash panels
Nice!! Upgrading the dash is one of the best "bang for the buck" cosmetic changes for these cars, I think.
'80 FI Spider 2000
'74 and '79 X1/9 (past)
'75 BMW R75/6
2011 Chevy Malibu (daily driver)
2010 Chevy Silverado 2500HD Ext Cab 4WD/STD BED
2002 Edgewater 175CC 80HP 4-Stroke Yamaha
2003 Jaguar XK8
2003 Jaguar XKR
2021 Jayco 22RB
2019 Bianchi Torino Bicycle
'74 and '79 X1/9 (past)
'75 BMW R75/6
2011 Chevy Malibu (daily driver)
2010 Chevy Silverado 2500HD Ext Cab 4WD/STD BED
2002 Edgewater 175CC 80HP 4-Stroke Yamaha
2003 Jaguar XK8
2003 Jaguar XKR
2021 Jayco 22RB
2019 Bianchi Torino Bicycle
- aj81spider
- Patron 2020
- Posts: 1526
- Joined: Fri Mar 11, 2011 9:04 am
- Your car is a: 1974 Fiat 124 Spider
- Location: Chelmsford, MA
Re: Making new dash panels
Nice job!
I had one question. That's pretty much how I did mine, except I didn't use the plain paper. I had a little glue squeeze out that I had to clean up so it's an appealing addition to my technique. However my question is on whether the plain paper got glued to the wood at all? Did you have to scrape it off?
A.J.
1974 Fiat 124 Spider
2006 Corvette
1981 Spider 2000 (sold 2013 - never should have sold that car)
1974 Fiat 124 Spider
2006 Corvette
1981 Spider 2000 (sold 2013 - never should have sold that car)
-
- Posts: 199
- Joined: Fri Jun 24, 2011 3:08 am
- Your car is a: 1967 Fiat 124 Spider
Re: Making new dash panels
I also had no glue squeeze out as well. Experienced veneer users recommended to include the additional paper. I thought it is best to share the same instructions.
-
- Posts: 76
- Joined: Fri Oct 21, 2011 9:48 am
- Your car is a: 1981 124 Spider
- Location: Northwest Chicago Suburbs
Re: Making new dash panels
What did you use to get the chrome finish on the black plastic trim piece around the center dash? It looks great!
Steve Muzzillo
1981 124 Spider 2000 (ex-turbo)
2006 Acura MDX
2008 Honda CRV
2014 GMC Acadia
2017 Acura RDX
1981 124 Spider 2000 (ex-turbo)
2006 Acura MDX
2008 Honda CRV
2014 GMC Acadia
2017 Acura RDX
- rjkoop
- Posts: 976
- Joined: Thu Nov 08, 2012 6:45 am
- Your car is a: 1981 Fiat Spider
- Location: Ottawa, Ontario, Canada
Re: Making new dash panels
Very timely post. I followed this procedure and it worked out great!
Only difference for me was that I used contact cement instead of PVA glue. This was recommended by the veneer manufacturer. Turned out really solid and I can do a veneer on a piece from beginning to end (cut, apply glue, wait 15 mins, apply veneer, pressure, trim after) in about 40 minutes because contact cement sets up so quickly.
Richard
1981 Fiat Spider
Ottawa, Canada
Pictures - https://drive.google.com/drive/folders/ ... sp=sharing
Videos - http://www.youtube.com/playlist?list=PL ... JNKsNVqjfa
1981 Fiat Spider
Ottawa, Canada
Pictures - https://drive.google.com/drive/folders/ ... sp=sharing
Videos - http://www.youtube.com/playlist?list=PL ... JNKsNVqjfa
-
- Posts: 199
- Joined: Fri Jun 24, 2011 3:08 am
- Your car is a: 1967 Fiat 124 Spider
Re: Making new dash panels
You can have it plastic chromed if needed. I purchased a new one from Autoricambi. Centre black section was first primed and then coated with matt black paint.Ragno124 wrote:What did you use to get the chrome finish on the black plastic trim piece around the center dash? It looks great!