Current wisdom is to no longer flange and drill the patches unless absolutely required and just butt join and stitch weld when working in the middle of a panel. The lapped seams can collect water and promote rust.
Look for weldable primer to use in that area which I believe it has a non-ferrous metal in it.
1977 Rolling Restoration
-
DieselSpider
- Posts: 2130
- Joined: Wed Dec 24, 2014 10:21 pm
- Your car is a: 1978 124 Spider with Isuzu Turbo Diesel
-
InfinityAero
Re: 1977 Rolling Restoration
Hey Diesel, thanks for the info. I had seen some competing direction out there so it's great to get that clarification.DieselSpider wrote:Current wisdom is to no longer flange and drill the patches unless absolutely required and just butt join and stitch weld when working in the middle of a panel. The lapped seams can collect water and promote rust.
Look for weldable primer to use in that area which I believe it has a non-ferrous metal in it.
After doing a butt joint and stitch weld, would we then do seam welds in between the stitch welds or do you just leave those weld gaps and bondo over the seams (after grinding the welds down) before paint prep? My friend's thought, with no experience welding on vehicles, was to do a stitch weld at each corner and then seam weld along the lines... is that analogous to what you're recommending?
When you say it's a non-ferrous metal in that area, do you mean that the sheet metal is different behind the doors (in front of the wheel wells) than it is in other areas, or that it would be different than the 19ga I picked up from Home Depot? I figured it was steel... When I think non-ferrous I usually think Aluminum/Copper/Brass. I've sanded down a 1/2" section of clear metal around all the cuts to make sure there's plenty of bare metal for the welds, would I still need to use the weldable primer?
Thanks!
-
DieselSpider
- Posts: 2130
- Joined: Wed Dec 24, 2014 10:21 pm
- Your car is a: 1978 124 Spider with Isuzu Turbo Diesel
Re: 1977 Rolling Restoration
The primer has copper or some other metal in it so it is conductive without promoting rust.
Stitch weld until the seam is completely welded, surface grind flush and then spot putty/bondo to smooth any grind marks. Goal is to weld the entire seam without excess heating and distorting.
Stitch weld until the seam is completely welded, surface grind flush and then spot putty/bondo to smooth any grind marks. Goal is to weld the entire seam without excess heating and distorting.
-
InfinityAero
Re: 1977 Rolling Restoration
Just welded in the new sections this past weekend.DieselSpider wrote:The primer has copper or some other metal in it so it is conductive without promoting rust.
Stitch weld until the seam is completely welded, surface grind flush and then spot putty/bondo to smooth any grind marks. Goal is to weld the entire seam without excess heating and distorting.
Passenger Side:

Driver Side:

I'll be grinding down the metal this week; likely starting with a grinder with 60 grit, and doing some final touch-up work with a dremel. As you can see, there were quite a few areas where there will be some pinholes and imperfect welds after that grind. Essentially my friend was running into issues wherever he would try to do a sustained weld, with a couple areas even burning through. He was recommending I grind everything flush and then we can go over the weld lines one more time, to fill some of the pinholes that are sure to remain.
The welds are at least plenty strong-- you can press firmly with a couple fingers and rock the whole car just pressing on the new metal.
All in all, good practice before I attempt to cut out the bad metal on the passenger front shock tower.
It's tax return season now-- so time to buy some new tires and all new suspension components! Car started right up after a charge this weekend-- just trying to get everything done to get her on the road for this spring/summer!
-
bluespider262
- Posts: 160
- Joined: Mon May 25, 2015 11:14 am
- Your car is a: 1979 Spider
Re: 1977 Rolling Restoration
When you are done the spots should form a continuous weld all the way atound. Looks like you have a ways to go but on the right track.
-
InfinityAero
Re: 1977 Rolling Restoration
Good to hear! I'm hopeful to eliminate as many of the pinholes as possible-- hopefully the original sheetmetal won't just burn through when we try to layer a little more on the welds...bluespider262 wrote:When you are done the spots should form a continuous weld all the way atound. Looks like you have a ways to go but on the right track.
-
DieselSpider
- Posts: 2130
- Joined: Wed Dec 24, 2014 10:21 pm
- Your car is a: 1978 124 Spider with Isuzu Turbo Diesel
Re: 1977 Rolling Restoration
You tack weld the metal in place and then add more tack welds until you have welded the seam solid you do not try to run a bead. Its tedious and time consuming but eventually it will be welded solid with no ripples or voids.
Here is a sped up video to help get you on the right track:
https://www.youtube.com/watch?v=2Nk4JFKj9hM
Notice when this gent was through there was probably no body filler or even spot putty required just a few coats of primer/surfacer and some block sanding. With some patience and practice you'll get there. You do not get to this level of expertise in 15 minutes so keep at it and do not give up. A little more practice on some scrap metal might be in order.
-
InfinityAero
Re: 1977 Rolling Restoration
Long time no update!
Project has been moving along. I've finished the bodywork, and should be starting the respray of the car in about a week and a half. My cousin's going to lend a hand-- she's got a ton of experience spraying Urethane with an HVLP gun through her work in theater design.
Some new developments:
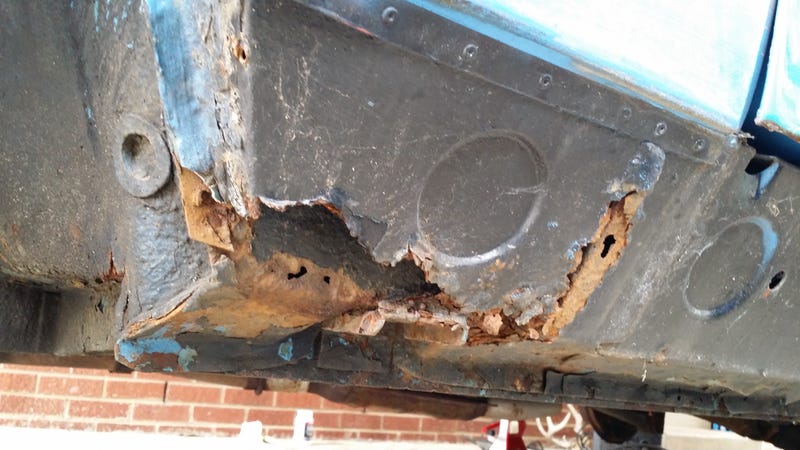
I removed the rocker covers, which revealed some rust behind the driver's side wheel well.
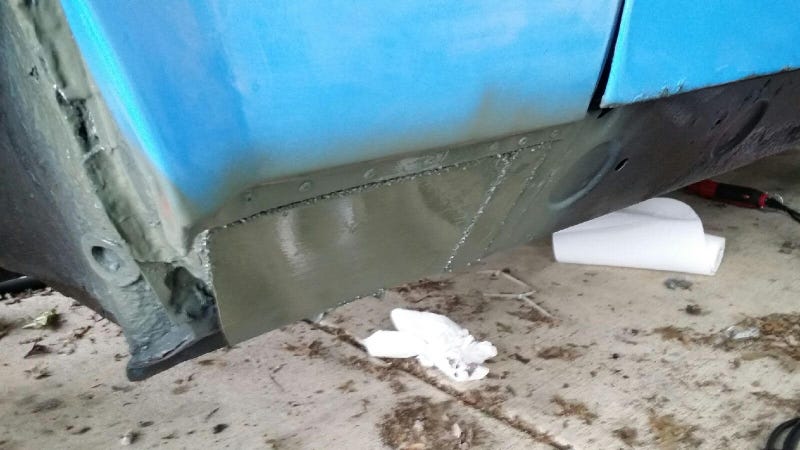
So I patched in a new section:
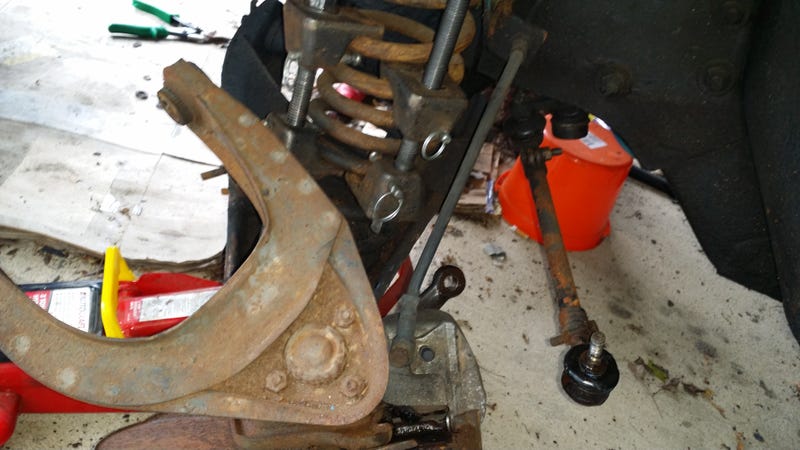
I've got the front suspension disassembled:
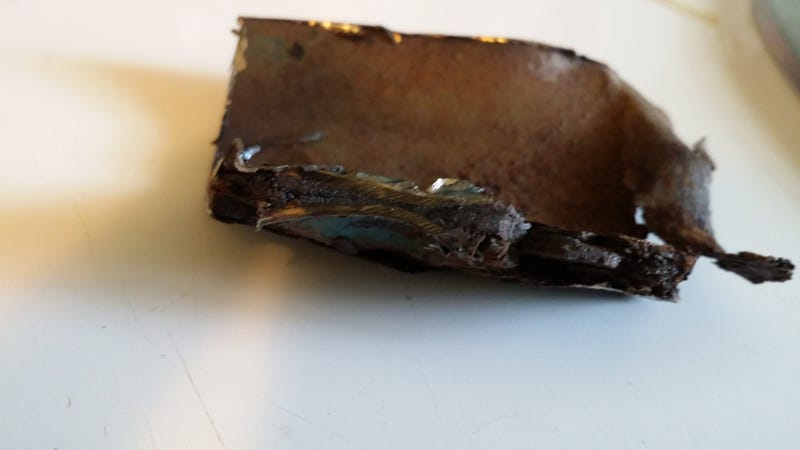
I cut out a section of the shock tower that had rusted away, interesting makeup-- looks like 2 1/16" sheets of steel glued together:
Don't have any pictures of the section I cut out, but this piece has been made to fit right in-- took about 6 hours of cutting and shaping using a pair of snips, a cutting wheel tool, a vise, a set of pliers, my hands, and leverage:
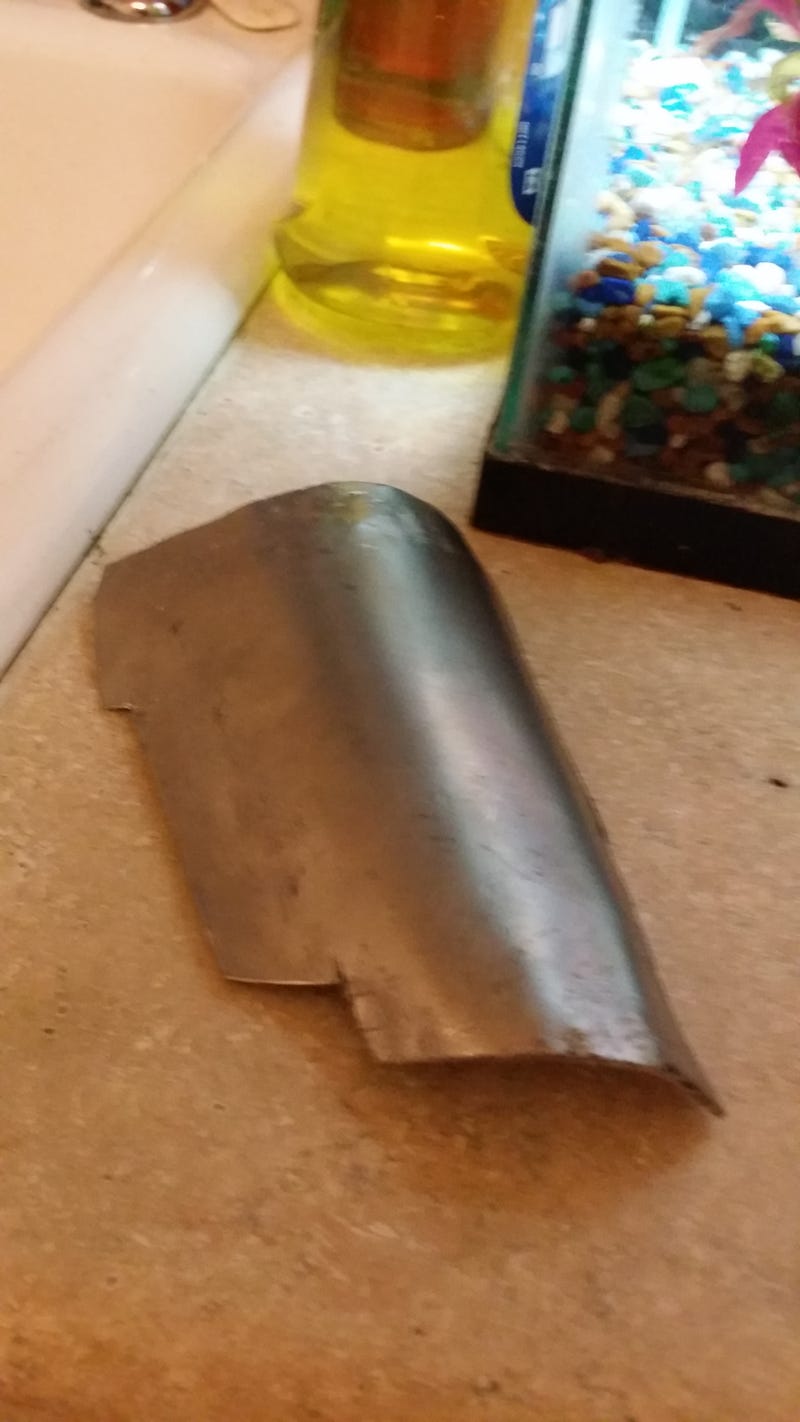
That's all for now, hopefully I'll have it finished by the end of next month!
Project has been moving along. I've finished the bodywork, and should be starting the respray of the car in about a week and a half. My cousin's going to lend a hand-- she's got a ton of experience spraying Urethane with an HVLP gun through her work in theater design.
Some new developments:
I removed the rocker covers, which revealed some rust behind the driver's side wheel well.

So I patched in a new section:

I've got the front suspension disassembled:

I cut out a section of the shock tower that had rusted away, interesting makeup-- looks like 2 1/16" sheets of steel glued together:

Don't have any pictures of the section I cut out, but this piece has been made to fit right in-- took about 6 hours of cutting and shaping using a pair of snips, a cutting wheel tool, a vise, a set of pliers, my hands, and leverage:

That's all for now, hopefully I'll have it finished by the end of next month!