New Convertible Top

Keeping it sharp - paint, wax, detailing, etc.
Post Reply
wizard124
Posts: 752
Joined: Mon Oct 29, 2012 9:27 pm
Your car is a: 1980 124 spider FI
Location: Sheridan, WY exSan Rafael, CA

New Convertible Top

Post by wizard124 »

My top looked pretty good from the outside and had a clear rear window, but the fabric backing on the vinyl had rotted and some seams had pulled apart. My local upholstery shop recommended topsonline.com and SEM 39143 semi-gloss paint to use on the frame.

Installing a new top is/was a new adventure for me. I am proud of the way my top came out. Passing on my lessons learned :) Not too difficult but will require a helper and 3rd hand from time to time. :!:

I didn't take any photos as I was taking the frame and top off the car in preparation of getting it painted. Start by removing the rear seat bottom followed by the back. This allows access to the rear trim plate and side panels. Removal is straight forward. There is a rear anchor bar that holds the rear edge of the top. Loosen the 5-6 screws and slide this retainer up to work the rear edge free. Loosen the cable clamps and pull the wire free of these clamps. There are 2 frame mounting screws (allen head) on each side. I had large fender washers fitted between the frame and chassis. Remove these screws and the frame with top is ready to be removed.

Separating the top from the frame: As my fabric had rotted, the top was not attached to any of the bows. Otherwise, the bow wraps would need to be cut. Pry open the small cable guide on each side to remove the cable. Pry (or cut, if new cables are to be used) the cable loop from the anchor pin at the front of the frame. Remove the front trim screws, to remove the trim piece and the rubber gasket. This gasket may be glued down, so pull carefully. At this point, the only part of the top still attached is the leading edge glued to the front of the frame.

The chrome molding in front of the quarter window have 3 screws holding each to the frame. You will need to remove one of the frame pivot bolts so that you can gain access to remove these. My frame was in very good shape. I simply scraped off any glue residue from the bows (these will be recovered later). I washed the frame with Simple Green and water then rinsed. The SEM 39143 is a fast drying paint. I simply placed the frame over a large drop cloth and rattled away. You need to open/close and flip over the frame as you re-coat so you don't miss any areas. I used an entire can in the process.

Based on the shop's recommendation, I ordered from topsonline.com :D I opted for the Black Stayfast Cloth top. Price including CA state tax (I hate paying this :evil: ) and shipping was $341. I ordered it on a Friday; it shipped Monday; and it arrived Wednesday via UPS :!: It is packaged well with paper and foam to prevent scratches to the window.
Ordering on-line, be sure to ask for installation instructions by filling in the remarks window :!:
I found these instructions to be very helpful. I won't re-print them here but I will add some pointers.

I ordered new cables from AR. The pull strings (that the instructions state are included) were not there. I found that inserting the cable loops from the rear hole and pushing it forward works best.

Use a helper when gluing the top to the front of the frame. Gluing can be a messy process so you will want someone to control the top as you paint on the contact cement. Equally important as you fit the cover over the top's outer corners. :!:
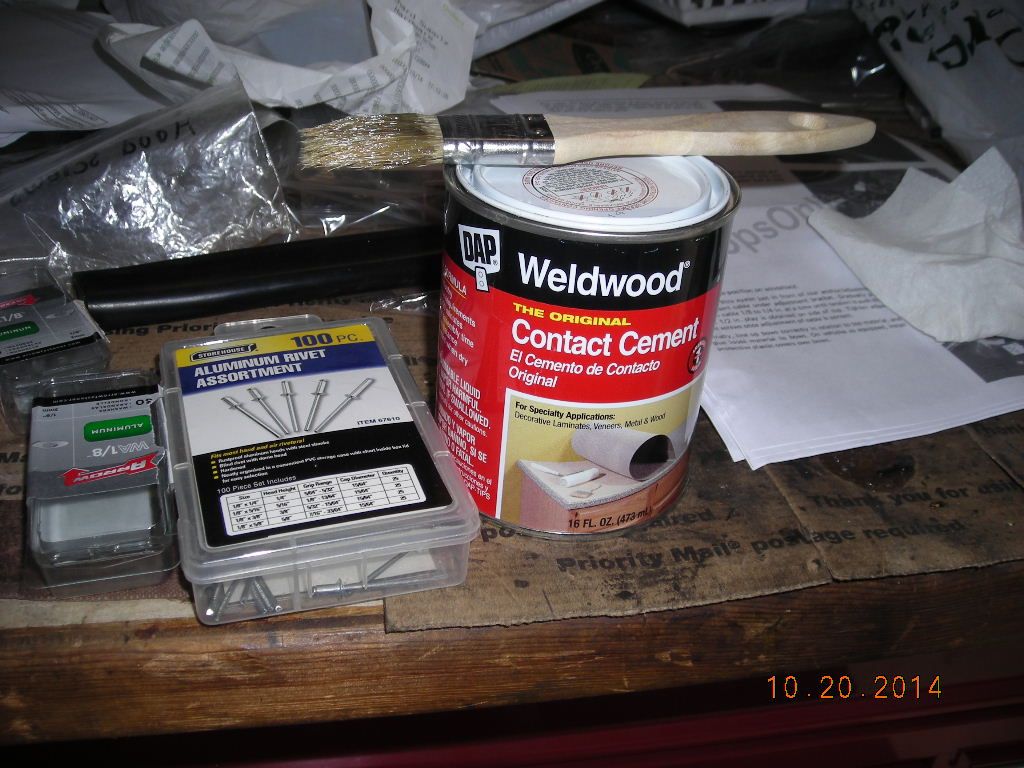
I used Weldwood. Let this set up overnight.
Image
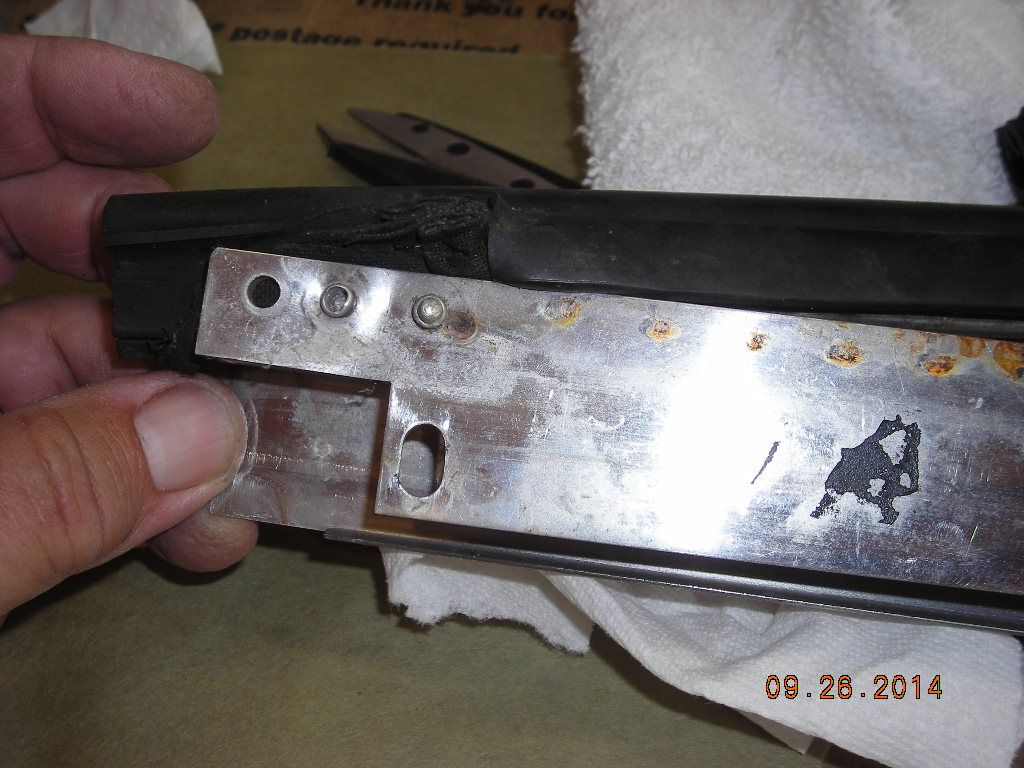
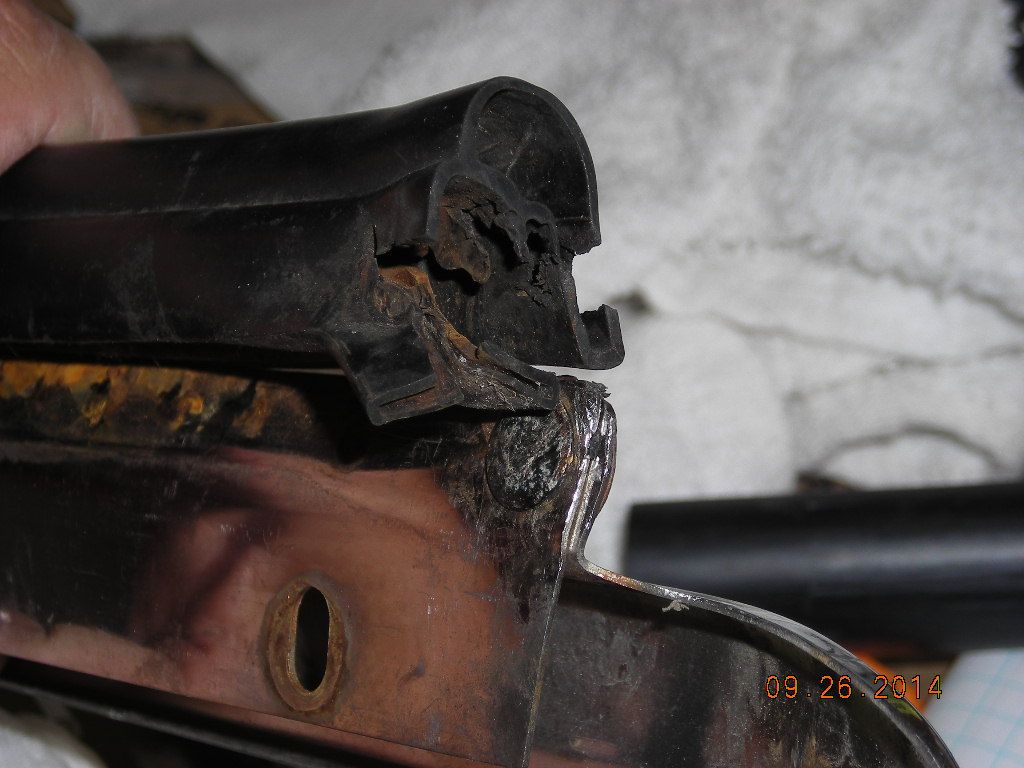
The chrome trim is best cleaned up when separated from the frame. Here is a picture showing the rivets and weather stripping. I reinstalled these after the top had been fitted and the front glued. Install the moldings and check for fit. I ordered new rubber from AR. These needed to be trimmed slightly shorter . When ready, line up the new rubber, poke an awl through the upper and lower rivet holes in the molding to get your pattern. Remove and punch holes in the rubber (I used a leather hole punch). Re-install and use a pop rivet tool. I used 1/8 inch rivets with a washer on both sides. I then pulled the new rubber back a bit and applied a bead of black silicone along the concealed edge of the chrome piece.
Image
Image

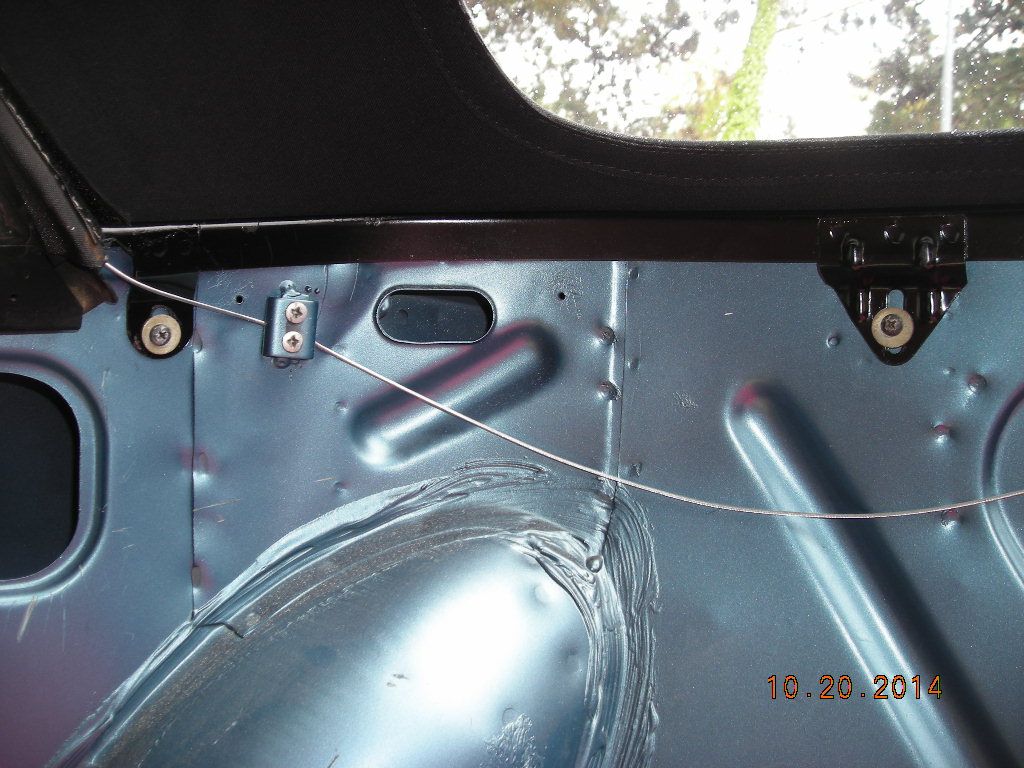
Picture showing the rear anchor bar and cable clamps:
Image

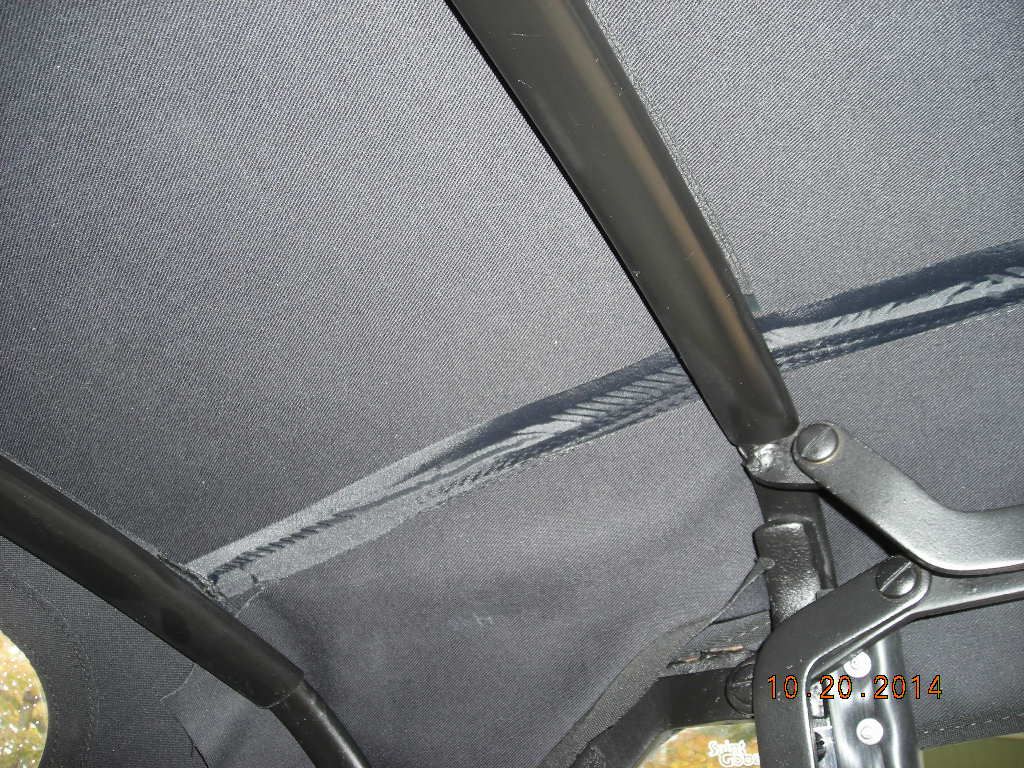
Have the bow plastic covers clean and ready to install. After using the contact cement on the bow and fabric, let it set for 10 minutes or so before you wrap the fabric. Snap the plastic cover in place to hold the wrap in place.
Image

I stripped the old interior front frame cover and replaced it with vinyl. In my case, it matches my home made visors. :D
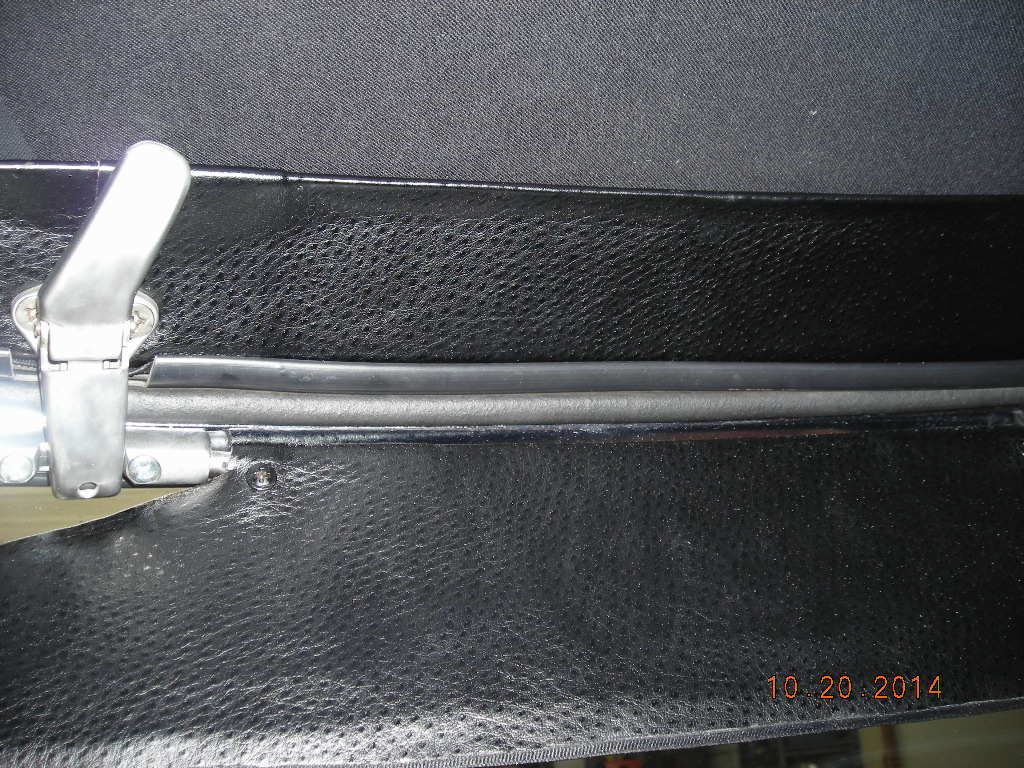
Image

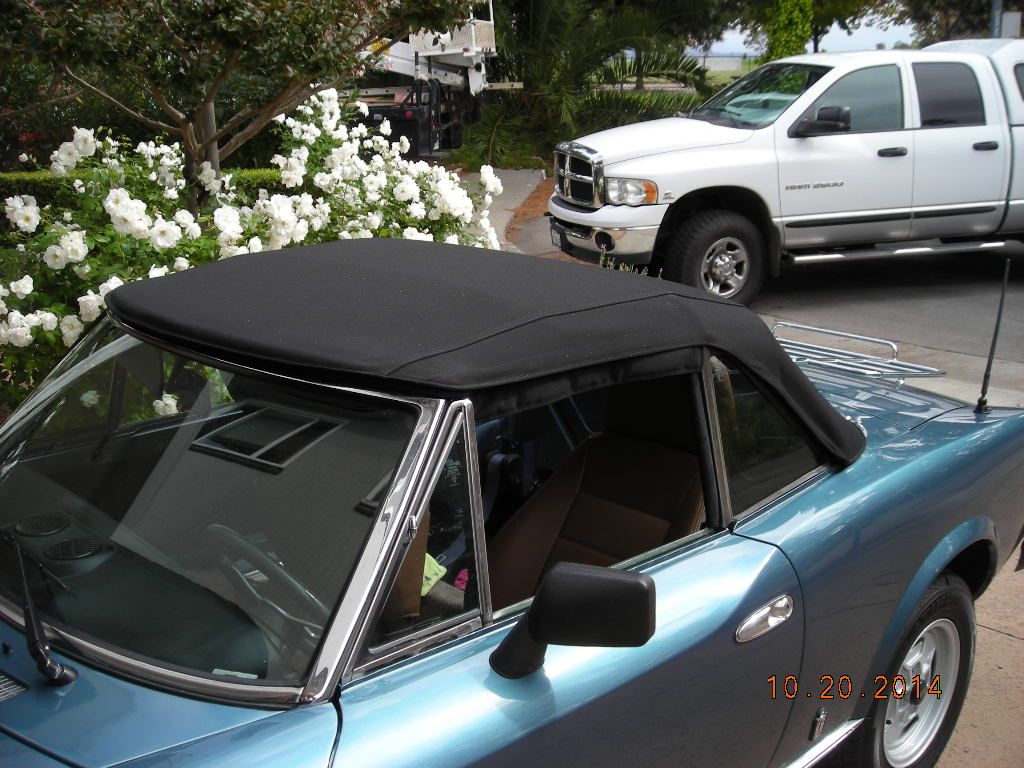
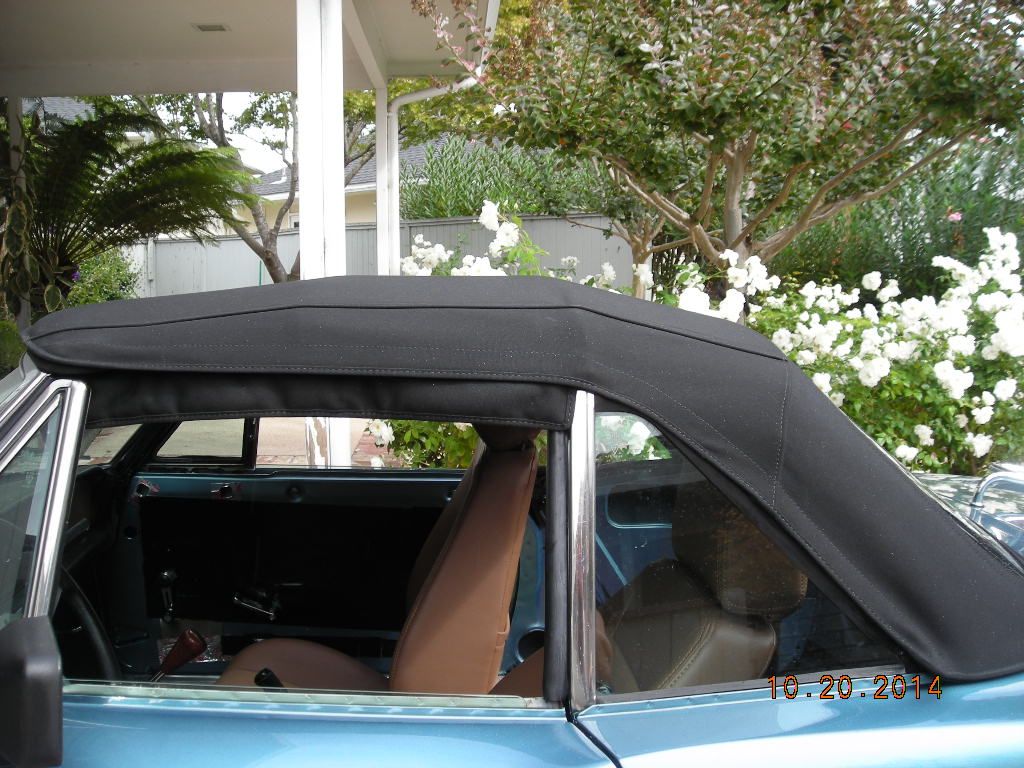
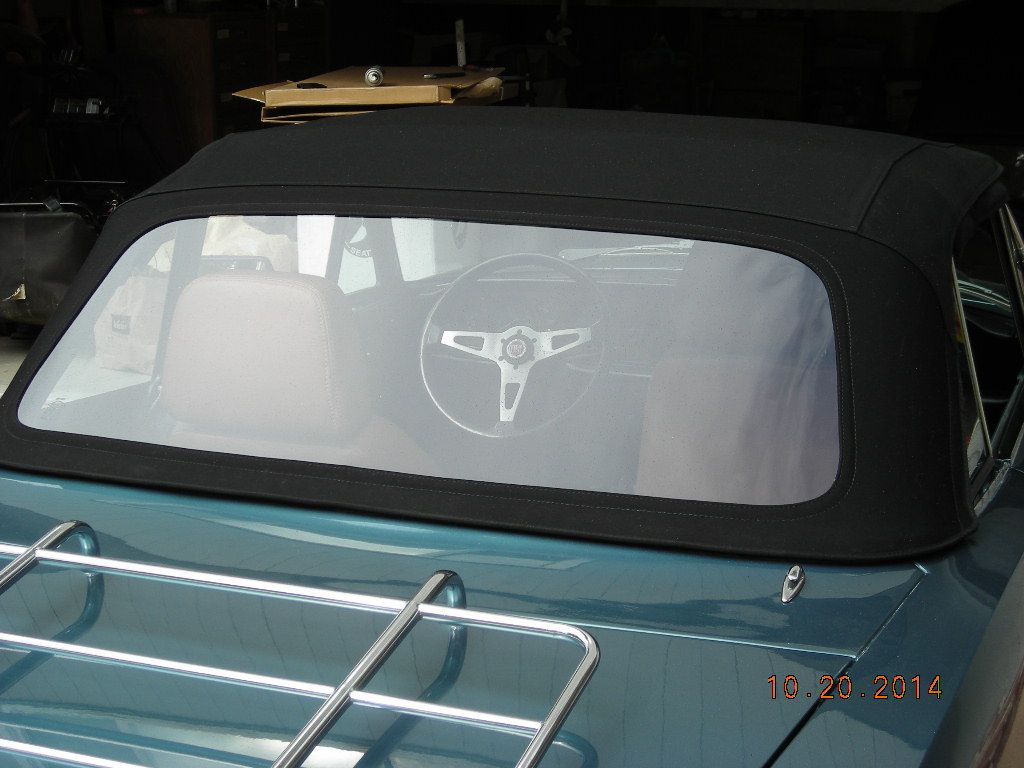
Finished look:
Image
Image
Image
User avatar
aj81spider
Patron 2020
Patron 2020
Posts: 1526
Joined: Fri Mar 11, 2011 9:04 am
Your car is a: 1974 Fiat 124 Spider
Location: Chelmsford, MA

Re: New Convertible Top

Post by aj81spider »

Nice job and nice write-up!
A.J.

1974 Fiat 124 Spider
2006 Corvette
1981 Spider 2000 (sold 2013 - never should have sold that car)
User avatar
courtenay
Patron 2020
Patron 2020
Posts: 1321
Joined: Mon Nov 30, 2009 11:41 pm
Your car is a: 1980 Spider 2000
Location: Courtenay, BC, Canada

Re: New Convertible Top

Post by courtenay »

Great job, and as usual, a very helpful tutorial!! I have a new top but haven't had the intestinal fortitude to install it myself. This sure helps!
Bruce Shearer
'80 Spider Fi
'10 Volvo XC70
'06 GMC 1 Ton PU
'72 Spider a long, long time ago
wizard124
Posts: 752
Joined: Mon Oct 29, 2012 9:27 pm
Your car is a: 1980 124 spider FI
Location: Sheridan, WY exSan Rafael, CA

Re: New Convertible Top

Post by wizard124 »

courtenay wrote:Great job, and as usual, a very helpful tutorial!! I have a new top but haven't had the intestinal fortitude to install it myself. This sure helps!
You can do it! Don't be in a hurry. Read the instructions.....and again. Test before you glue. Get your volunteer. I am new to alot of this interior work. Instruction and manual guidance isn't comprehensive. Alot more filling in the blanks. Not that hard, tough to justify 4-6 hours of shop time IMO.
428cougar

Re: New Convertible Top

Post by 428cougar »

Just finished the part of my restoration on a 79 spider for my wife. The convertible top which turned out great thanks to the help of the forum!
User avatar
mattyd7
Posts: 65
Joined: Wed Aug 05, 2015 10:39 am
Your car is a: 1979 Fiat Spider
Location: Nashua, NH

Re: New Convertible Top

Post by mattyd7 »

Put my top on over this weekend. I was really nervous because the previous owner took off the old one so I didn't have the advantage of seeing how it came off and mounts. Bought mine off Convertible Top Guys in RI. The instructions they sent with the top were incredibly detailed, 3 pages long, so that helped a lot along with the forum. My only complaint was that they forgot to sew in the strings to pull the wire through, so I spent about 90 minutes pushing the wire through the seam millimeter by millimeter!

Overall, came out better than I expected, there is just one spot where the front is just a tad looser than it should be, I am contemplating removing that screw and trying to pull it the extra 1/4" inch or so, but afraid to make it worse since its only cosmetic and probably only I notice it.

Without seeing how the old one came off, and wasting 90 minutes with the wire, I still had it all done in about 4.5 hours. So if the strings were in there I could've been done in 3 hours. I really don't know where the professionals I contacted get off charging for 5 hours labor to do this if I could do my first one that quickly! If you are nervous about doing it yourself, I would say don't be, its actually very straightforward and tough to mess up unless you are really sloppy.
DieselSpider
Posts: 2130
Joined: Wed Dec 24, 2014 10:21 pm
Your car is a: 1978 124 Spider with Isuzu Turbo Diesel

Re: New Convertible Top

Post by DieselSpider »

There is a mobile tech around here who will install/slap on the $179 top for you at your location in less than half a day for only $1,299 as long as nothing needs paint etc. You guys have done a better job yourselves and saved $1,000 dollars in the process.

I just dropped my dimes with Convertible Top Guys in Rhode Island. Full kit with cable, tools, adhesives and instructions with techs available to assist over the phone if you have a problem.
kevireno
Posts: 70
Joined: Sat Jul 20, 2013 12:23 pm
Your car is a: 1979 Fiat spider 124
Location: chattanooga, TN

Re: New Convertible Top

Post by kevireno »

hey there spiderman1....I had a parts wanted post from you concerning a top boot. are you still lookin for one? there is one in the trunk of the junk car that I have...I do not know the shape it is in, if you are still lookin, I will dig it out to take a few pic's of it for ya.
kevireno@hotmail.com
79 124 spider
08 Silverado
09 HHR
Post Reply