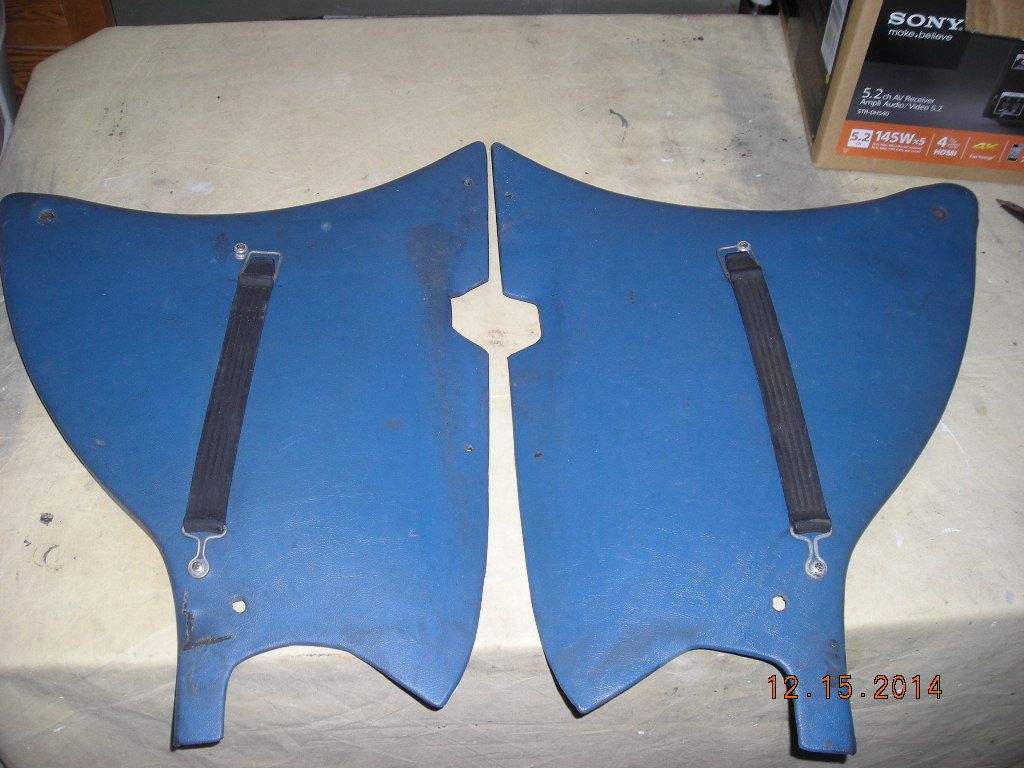
These are what I am talking about:
Plastic panels were in need of repair:
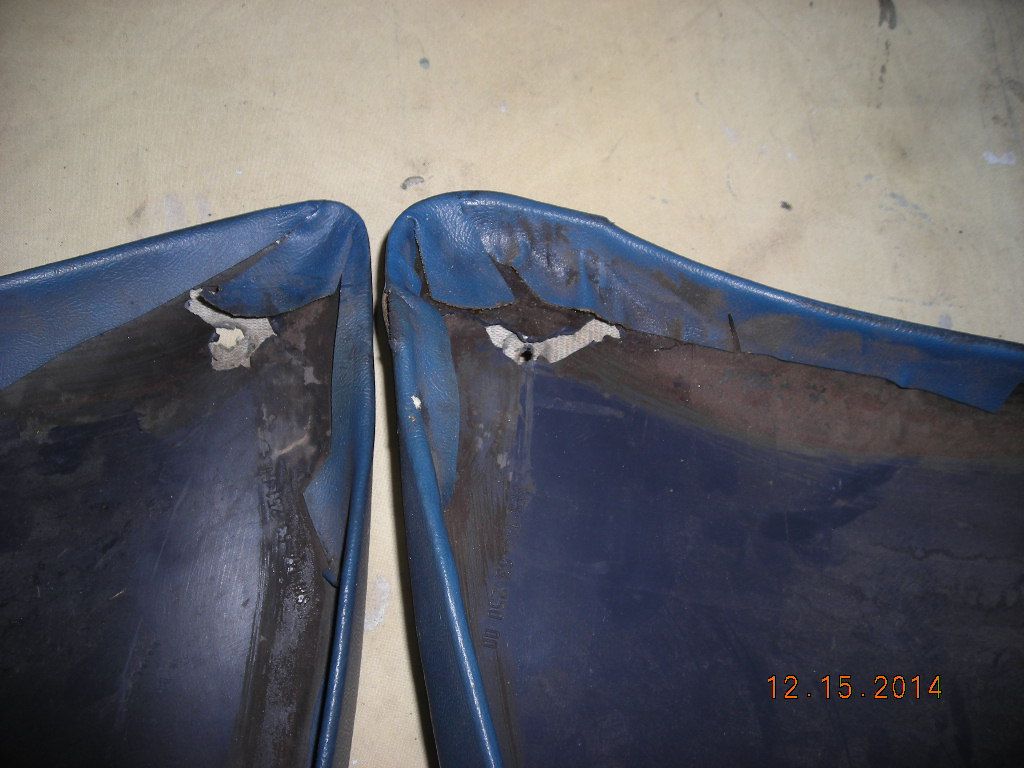
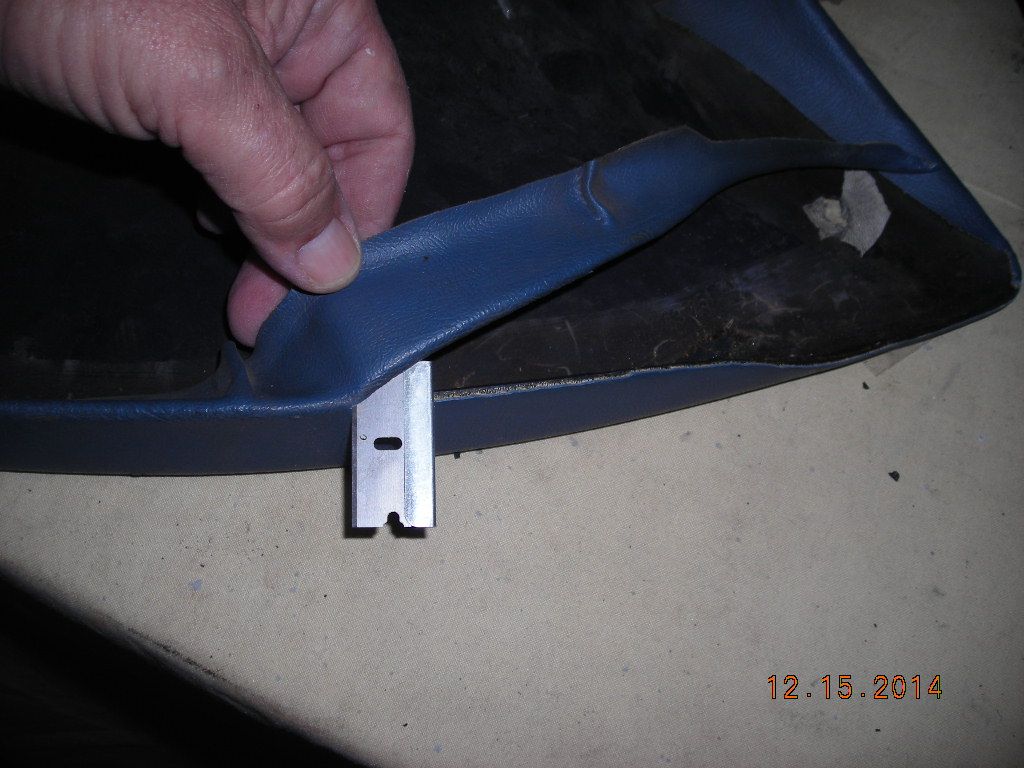
I peeled the vinyl tabs back and sliced off the excess. I kept the exterior side covered to help hold the cracked pieces together. I found using a putty knife and exactor blade the best at removing the hard old contact cement. Then, I wire brushed the back side to remove grime and to give the resin a bit more bite. Cleaned with some acetone. Then covered the holes with clear packaging tape.:
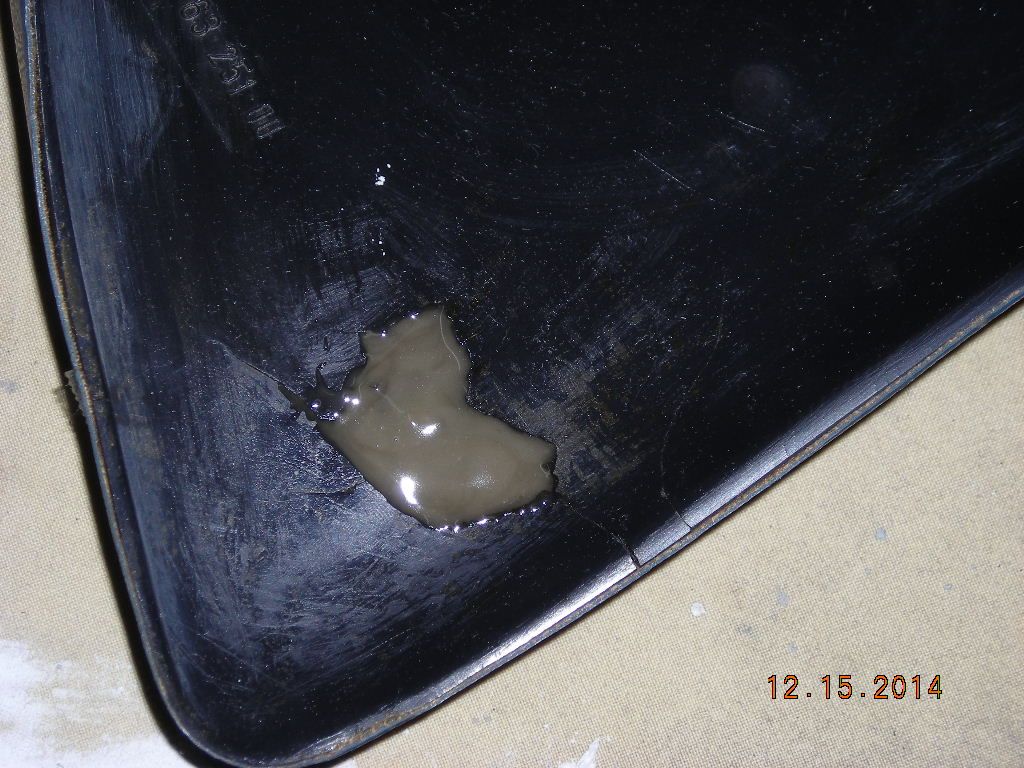
Adding talc to the resin gives it more of a putty consistency. Add some catalyst and I was ready to dribble the filler into the voids. This set up last night:
I used 2 inch web to run the edges (there were small cracks not shown in these photos). Light fiberglass mat to back the panel. Cut and position prior to attempting to add the resin.
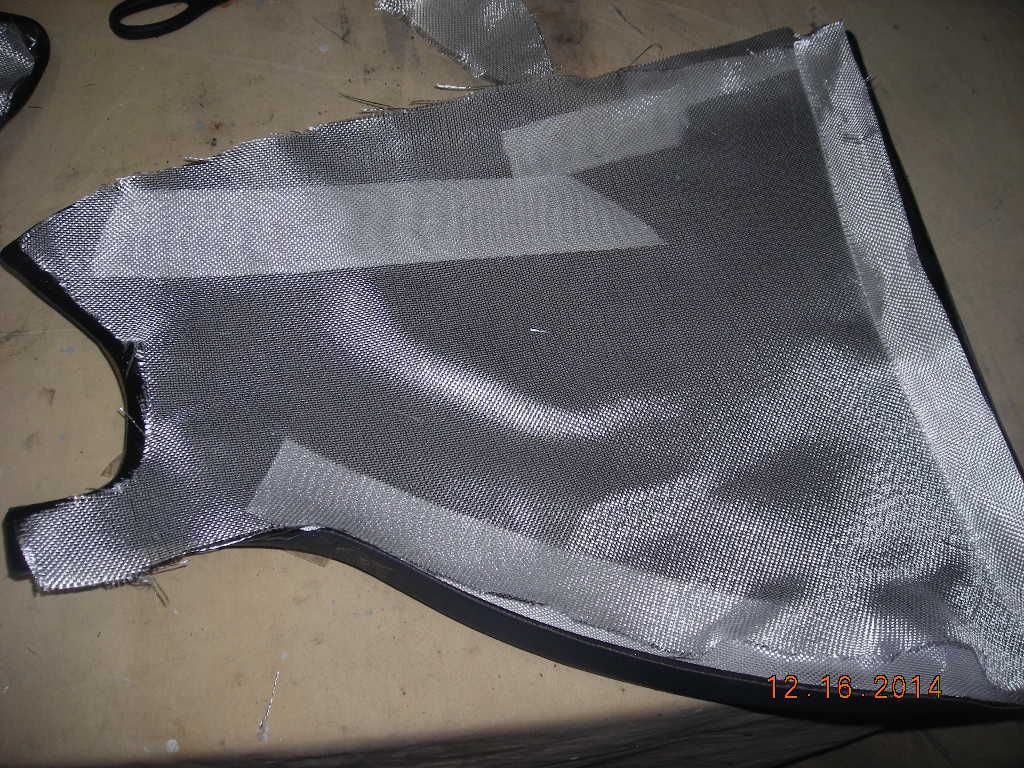
For the final coat, you need to add a wax additive. This ensures that the top coat sets up tack free. First, mix the resin, catalyst and wax additive thoroughly. I used a disposable brush; brush the resin onto the edges. Then take your tape pieces and stick them into position. Brush in more resin to satuarate the mat/cloth. Also use the brush to smooth out any bubbles and to make minor cloth adjustments. Next, I added the mat to the entire panel.
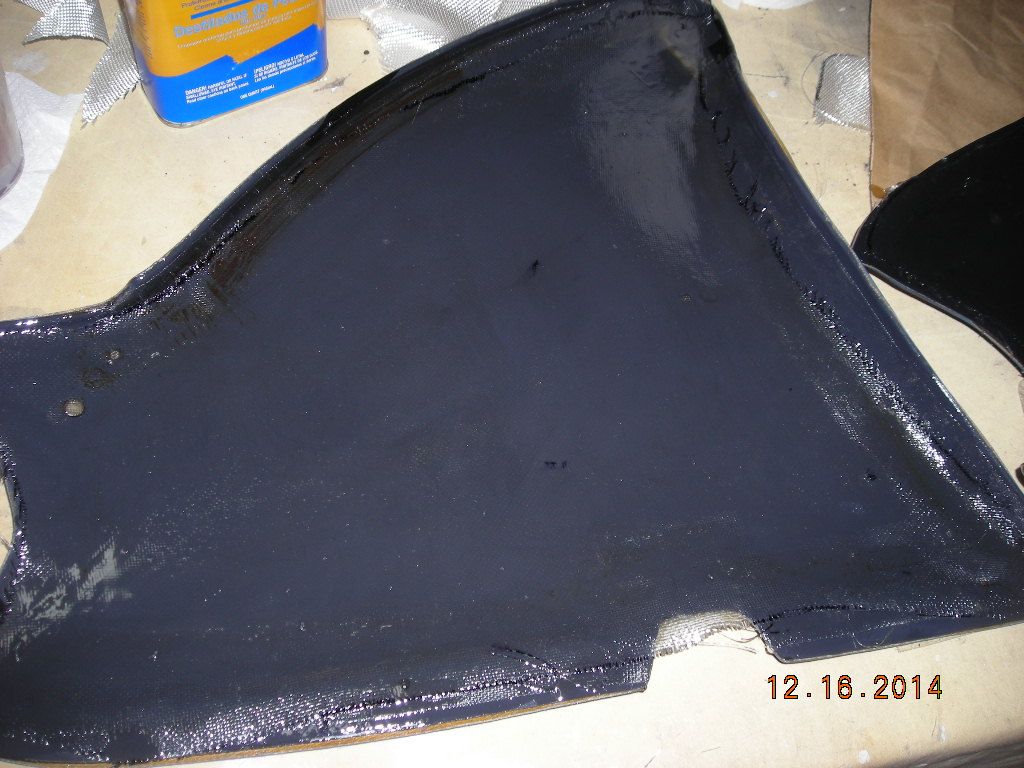
When this cures, I'll trim off the rough edges. These will be ready to be re-covered
I haven't done many fiberglass repair projects but encourage anyone on the fence to give it a try. In my area, TAP Plastics has everything you need. Free "How To" pamphlets also.
Warren
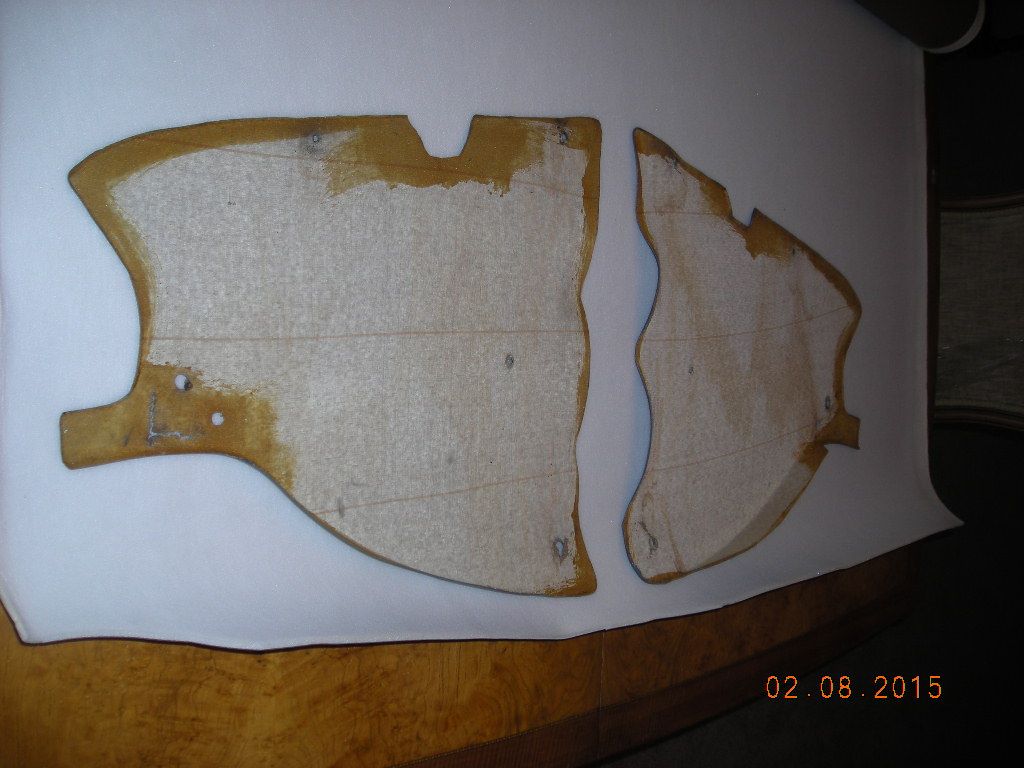
Rear Side Panel repair pictorial
-
- Posts: 752
- Joined: Mon Oct 29, 2012 9:27 pm
- Your car is a: 1980 124 spider FI
- Location: Sheridan, WY exSan Rafael, CA
Rear Side Panel repair pictorial
'80 spider FI, SnugTop hardtop
http://s940.photobucket.com/user/a7ewiz ... t=3&page=1
-
- Posts: 752
- Joined: Mon Oct 29, 2012 9:27 pm
- Your car is a: 1980 124 spider FI
- Location: Sheridan, WY exSan Rafael, CA
Re: Rear Side Panel repair pictorial
Back to work! I don't recall ever doing any re-covering before. While trivial to some, I hope this helps another novice
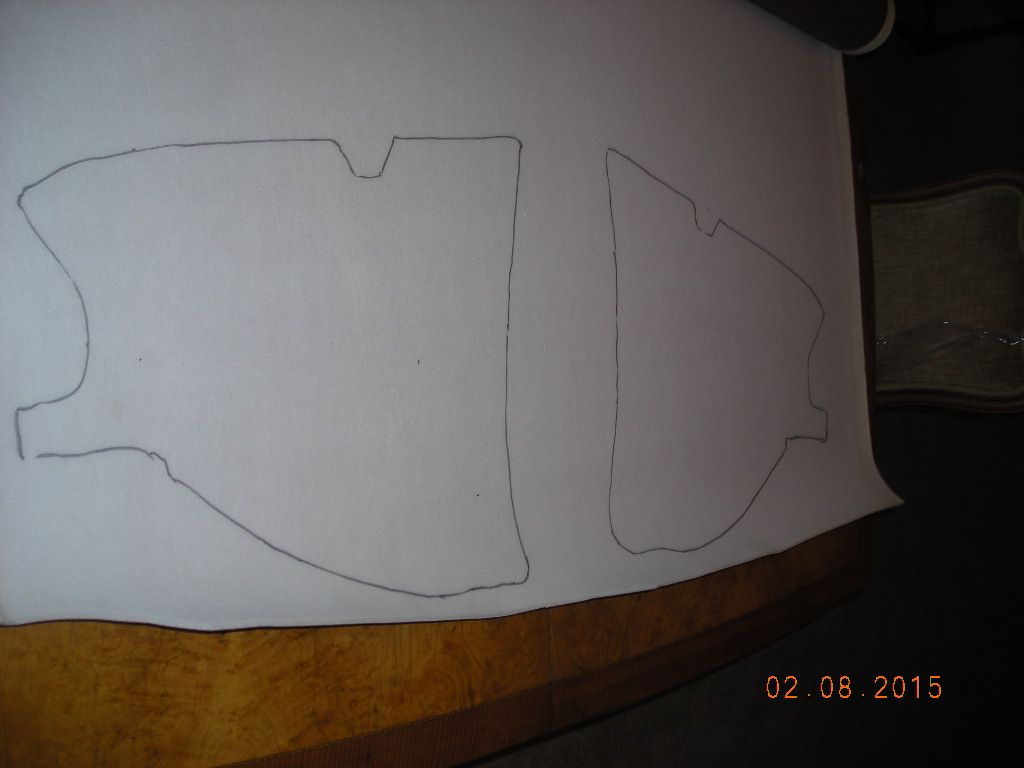
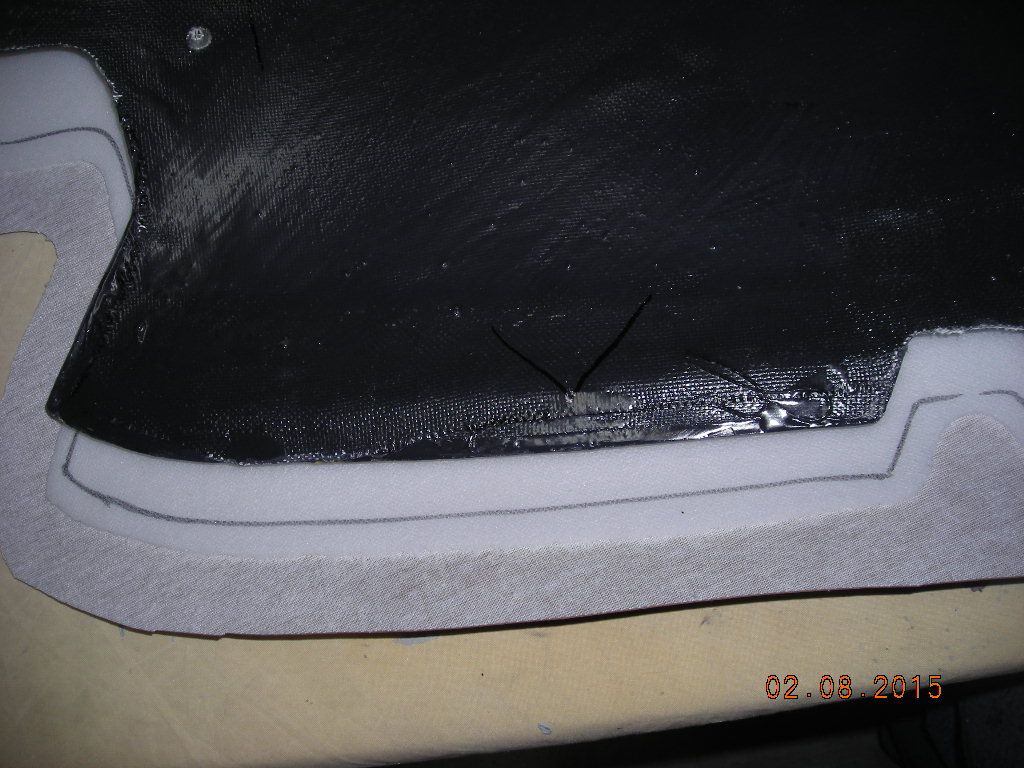
I hit any spikey fiberglass strands with a sanding wheel and drilled pilot holes through the new fiberglass using the existing holes in the plastic covers. The old vinyl peeled off easily. Then I wiped each panel down with alcohol. Using the extra vinyl I ordered through Corbeau to match my seats, I set the old vinyl on as a pattern.
I traced about a 1 inch margin on each and cut. This extra is for gluing to the back side. My vinyl came with a foam backing which needed to be trimmed and removed. If you try to glue to the foam, the foam simply pulls off from the back of the vinyl.
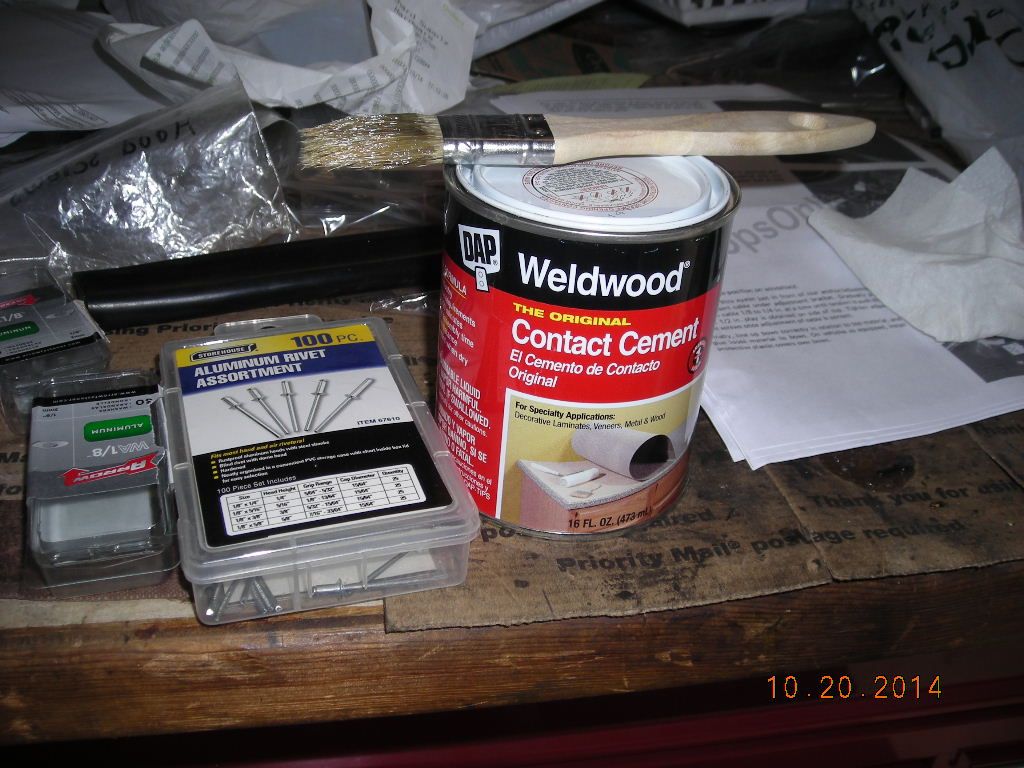
I used contact cement on the back side for the tabs. I didn't glue the front side at all. 2 reasons: 1) It didn't appear the original was glued that way. 2) I thought the contact cement might soak through the foam, leaving a dimpled look.
I glued one edge at a time; straightest first then opposite, leaving the most difficult curved edge for last. This way I was able to have an edge set then pulled the vinyl tight to the opposite side. I used spring clamps to help set the tabs.
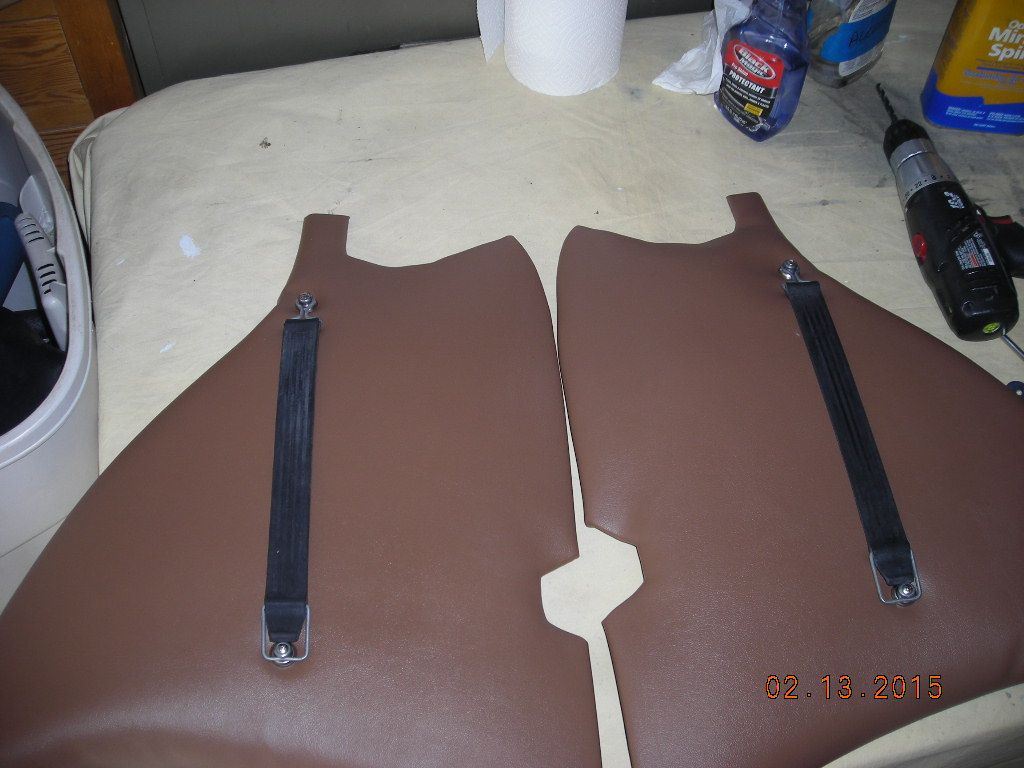
I used stainless finish washers when mounting the strap retaining studs. I had some stainless oval machine screws and nuts. Finished panels:
'80 spider FI, SnugTop hardtop
http://s940.photobucket.com/user/a7ewiz ... t=3&page=1
- Ptoneill
- Posts: 606
- Joined: Thu Jul 15, 2010 1:28 am
- Your car is a: 1979 Fiat Spider 2000
- Location: Las Vegas, Nevada
Re: Rear Side Panel repair pictorial
Nice post....thanks for the information!!
Stay Safe,
Pat
79spider
HAVE FUN!! It's a FIAT!!
ptoneill@msn.com
http://s1121.photobucket.com/albums/l504/ptoneill/
Pat
79spider
HAVE FUN!! It's a FIAT!!
ptoneill@msn.com
http://s1121.photobucket.com/albums/l504/ptoneill/
- RRoller123
- Patron 2020
- Posts: 8179
- Joined: Sun Nov 13, 2011 2:04 pm
- Your car is a: 1980 FI SPIDER 2000
- Location: SAGAMORE BEACH, MA USA
Re: Rear Side Panel repair pictorial
Excellent job! I did this repair as well, filling the holes with epoxy, and using Loctite spray adhesive to attach the new vinyl over the frame. The key is to get the corners just right. I think the corner we want is called a "pig's ear". It is a little tricky, and it took me a couple of tries to get something acceptable, but this is a great upgrade if one has a rough interior. Mine was a complete mess.
'80 FI Spider 2000
'74 and '79 X1/9 (past)
'75 BMW R75/6
2011 Chevy Malibu (daily driver)
2010 Chevy Silverado 2500HD Ext Cab 4WD/STD BED
2002 Edgewater 175CC 80HP 4-Stroke Yamaha
2003 Jaguar XK8
2003 Jaguar XKR
2021 Jayco 22RB
2019 Bianchi Torino Bicycle
'74 and '79 X1/9 (past)
'75 BMW R75/6
2011 Chevy Malibu (daily driver)
2010 Chevy Silverado 2500HD Ext Cab 4WD/STD BED
2002 Edgewater 175CC 80HP 4-Stroke Yamaha
2003 Jaguar XK8
2003 Jaguar XKR
2021 Jayco 22RB
2019 Bianchi Torino Bicycle
- Ptoneill
- Posts: 606
- Joined: Thu Jul 15, 2010 1:28 am
- Your car is a: 1979 Fiat Spider 2000
- Location: Las Vegas, Nevada
Re: Rear Side Panel repair pictorial
I am looking to do my interior in leather. Does anyone know what is the best adhesive to use?
Stay Safe,
Pat
79spider
HAVE FUN!! It's a FIAT!!
ptoneill@msn.com
http://s1121.photobucket.com/albums/l504/ptoneill/
Pat
79spider
HAVE FUN!! It's a FIAT!!
ptoneill@msn.com
http://s1121.photobucket.com/albums/l504/ptoneill/
- 124JOE
- Posts: 3141
- Joined: Fri Jun 24, 2011 7:11 pm
- Your car is a: 1978 124 fiat spider sport 1800
- Location: SO. WI
Re: Rear Side Panel repair pictorial
I used 3M spray adhesive
when you do everything correct people arent sure youve done anything at all (futurama)
ul1joe@yahoo.com 124joe@gmail.com
-
- Posts: 752
- Joined: Mon Oct 29, 2012 9:27 pm
- Your car is a: 1980 124 spider FI
- Location: Sheridan, WY exSan Rafael, CA
Re: Rear Side Panel repair pictorial
124JOE wrote:I used 3M spray adhesive
I've used 3M spray and this:Ptoneill wrote:I am looking to do my interior in leather. Does anyone know what is the best adhesive to use?
For large applications the spray is great. For small borders and tabs, the brushed contact cement is the way to go.
'80 spider FI, SnugTop hardtop
http://s940.photobucket.com/user/a7ewiz ... t=3&page=1