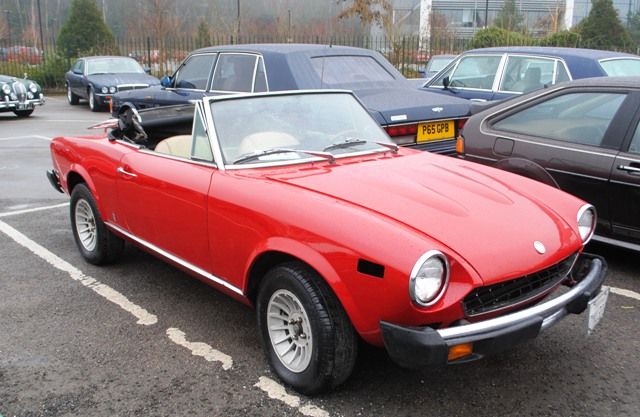
1977 CS1 imported to UK from California
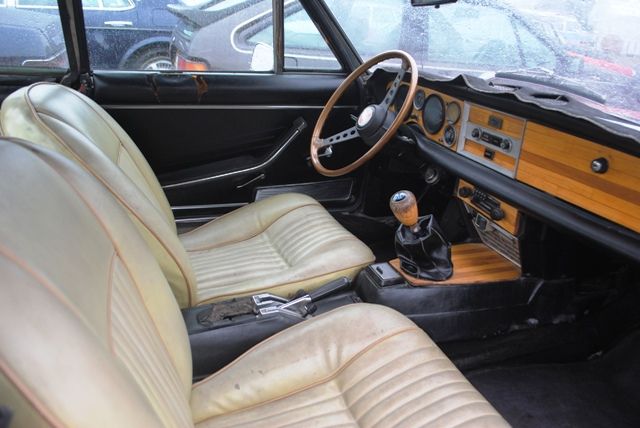
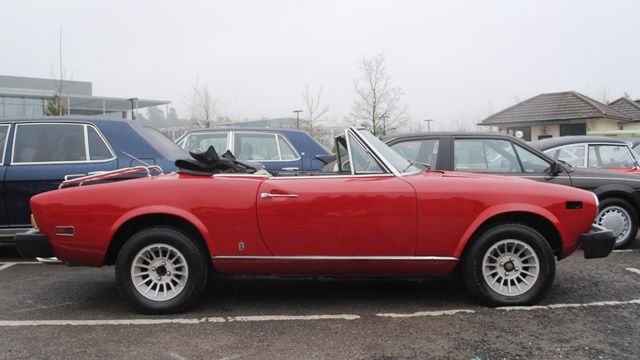
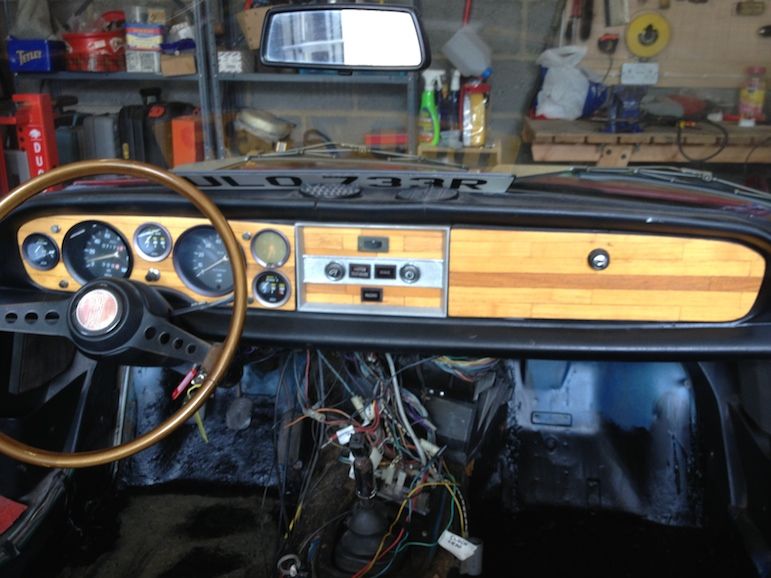
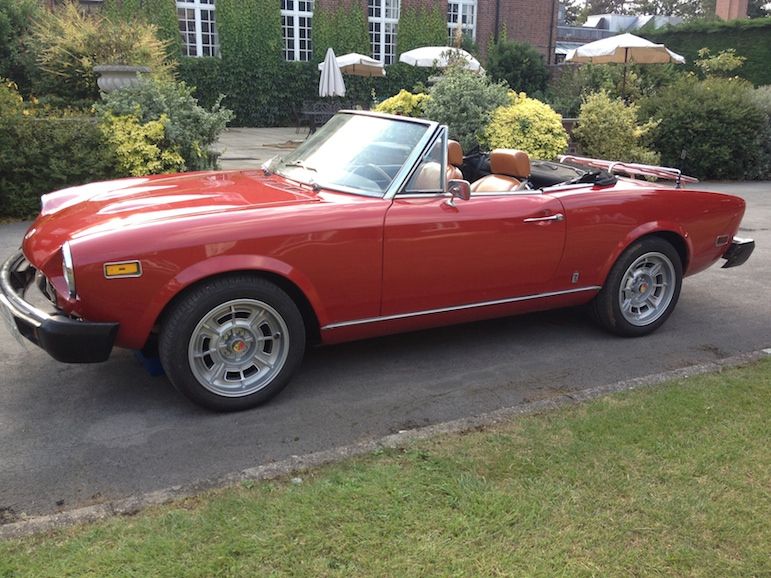
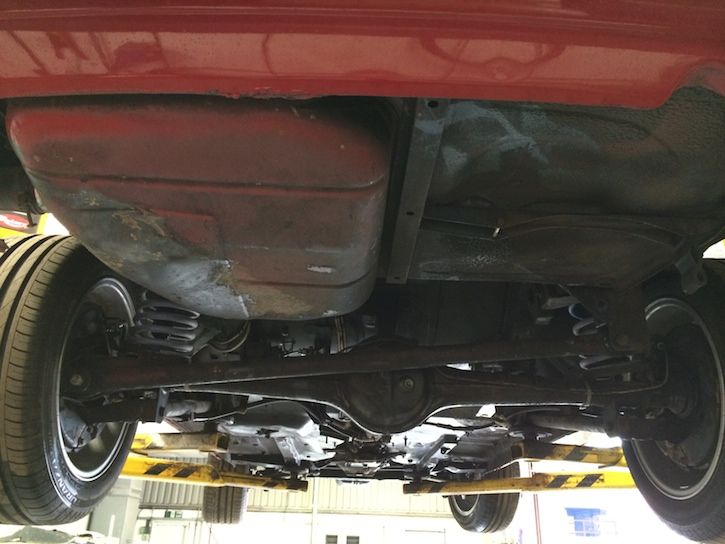
Hi, in April 2013 I saw this on a car auction site after the sale fell through. It had been recently imported to the UK and had an MoT (UK safety certificate) which turned out not to be worth the paper it was written on, although at least it was taxed and registered. It was very scruffy inside and the engine was tired, underpowered and strangled by the emission gubbins. However, the car was rust free, had a new hood and had been given a recent mediocre respray. Phil.
On horrible US spec' high springs.
My priority was to do the interior and get a few weeks summer use out of it before tackling the rest over the winter.
On horrible US spec' high springs.
My priority was to do the interior and get a few weeks summer use out of it before tackling the rest over the winter.
Last edited by pgilling on Sat Jun 14, 2014 10:00 am, edited 1 time in total.
Re: 1977 CS1 imported to UK from California
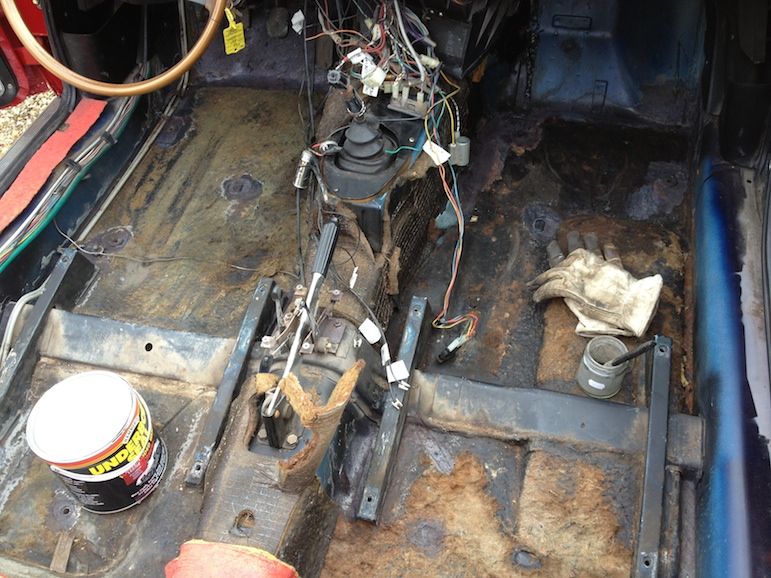
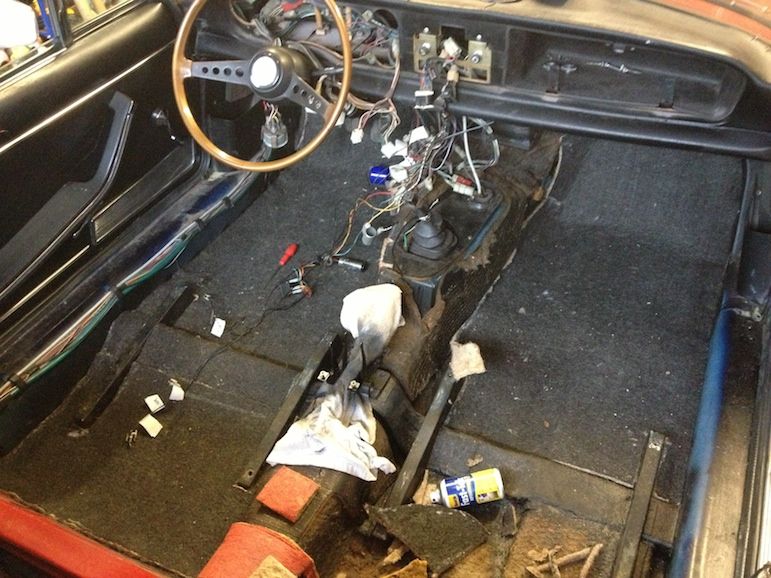
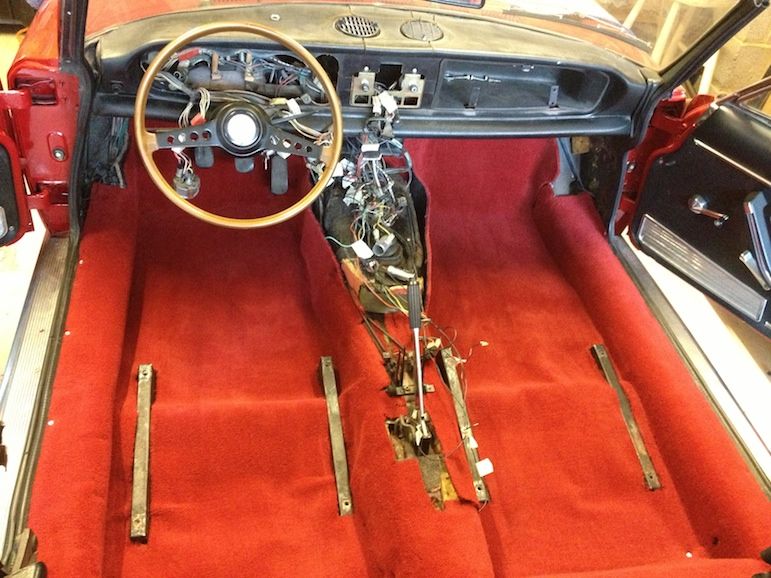
I ripped out the old carpet and under-felt and rustproofed some surface rust caused by a heater matrix valve which had leaked. It turned out to be completely blocked by calcium!
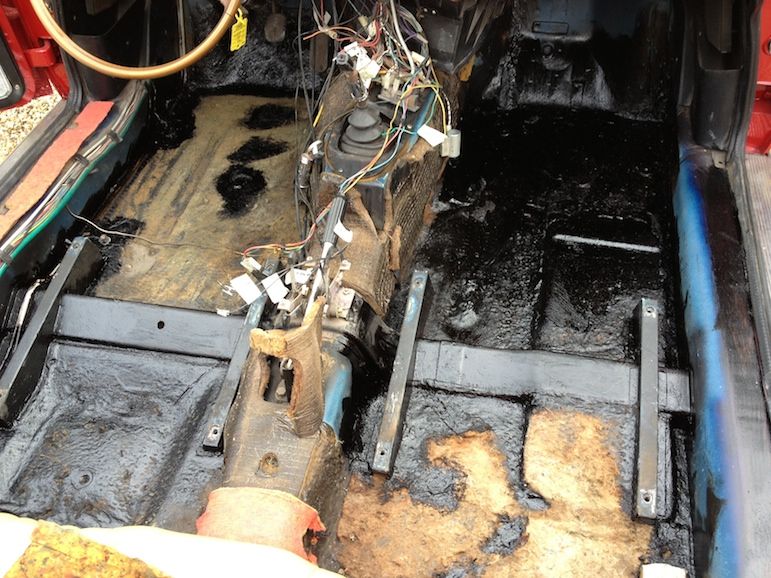
Any signs of rust were undersealed.
One of the heater control cables had snapped (due to the blocked heater valve) and I had difficulty getting a replacement. In the end I bought a length of piano wire for £1 and it worked perfectly!
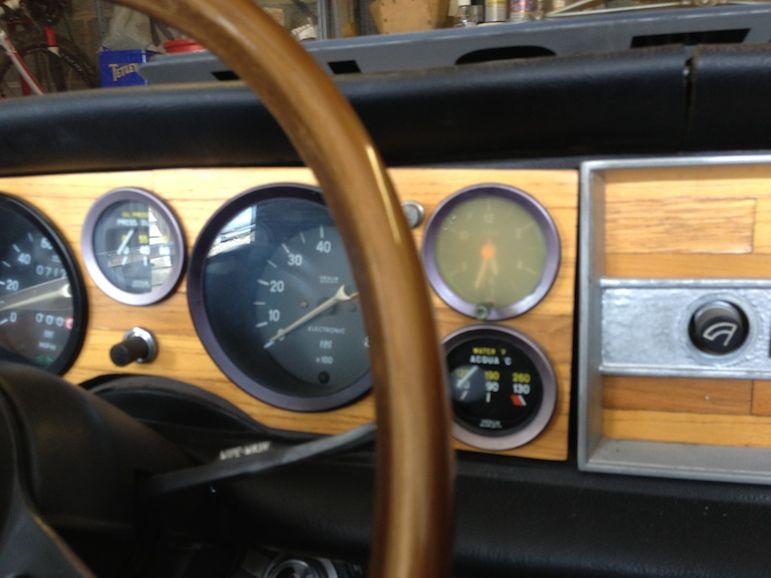
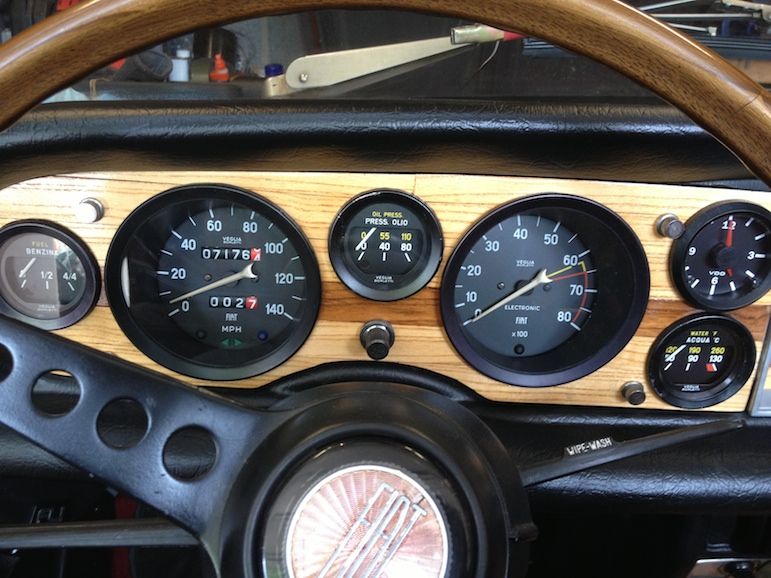
The dash top was split and the wood faded so I bought a new covering shell for the dash and re-sprayed clear coat on the wood after rubbing it down.
The instruments also needed attention as the bezels were faded, and the glass was cleaned and I bought a new clock
After
Re: 1977 CS1 imported to UK from California
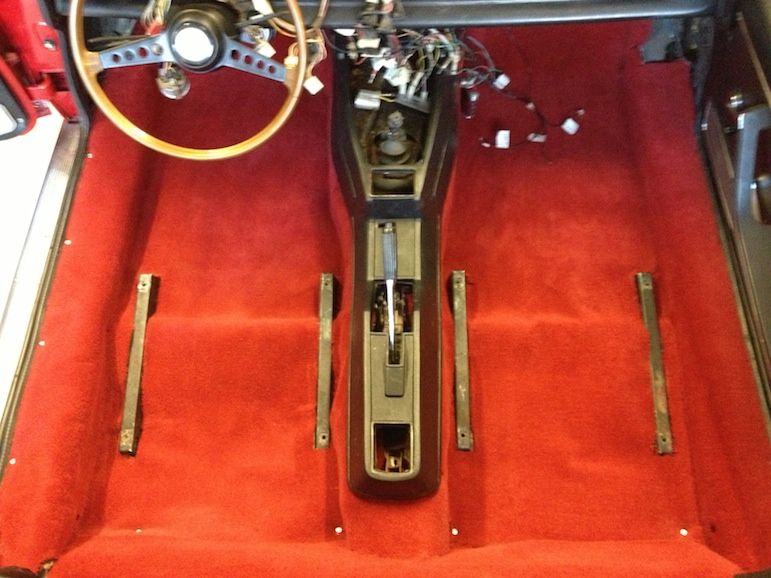
I then put in new under-felt
Then some new carpet which I cut to shape
Here is the new centre console as the old one was very shabby
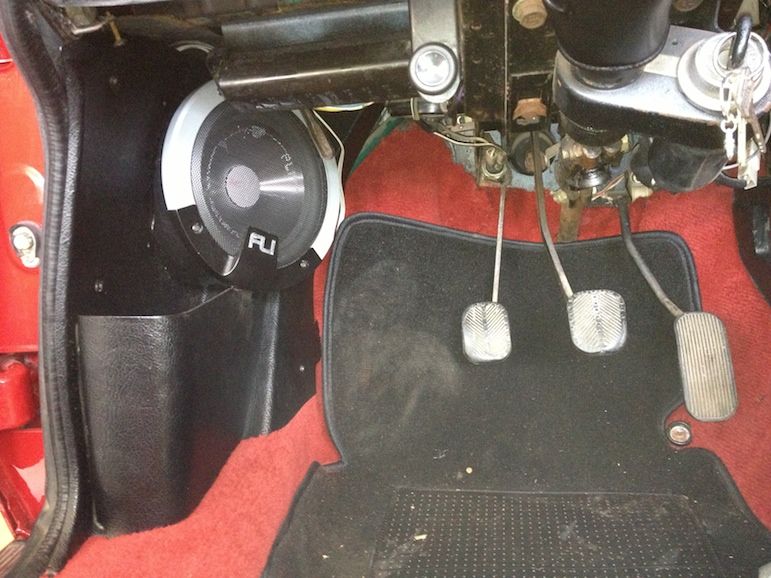
I also took the opportunity to fit some speakers. I made wooden tubes from layers of MDF and cut them at an angle to fit
Then some new carpet which I cut to shape
Here is the new centre console as the old one was very shabby
I also took the opportunity to fit some speakers. I made wooden tubes from layers of MDF and cut them at an angle to fit
Re: 1977 CS1 imported to UK from California
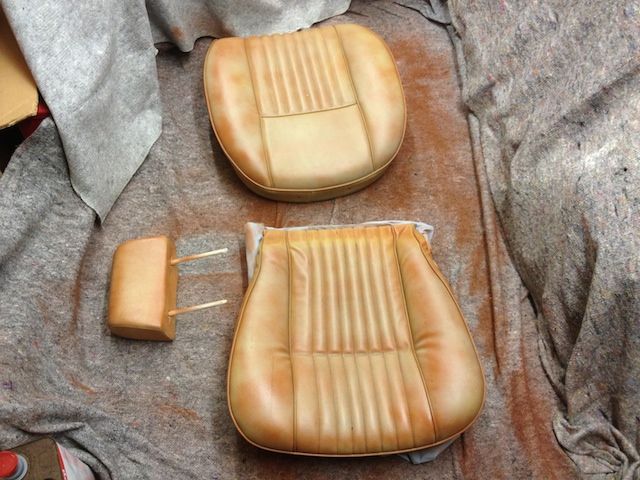
I heard of a quick and cheap fix to restore the seats by spraying progressive layers of vinyl dye. It looked really good and fresh but was a total waste of time and effort as it never dried properly and caused the seats to stick to clothing and leave the dye on them!
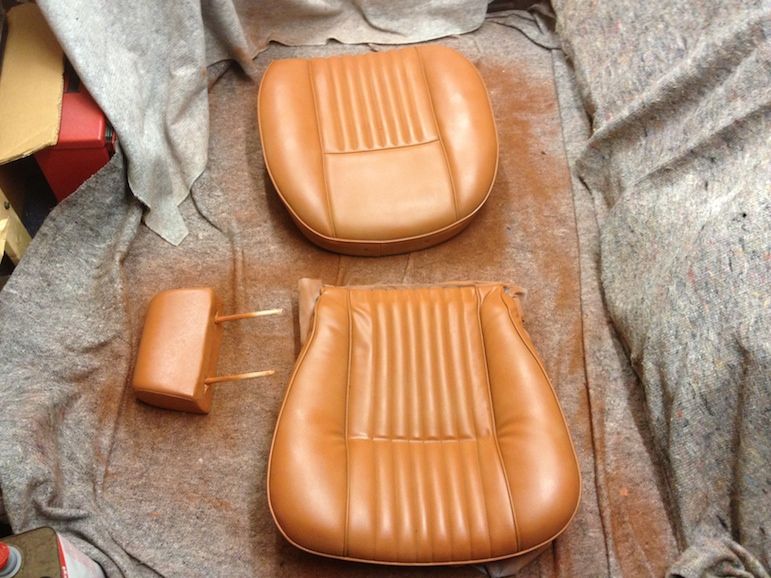
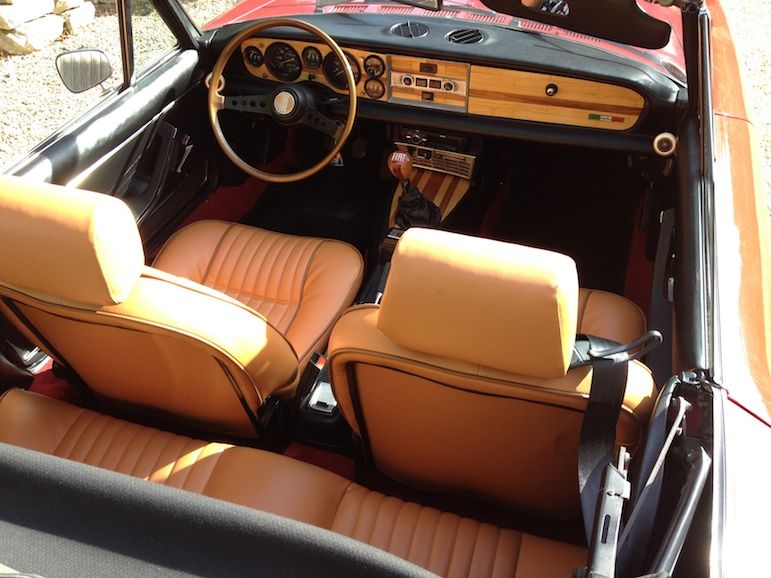
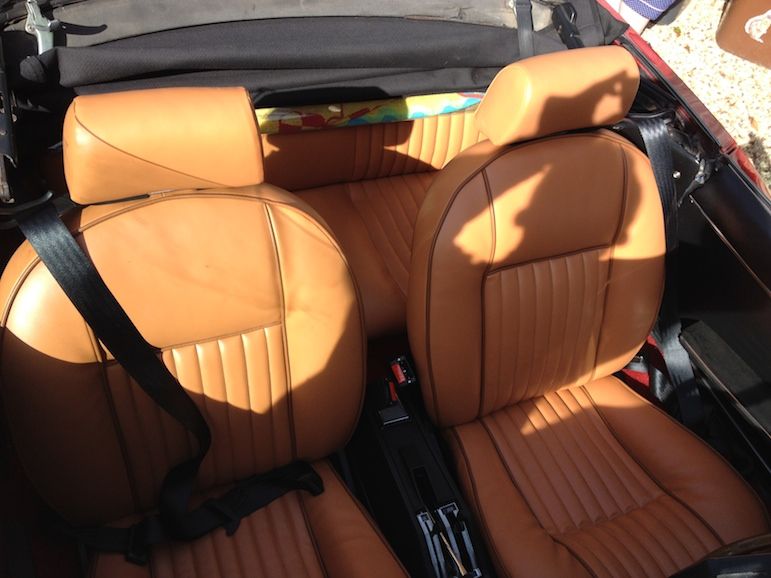
In the end I did what I always should have and went to a local upholsterers who did an excellent job of using cinnamon vinyl with chocolate piping.
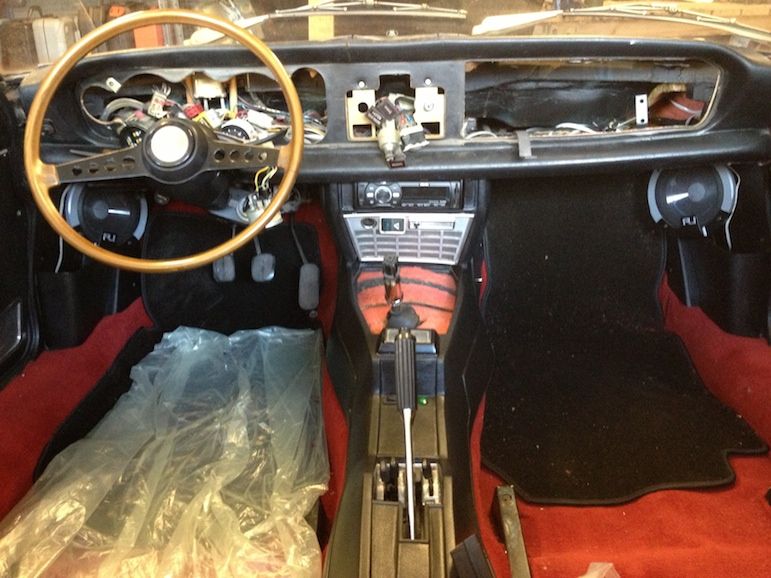
You can see the small tweeter speakers either end of the dash'.
In the end I did what I always should have and went to a local upholsterers who did an excellent job of using cinnamon vinyl with chocolate piping.
You can see the small tweeter speakers either end of the dash'.
Re: 1977 CS1 imported to UK from California
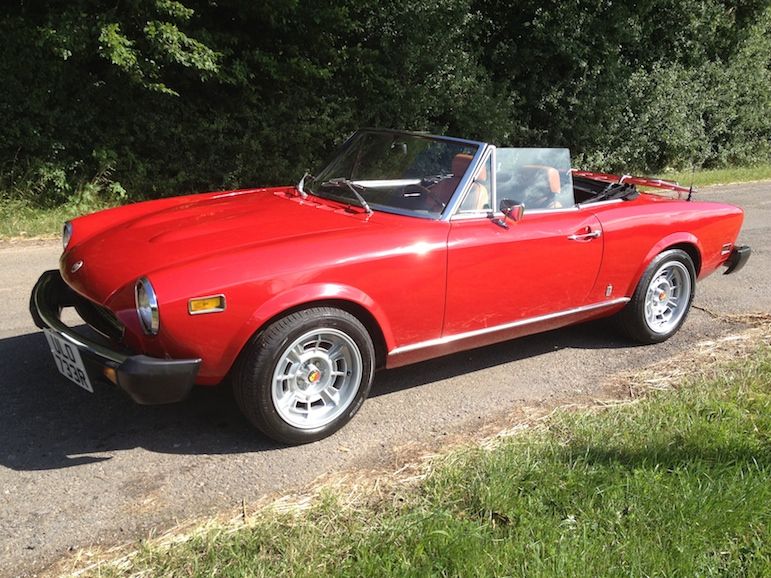
The next job was to junk those 'Turbine' wheels which I do not like. After much investigation I chose some replica 15" Cromodoros. I chose 15" over 13" as I think they look better without looking too modern. Also, decent 13" tyres are getting hard to come by.
I also replaced the US spec' springs with European height ones and of course replaced the old shocks.
I was very pleased with the results
I also replaced the US spec' springs with European height ones and of course replaced the old shocks.
I was very pleased with the results
Re: 1977 CS1 imported to UK from California
I took the opportunity to upgrade the brakes as the old system was ineffective, the rubber hoses perished and the parking brake was not working - despite the new MoT certificate!
I had the rear calipers refurbished as I'd heard they were a difficult DiY job due to the spacers. They cam back still not working as the company that refurbed them didn't know how to do 124 brakes. I should have gone to an expert but the price was pretty high which made me think I'd originally got a bargain!. In the end I bought new Fiat X-19 calipers which was the best solution as they are virtually identical to the originals and cheaper than having the old ones refurbished.
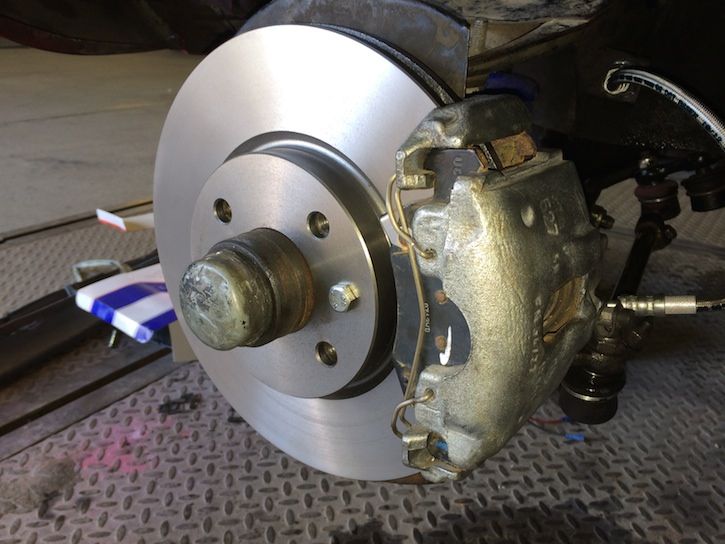
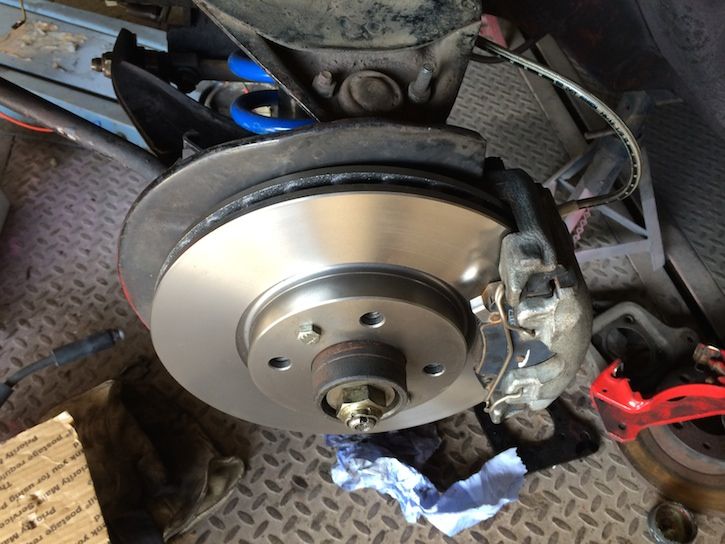
I took a long time deciding what front brakes to use. In the end I got a conversion kit to use modern Fiat 500 Abarth brakes from Allison's. The problem was Allison's had difficulty getting the calipers. I thought that was OK because just buying the adaptor plate and hoses and sourcing callipers in the UK would save lots on carriage and import duty. However, it turned out the US and Euro calipers for modern Fiat 500s are quite different! So I sourced some used ones form ebay USA and managed to use Europesn discs (rotors).
Beware, these are mounted upside-down, it's easily done. It took a while to notice but from the other side the bleed nipples were on the bottom!
They really do look the part but I have yet to drive the car but I'll comment on their performance when I do. The mechanic who is prepping the car for its MoT test commented on the extra brake pedal travel so I hope it won't be an issue!
Last edited by pgilling on Sat Jun 14, 2014 2:06 pm, edited 1 time in total.
-
- Posts: 3959
- Joined: Sat Dec 27, 2008 2:14 am
- Your car is a: 1980 124 spider
- Location: Naramata B.C.
Re: 1977 CS1 imported to UK from California
Crikey, looks like you had a busy weekend eh...
What are you going to do next weekend...rebuild the motor?
Car looks great. Lots of work. is the carpet one piece? I think I like that idea as even though I have replaced mine using the old as a template, the carpet is continually bunching up and looks like shite.
Chris
What are you going to do next weekend...rebuild the motor?
Car looks great. Lots of work. is the carpet one piece? I think I like that idea as even though I have replaced mine using the old as a template, the carpet is continually bunching up and looks like shite.
Chris
80 FI spider
72 work in progress
2017 Golf R ( APR Stg. 1)
2018 F350 crew long box
72 work in progress
2017 Golf R ( APR Stg. 1)
2018 F350 crew long box
Re: 1977 CS1 imported to UK from California
So what about the all important engine....?
I considered rebuilding it myself, but I had very little spare time and I'd only rebuilt one engine before, an old Ford Kent engine, and that was about about 30 years ago. I also realised the Fiat twin-cam was a a bit more 'exotic' than the rudimentary Kent engine and was something that could easily be messed up.
After lots of research the name Guy Croft kept cropping up. I wondered where Guy worked, thinking he was in the States somewhere, yet it turned out that his workshop is in Lincoln UK, about a 25 mins drive from me!! After many conversations with Guy, I decided that I should swallow my pride and get the expert to build me an engine. After all, if you think professionals are expensive, you should try amateurs!!
I told Guy that I wasn't ever planning to race my Fiat and didn't want a 'cammy' screamer but a moderately powerful and torquey car that would be civilised around town, be good on a long run. Basically, I wanted the engine to suit its sports/GT car character and not try to turn it into a hot rod. I was also worried about putting too much power through the transmission
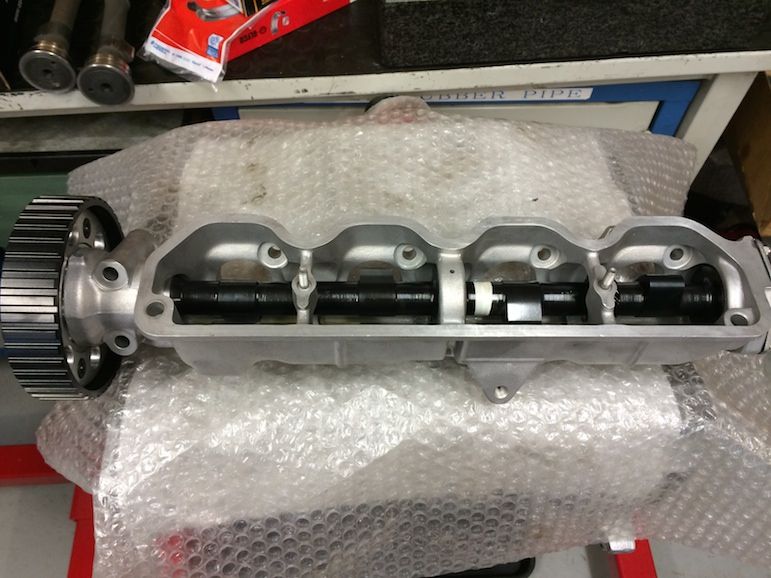
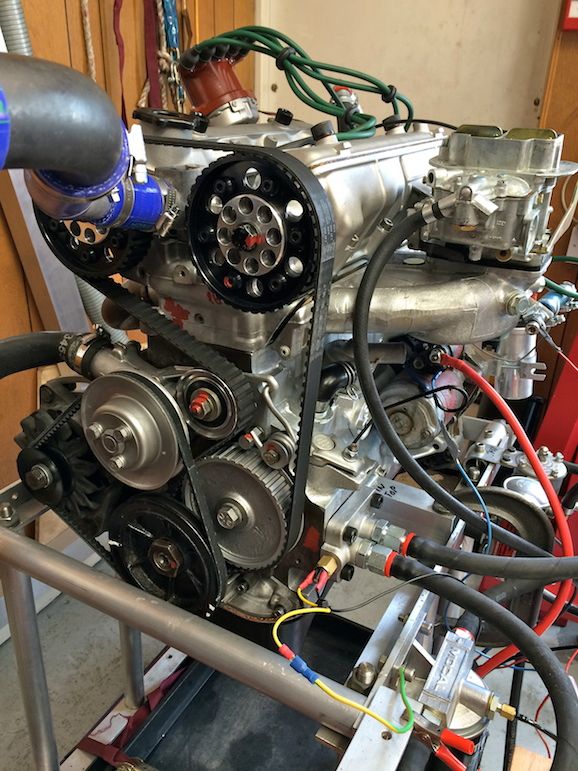
So Guy suggested using a 2.0L block as he said they were an excellent engine. He suggested a high-lift inlet cam, standard exhaust cam, HC race pistons and race rods and a single twin-choke 32/36 DGV Weber carb'. Also, the head was given the Guy croft magic with porting and flowing.
Interestingly the reason Guy insists on using race pistons and rods is for 2 main reasons; firstly despite much checking of the rods, they occasionally 'give' and Guy will not risk his reputation by using questionable yet vital components which are around 40 years old now. Secondly, using bespoke race-standard pistons that are individually made for each engine using Guy's specific design creates great efficiencies and also releases more power.
Of course I could have got bigger valves, a wilder exhaust cam and twin 40's but it is easy to get 'mission-creep' which would mean the cost would get out of hand. Also, I was looking for around 150-160 bhp and that spec' should achieve that with a decent exhaust. As I said previously, I was also concerned about putting too much power through the gearbox and differential. Doing the extra bits at a later date should easily yield around 180+ bhp but as I said, I have to get the balance of cost/reliability/economy right.
As I want to do long tours around Europe in this car, twin 40's may prove to be a pain due to poor mpg against an estimated 15 bhp power gain. Besides, if (when!) I do want more power I should be able to achieve around 170-180 bhp with just a bigger exhaust cam and porting the inlet manifold whilst still using the 32/36 Weber. I'll see how things go for now.
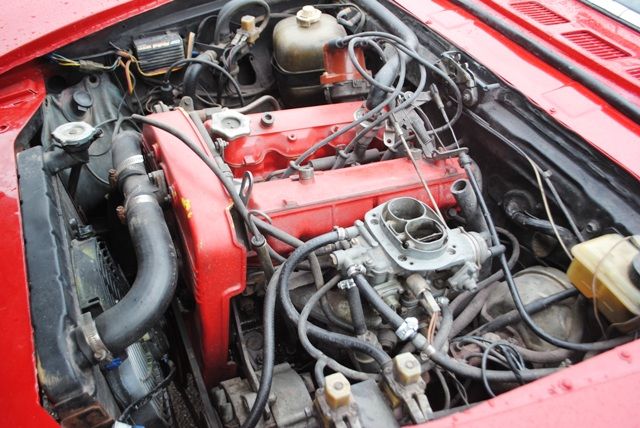
This is how I got the car
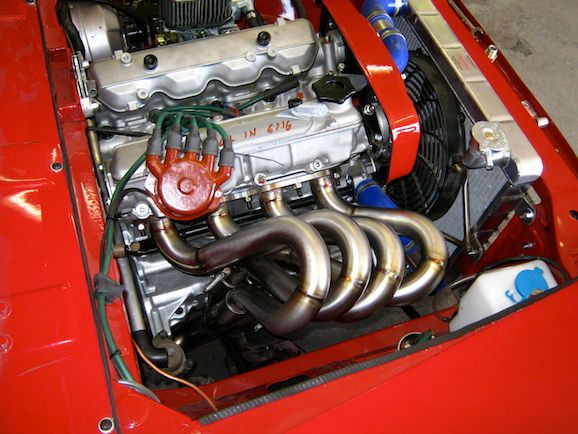
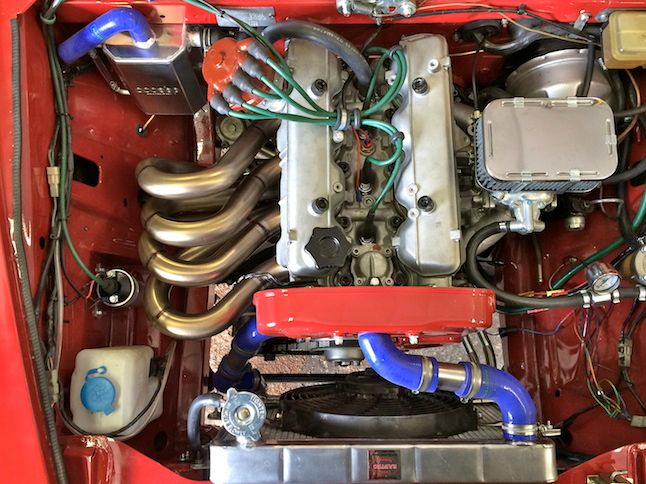
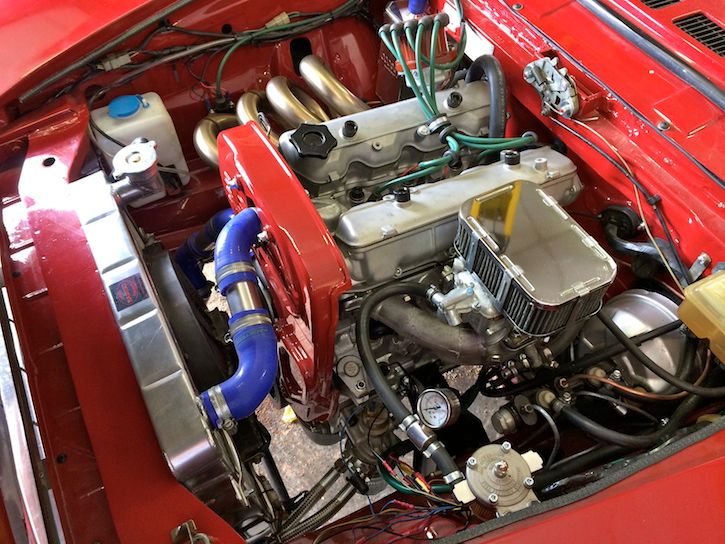
This is the finished result after its first run in the engine bay following a bench run. It will hopefully get its first road run next week.
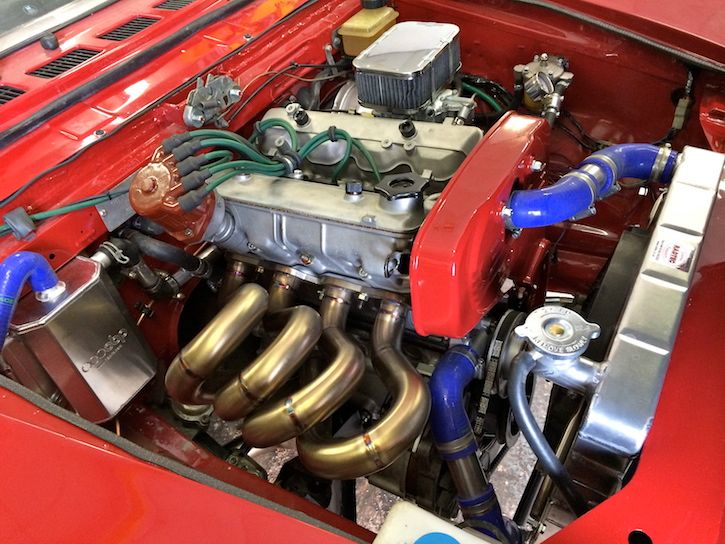
I shall post some images showing the quality of Guy's engine building; I can tell you that it was a privilege to see his work first-hand and I realised this was money well spent and a real investment!
Re: 1977 CS1 imported to UK from California
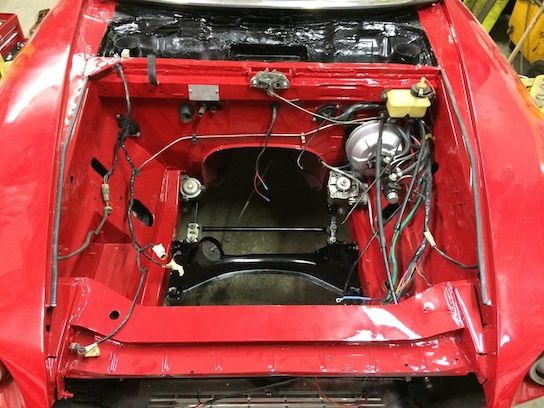
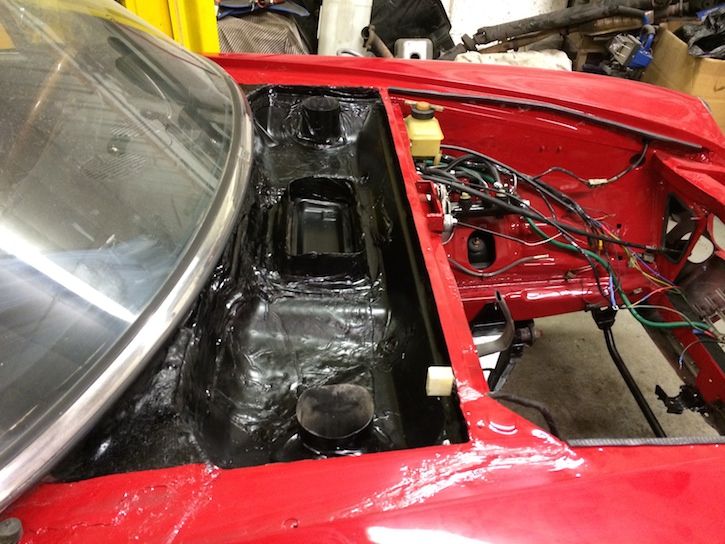
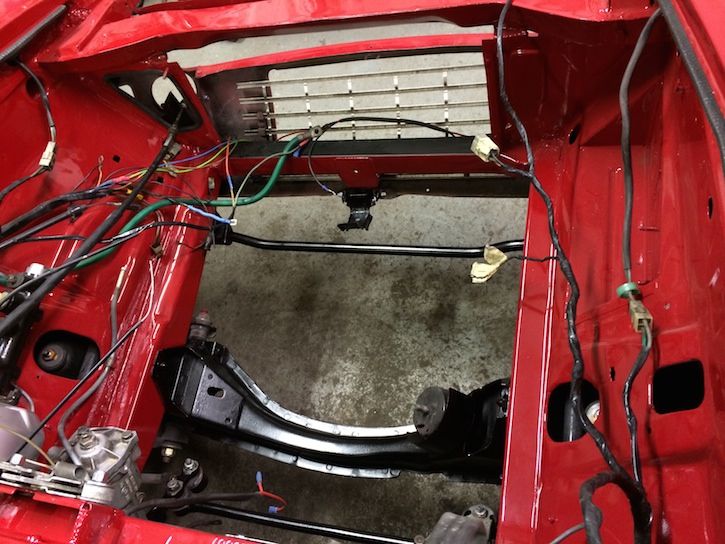
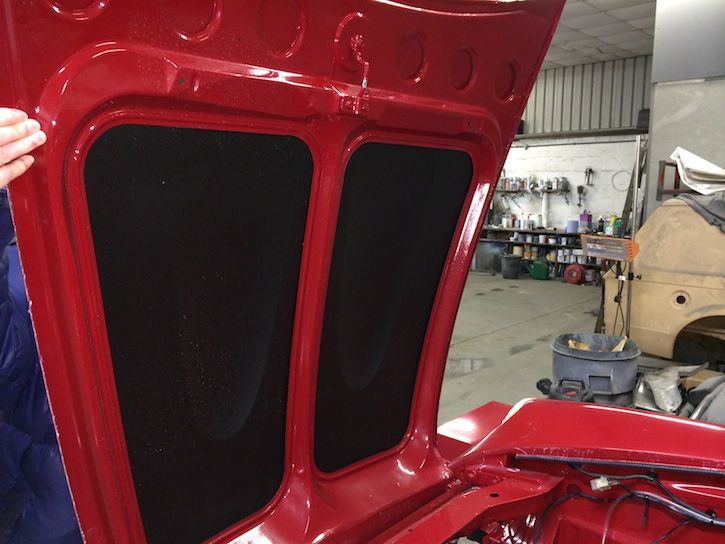
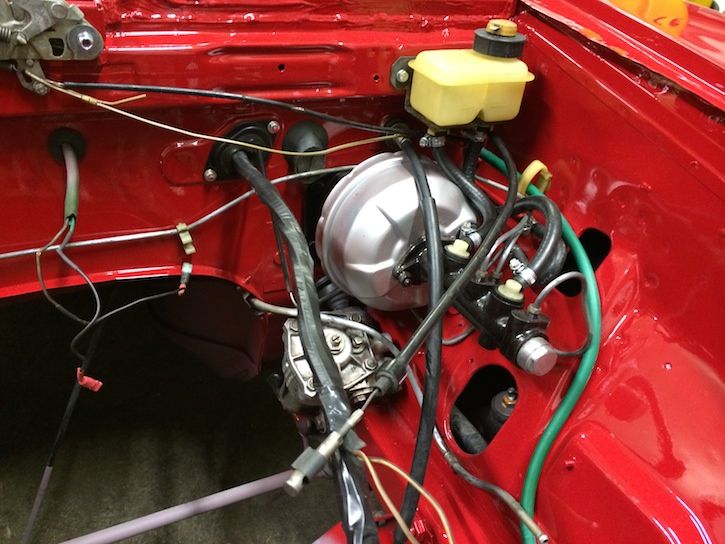
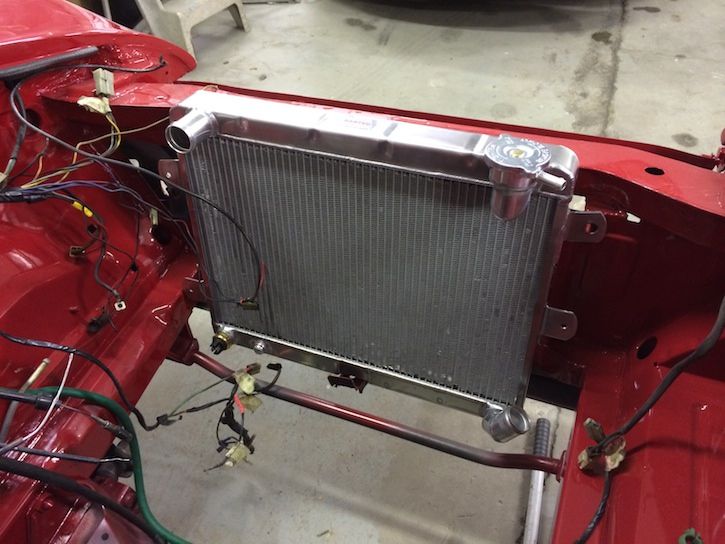
First of all I had to get the engine bay 'dressed'. As I hate doing spray work I went to Wellingore Garage who are used to working on classic cars. They are real experts and also corrected some bodged crash repairs to the left wing and bonnet (hood).
Stone chip paint under the bonnet.
Re: 1977 CS1 imported to UK from California
Whilst the engine bay was being prepped' Guy was building me an engine.
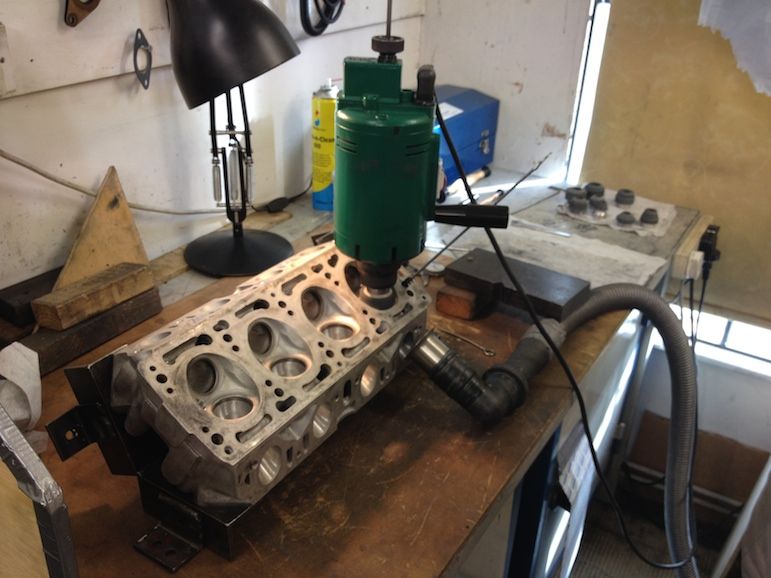
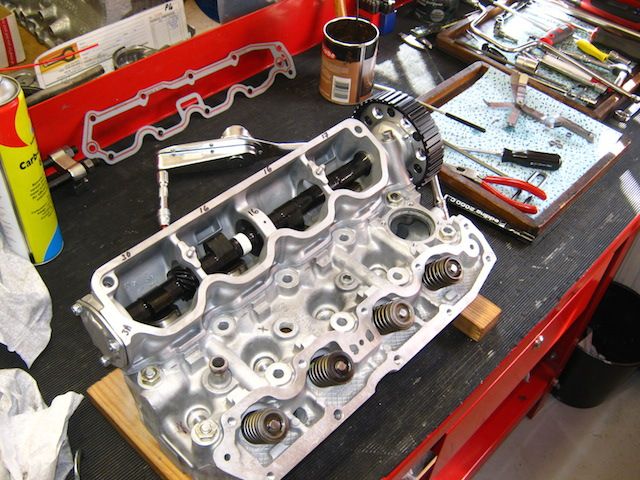
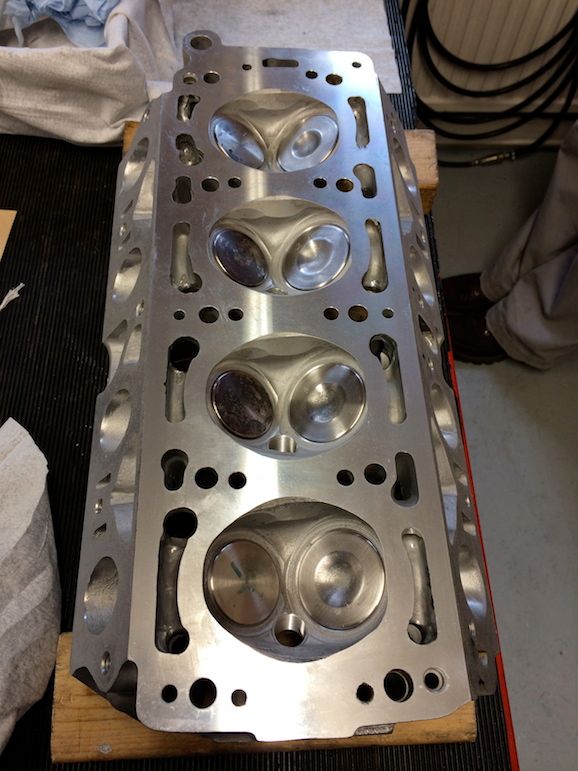
First of all the head...
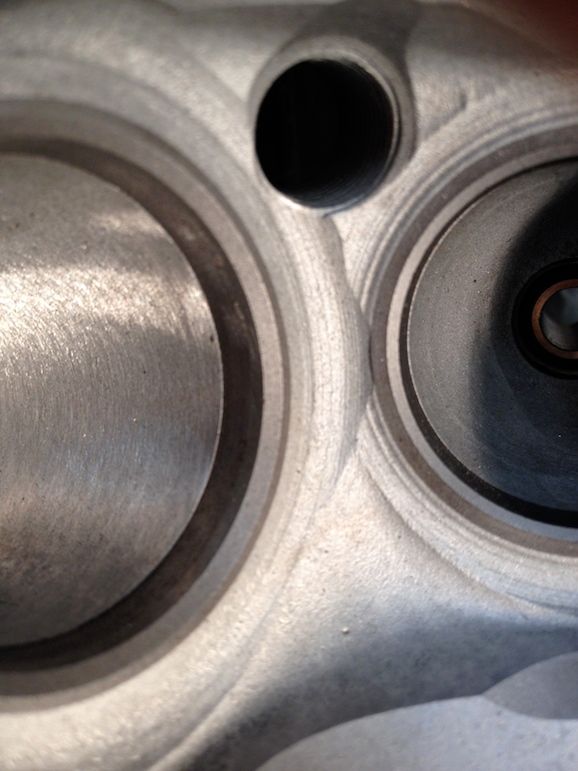
Grinding the ports
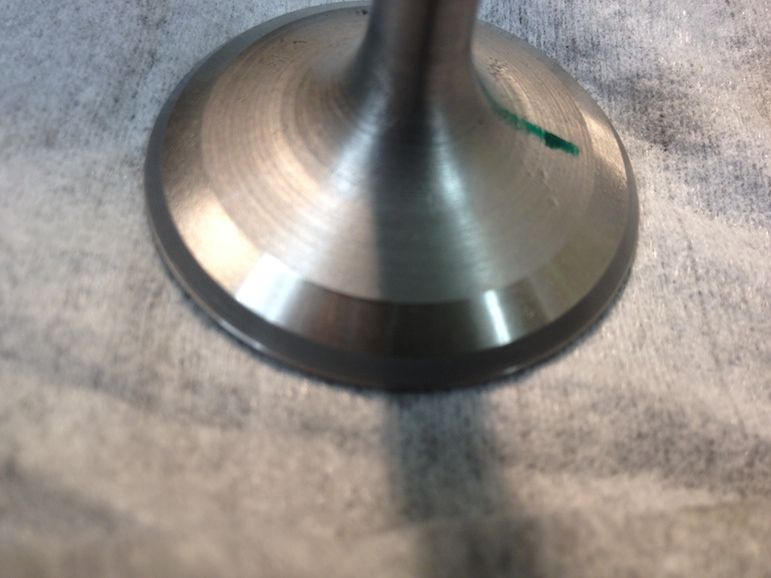
3-angle cut on the valves.
And on the seats
First of all the head...
Grinding the ports
3-angle cut on the valves.
And on the seats
Re: 1977 CS1 imported to UK from California
Then the bottom end...
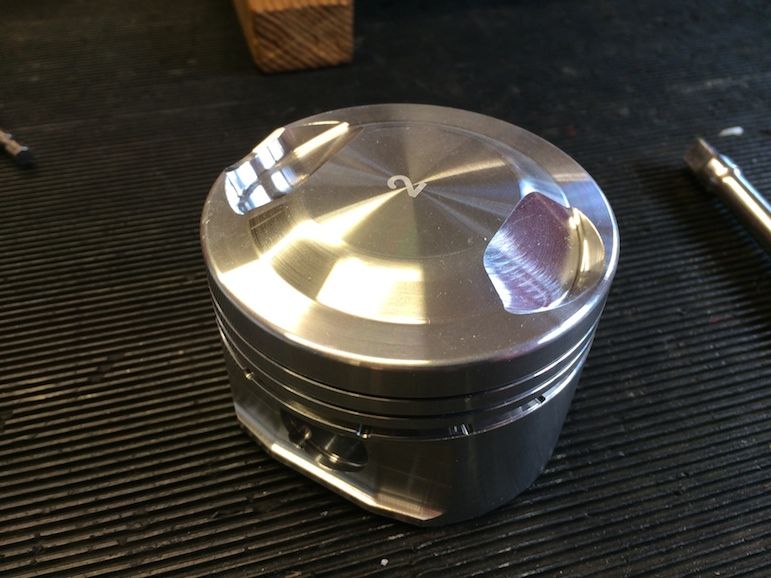
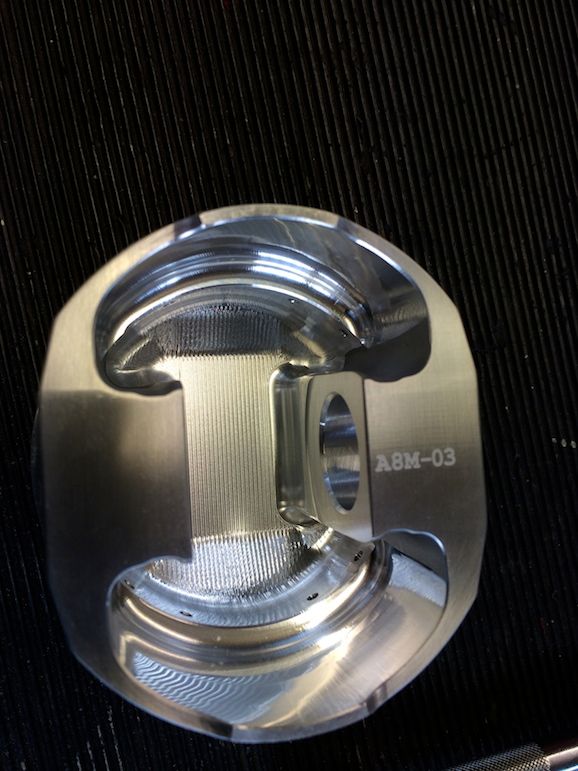
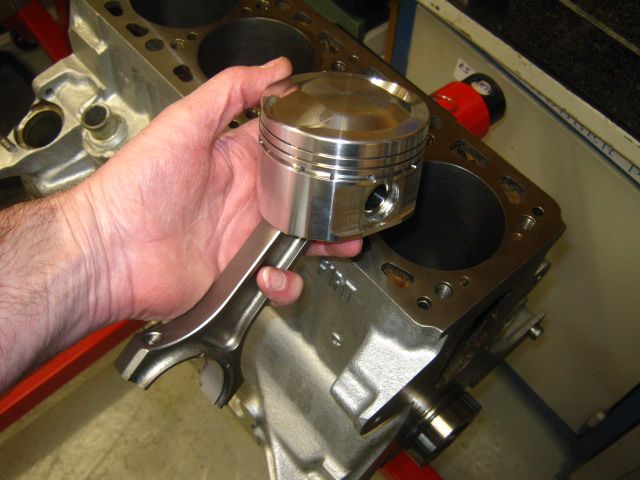
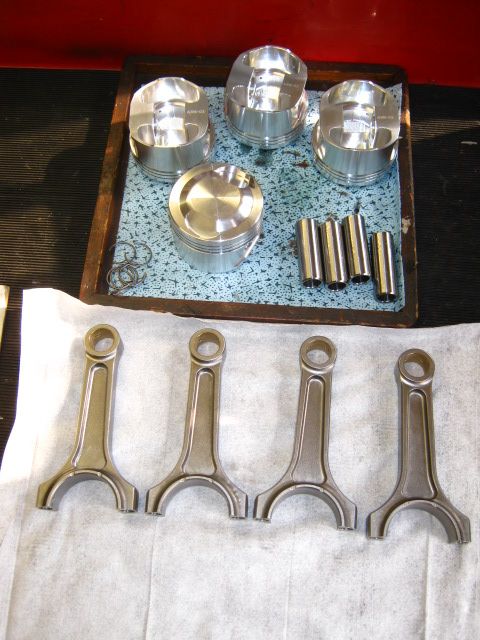
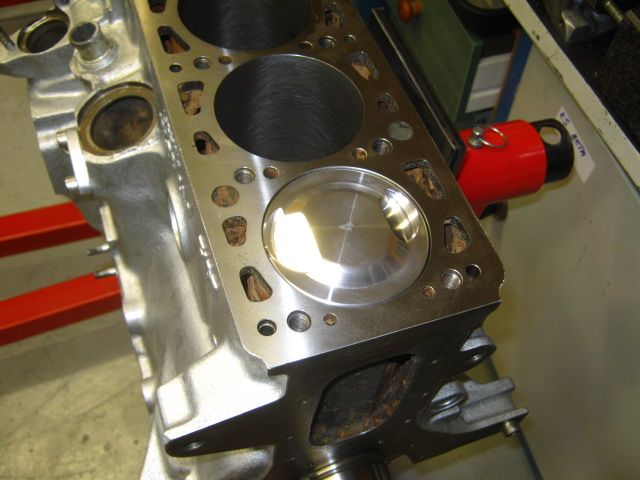
Race spec' pistons manufactured bespoke for this engine to Guy Croft's own design.
With the race rods.
Prepping the specialised rings
Race spec' pistons manufactured bespoke for this engine to Guy Croft's own design.
With the race rods.
Prepping the specialised rings
Re: 1977 CS1 imported to UK from California
Finishing off....
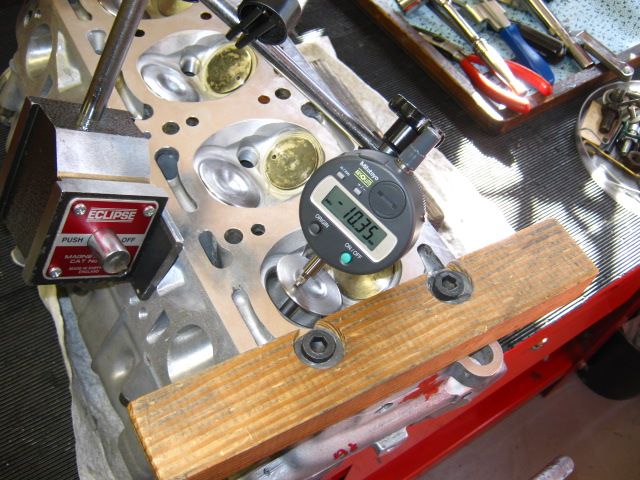
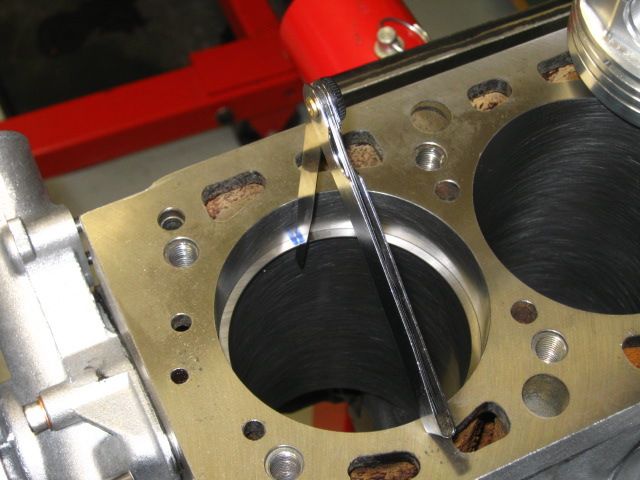
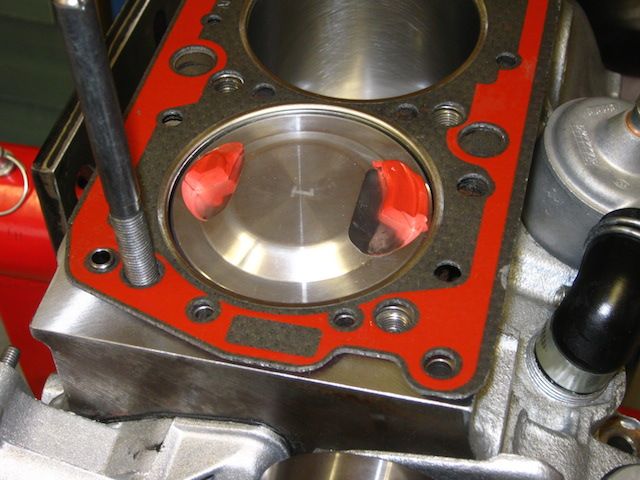
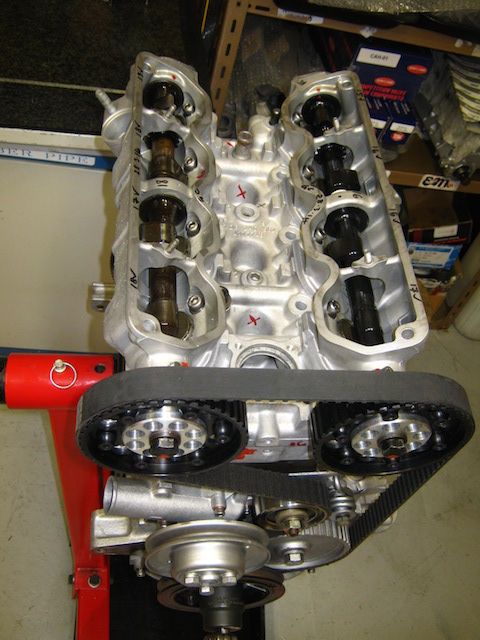
Trial fit of the head - one of several due to Guy's build regime - here plastercine is fitted then sliced to check valve-to-piston clearance.
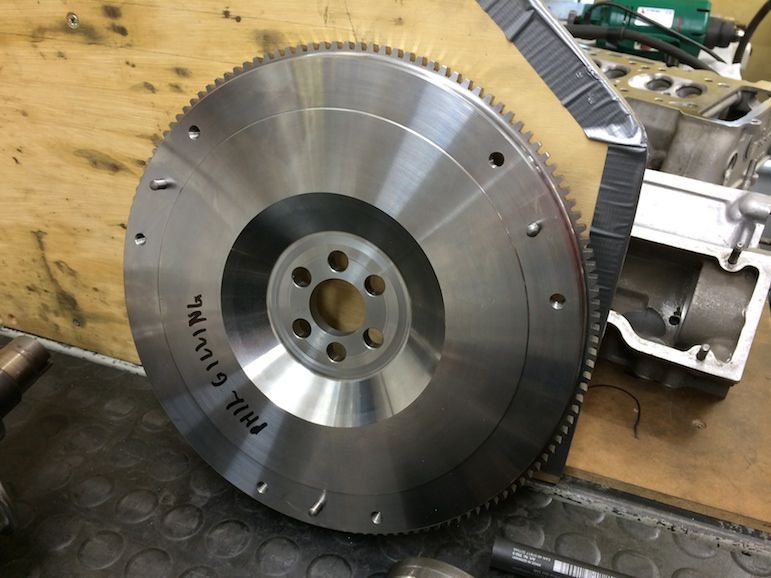
Forged and lightened flywheel, no separate gear ring as it is milled from a solid billet.
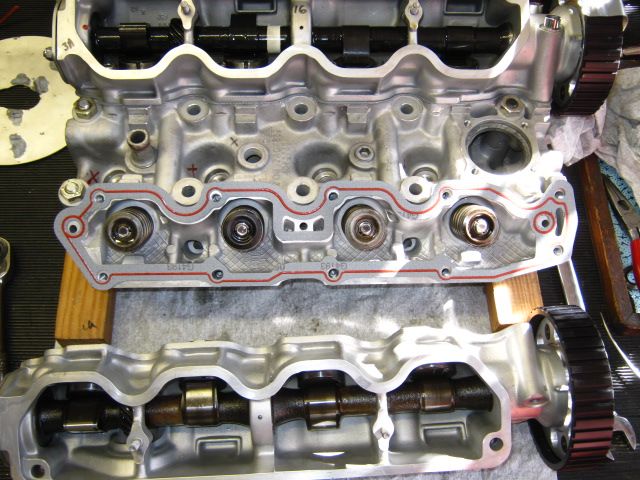
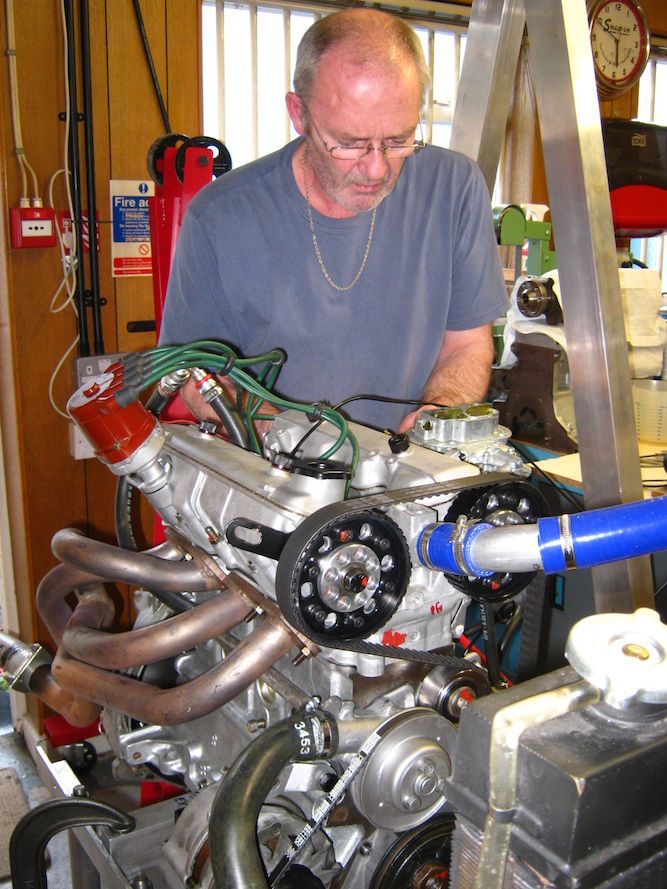
Look closely at the rocker cover as an illustration of how the whole engine is 'stoned'. That means Guy goes over every edge and thread hole with a flat stone to remove all sharp edges then components are scrupulously cleaned, if necessarily, several times as is the case with the block. This ensures nothing will rub off or catch and end up in the oil. This also means all the slightest raised surfaces are 'flatted' so that the gaskets will seal perfectly. The finish to all the components feels very satisfying to the touch, like smooth satin!
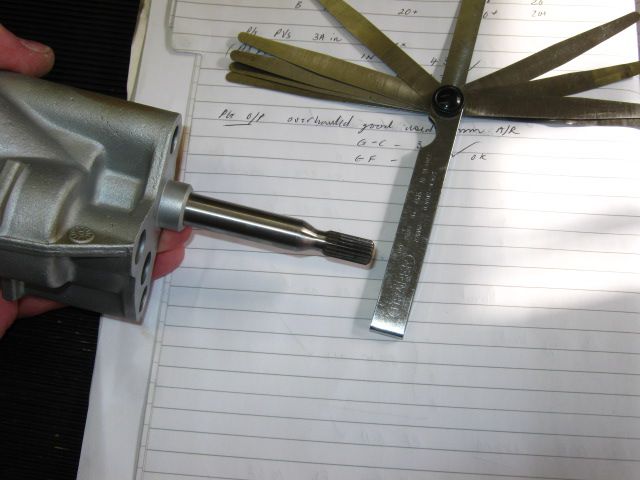
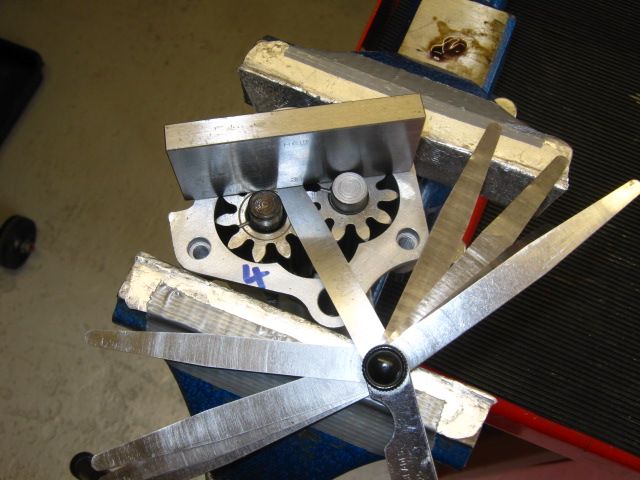
The oils pump was extensively checked and modified by smoothing the input shaft's 'shoulders' to prevent any possibility of it shearing.
Guy prepping the engine for a bench run.
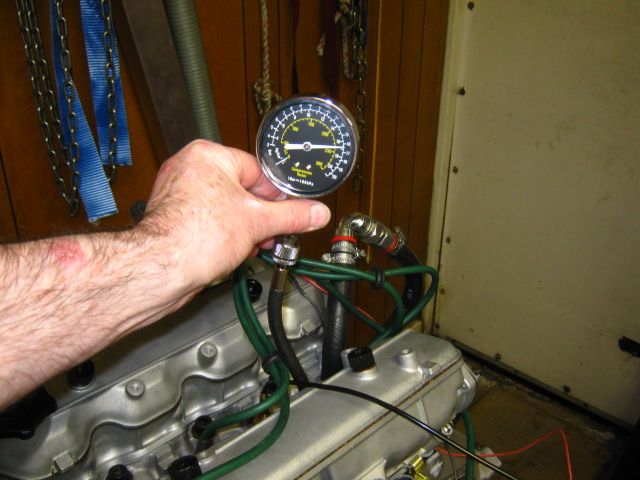
All compressions were virtually identical.
-
- Posts: 124
- Joined: Fri Aug 23, 2013 2:28 pm
- Your car is a: 1977 Fiat Spider
- Location: Lake Norman, NC
Re: 1977 CS1 imported to UK from California
Good work, pg.
how did your 77 end up with shoulder harnesses? Stock was lap belts only. Are they attached behind rear seat?
Fred
Lake Norman, NC
1977 Fiat Spider (current project)
1977 Triumph Bonneville 750 (previous project)
1971 Honda CT-70 K0
1972 Honda CT-70 K1
1990 GMC S-15 Jimmy (Daily driver)
Lake Norman, NC
1977 Fiat Spider (current project)
1977 Triumph Bonneville 750 (previous project)
1971 Honda CT-70 K0
1972 Honda CT-70 K1
1990 GMC S-15 Jimmy (Daily driver)
Re: 1977 CS1 imported to UK from California
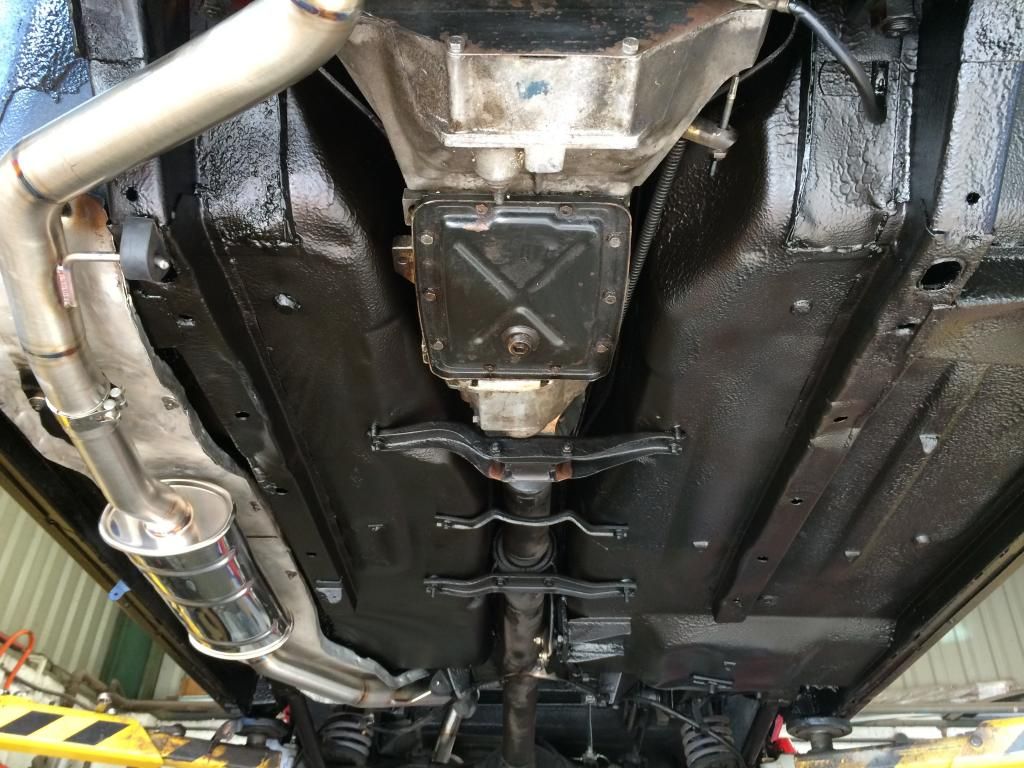
Fitting into the engine bay and exhaust.....
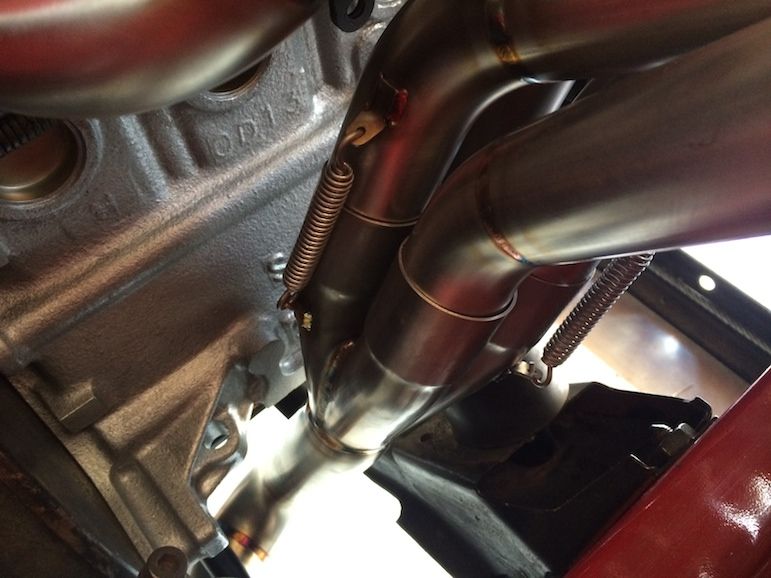
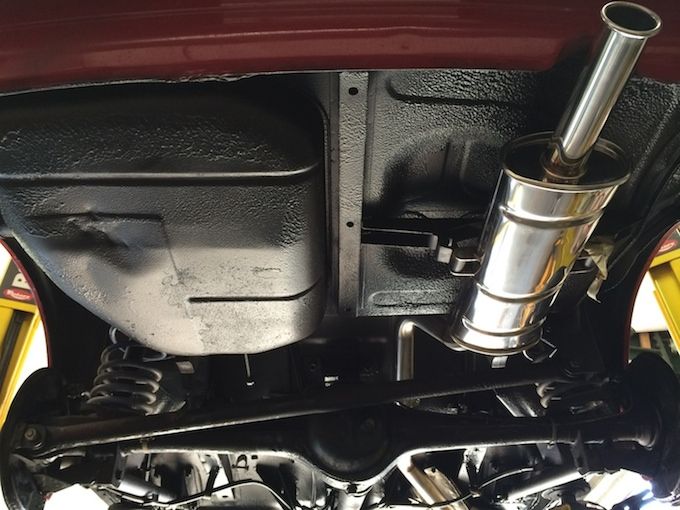
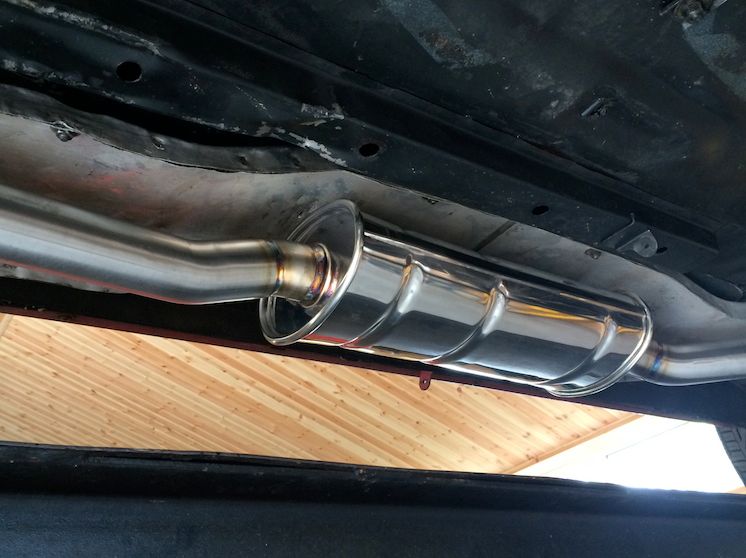
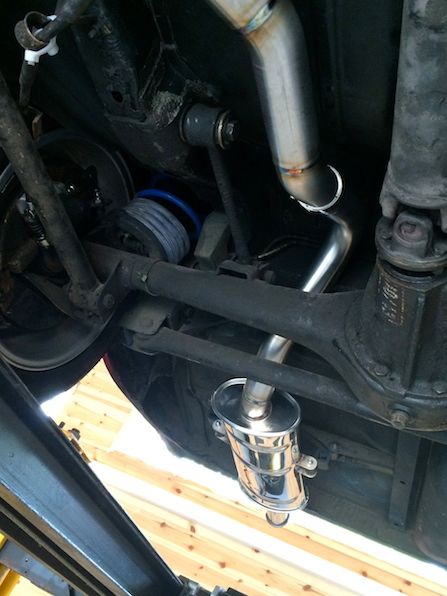
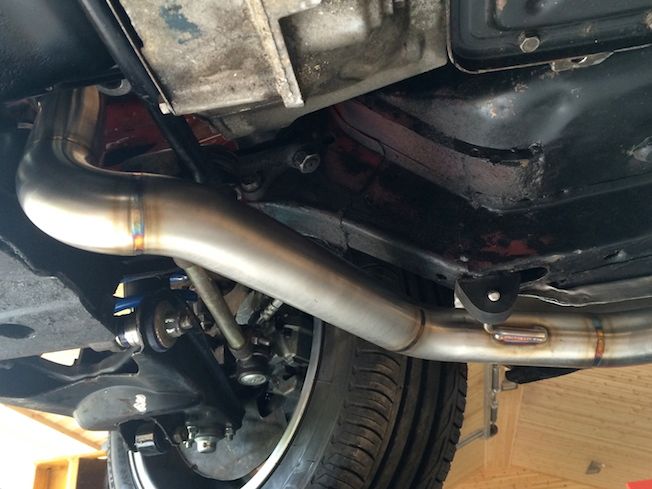
Here it is in the car. The beautiful exhaust was made by Lance from OJZ Engineering of Newark (UK!). He normally builds race exhausts and I had this done because anything less would not necessarily match the work done to the engine.
Lance said that amongst other things the additional manifold (header) length would improve throttle response.
The quality of the welds is second-to-none, perfectly smooth.
4-into-1 collector
Before...
After with stone-chip paint and the tail pipe.
Centre box (before stone-chip paint)
Last edited by pgilling on Sun Jul 13, 2014 5:49 am, edited 2 times in total.